
Setting Custom Goals Tracking
UI Path: Account Settings > General > Goals
What are Goals?
Goals let you cumulatively measure the efficiency of your website; they are a fundamental component for the success of any organization. Personyze monitors three main types of goals.
Conversion Goals
A Conversion Goal can be anything of worth for your business, such as downloading a map, printing a coupon, filling a form, solving a problem through the support pages; anything that creates profit, increases the likeliness of generating profit, or increases engagement.
Personyze allows you to measure the conversion rate for every action and segment, with regard to up to 12 different conversion goals.
Every time you define a new conversion goal, a column with a matching name is added to the Audience and Actions statistics charts, and all relevant data can be viewed in the Statistics Section.
There are 3 main types of conversion goals:
JavaScript Conversion Goal Reporting (IT Required)
A JavaScript Goal provides you with a standard JavaScript conversion pixel. When executed, the JavaScript conversion pixel performs two functions:
-
- It notifies Personyze that a conversion took place, and registers an increase in that particular conversion rate for every Audience and Personalization Action that were matched or executed during that session.
- It keeps track of the Goal Value for every particular conversion and reports them for every Audience and Personalization Action that were matched or executed during that session. The overall Goal Value to the website for every particular goal, can be found in the “Metrics Over Time” chart in the Audience Analytics section.
Read More About Setting Up Javascript Goals by Clicking Here.
Grab Data Goal Examples:
- Track an email field in a site form, to know when a visitor is typing in his email address or contact in the opt-in form.
- Track cart value, and register a custom conversion goal when it’s over a certain amount.
- Track if a site receives visitor information from CRM using auto-fill, like that they have a specific account type, for instance.
To set up a new Grab Data Goal:
-
- Go to the “Goals” section, under the setting Menu.
- Click on “Set New Tracking” and select the “Grab Data…” option:
- Customize Your Goal:
-
-
- Name your Goal.
- If you know the HTML selector for the container, choose this option
- If you don’t know the selector, opt to visually select from the page
- Personyze will open a copy of your page in the simulator
- Select the appropriate container type from the menu on the right
- To select visually (point-and-click) select “Visually select elements”
- For other types like cookies, URL params, etc. select these options
- Choose the timing for the data to be extracted.
- Provide the appropriate selector/container ID (or leave if it’s pre-filled).
- Specify what values should pass through the container.
- (Optional) Set a static Goal Value to be reported
-
Track Activity Goal
A Track Activity Goal keeps track of visitor behavior over a specified page element (such as a button or a banner), and registers a conversion when specified activity takes place.
Once a track activity goal is matched, Personyze registers an increase in that particular conversion rate for every Audience and Personalization Action that were matched or executed during that session.
In other words, you tell Personyze which page elements to track activity on, and it will register when someone clicks or has a designated interaction with that page element.
To set up a new Track Activity Goal:
-
- Go to the “Goals” section, under the Settings Menu.
- Click on “Set new tracking” and select the “Track Activity…” option:
- Customize your goal:
-
-
- Name your goal.
- Specify the ID of the page element to be tracked.
- If you don’t know the ID/Selector, choose Select Visually on Pages
- Select what activity you wish to be tracked and reported under the associated “Conversion Rate” metric.
-
Click Through Rate (CTR)
For every personalized element (such as: banners, popups, Personalization Action, etc.), by default Personyze monitors the percentage of visitors that clicked on that element out of all the visitors exposed to the element, and reports the statistics under the “CTR” column in Personalization Actions Statistics.
In the Personyze template you can choose to limit CTR tracking only for specific links by setting it as ” click target”
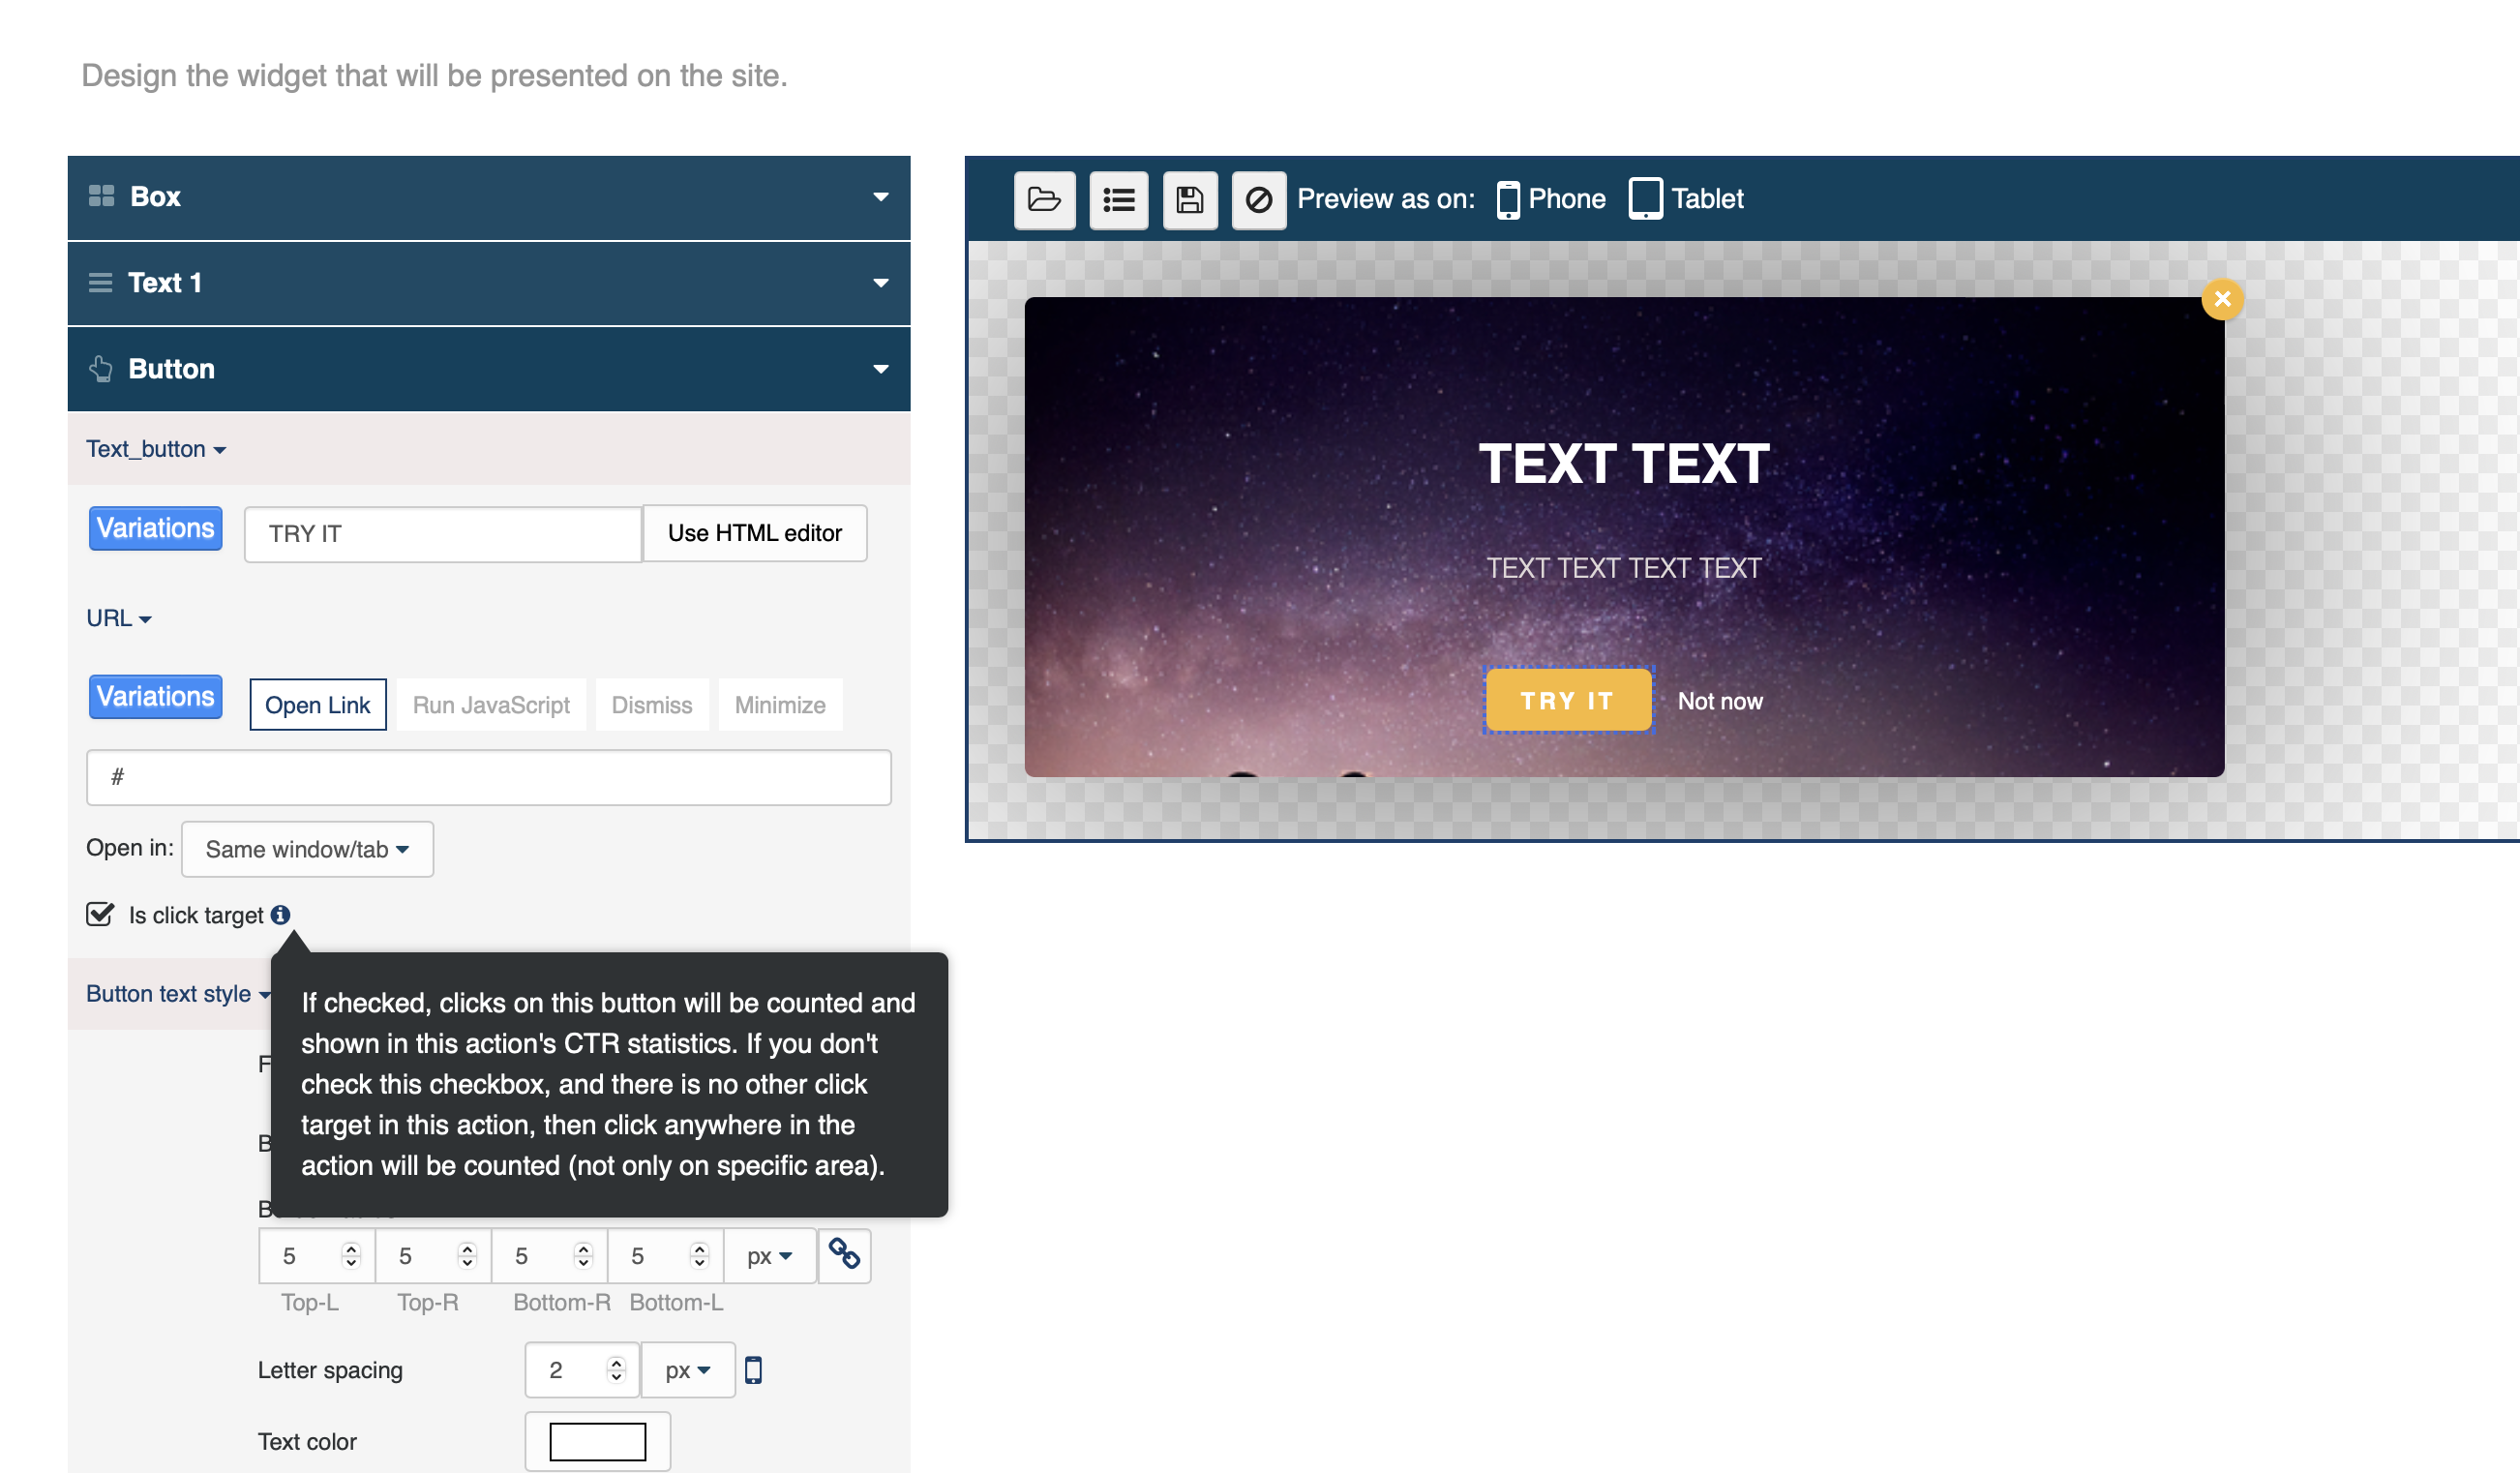
If some area in the action content is marked as “Click Target”, or multiple areas, only clicks on these areas will be counted for CTR.
If the action doesn’t have any click target, then clicks anywhere in the action will be counted.
In terms of HTML source of the action, the click target is an element marked with data-personyze-click-target=”” attribute.
For product recommendation actions the click target attribute must contain word “products” followed by a space and the internal ID of the current product, so Personyze can show statistics for each product in the catalog. Example: data-personyze-click-target=”products 123ABC”
For content recommendations – the same, but data-personyze-click-target=”articles 123ABC”
Note: When using the WYSIWYG Editor, the entire webpage is considered edited, therefore you must specify the monitored element on the page, if you wish to track CTR on some particular element. To do so:
- Click on the appropriate element in the WYSIWYG Editor.
- Choose the “Trigger on Event” option from the menu.
- Choose “Click” as the type of event.
- Choose “Extra” from the “What To Track” menu.
Click Through Rate (CTR) for JS action
Run this from within your JS action:
personyze.action_state(${action_id}, ‘extra’)
if you execute it from action, ${action_id} will be substituted. if not you need to set action_id for which the click should be registered to.