Install Personyze on Any Website or Platform
What happens after you add the tracking code? Personyze immediately starts tracking visits and page views so you can launch personalization, A/B tests, targeted banners, and more. Some features (like product/content recommendations or ABM) may need extra setup, but the Campaign Wizard walks you through each step end-to-end.
1) Get your Personyze tracking code (works with any CMS or Tag Manager)
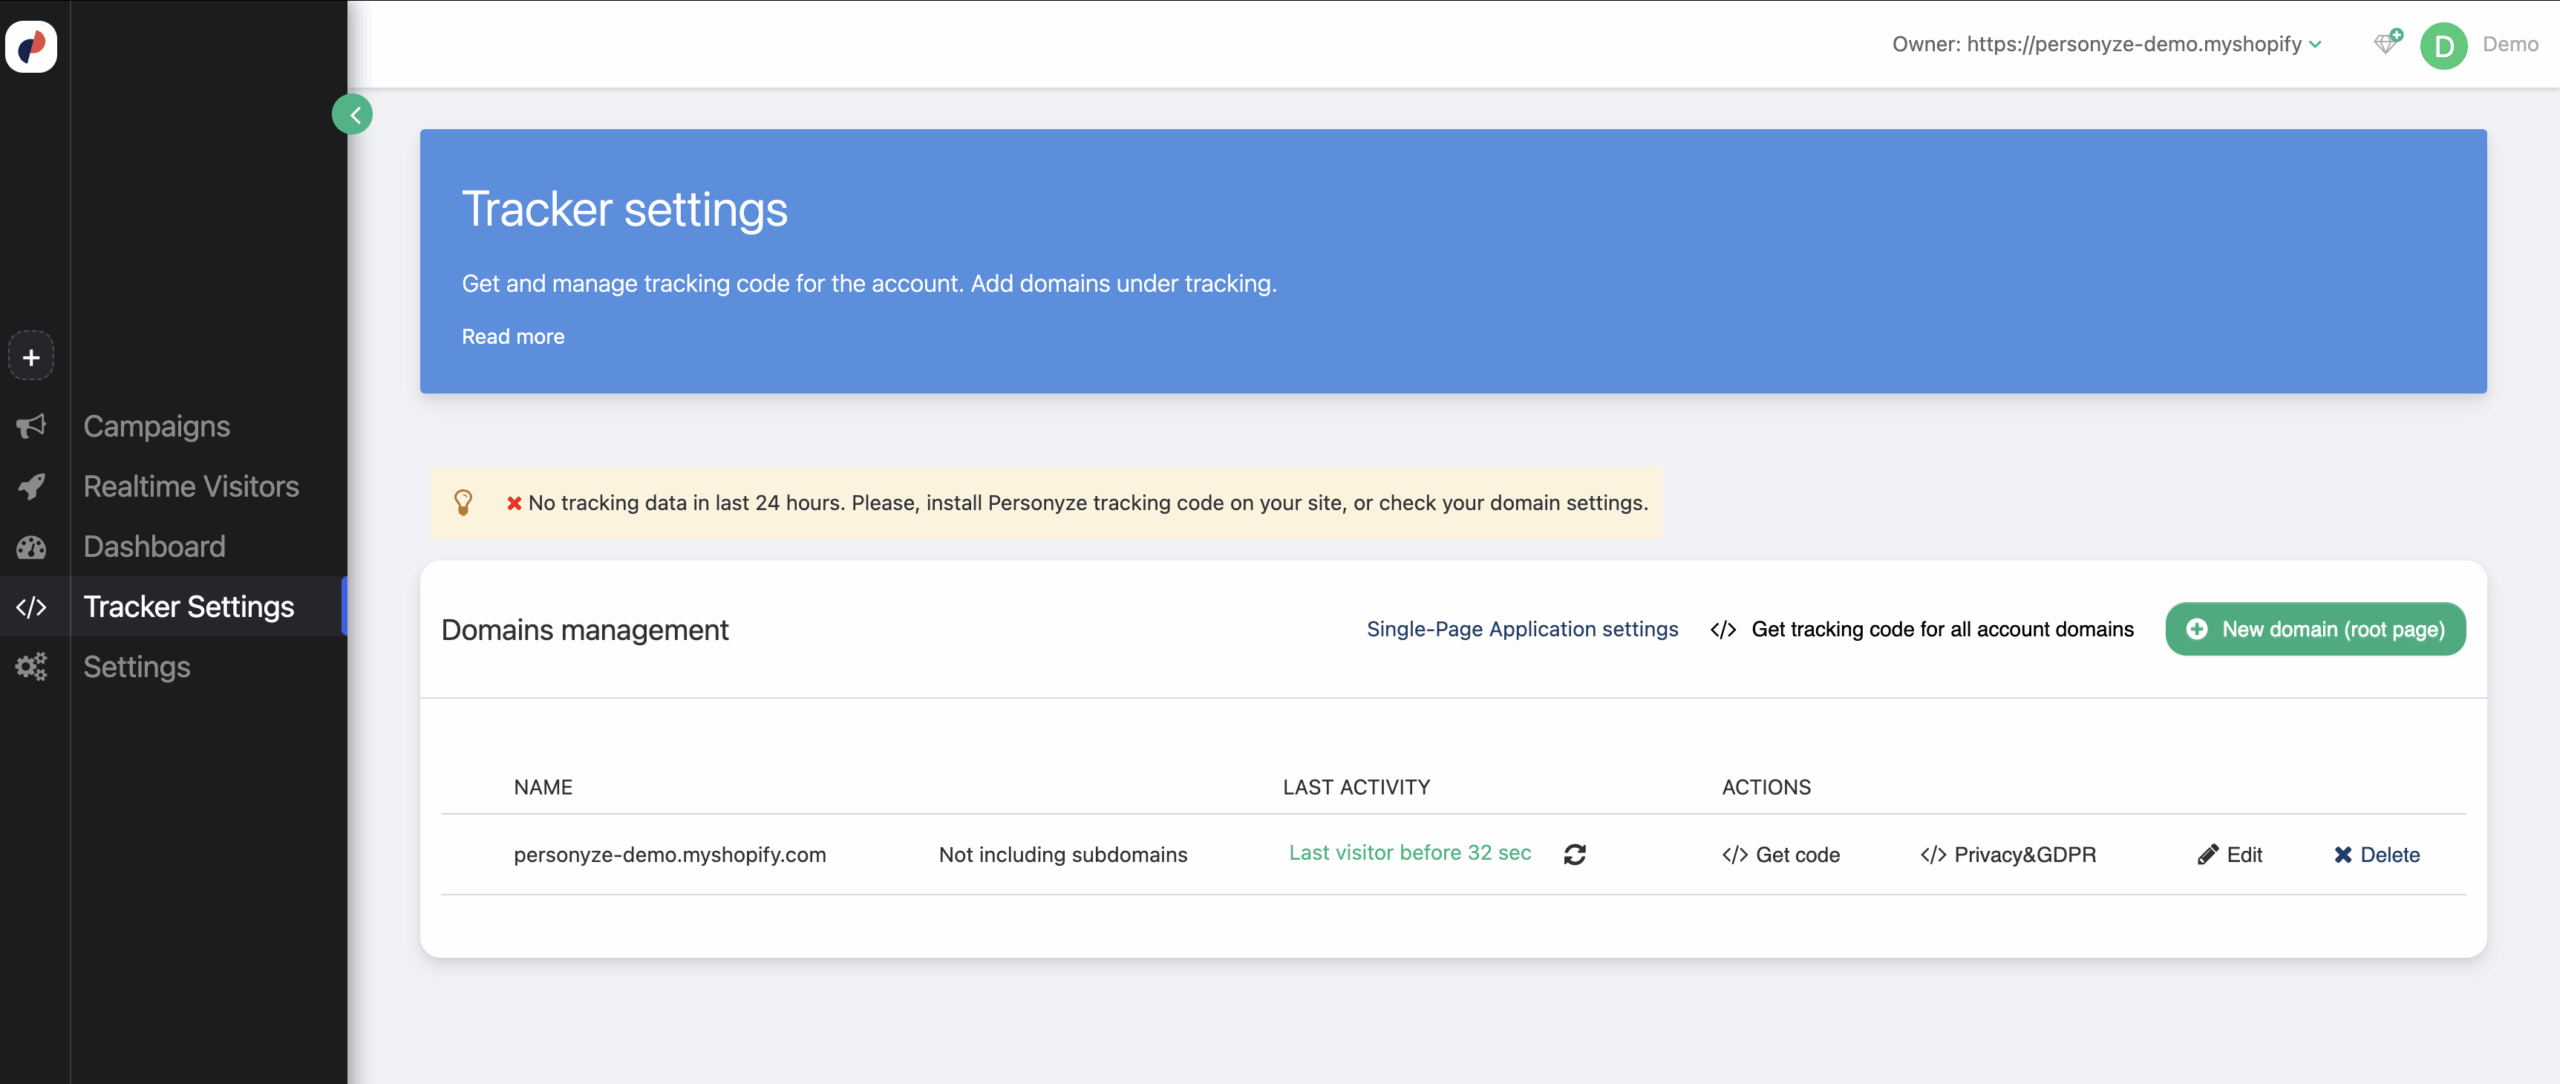
- In Personyze, go to Account Settings → General → Tracker Settings.
- Click Get code for your domain and copy your unique snippet.
- Paste it as early as possible in the site’s
<head>so it loads before your content. This prevents flicker and ensures personalization runs instantly on first paint.

<head> for best performance (example editor view).Prefer a Tag Manager? Use the same code with GTM, Adobe Launch, Tealium, or another TMS—just set it to fire as early as possible.
Shopify
You can install Personyze quickly on Shopify without relying on theme templates or third-party plugins.
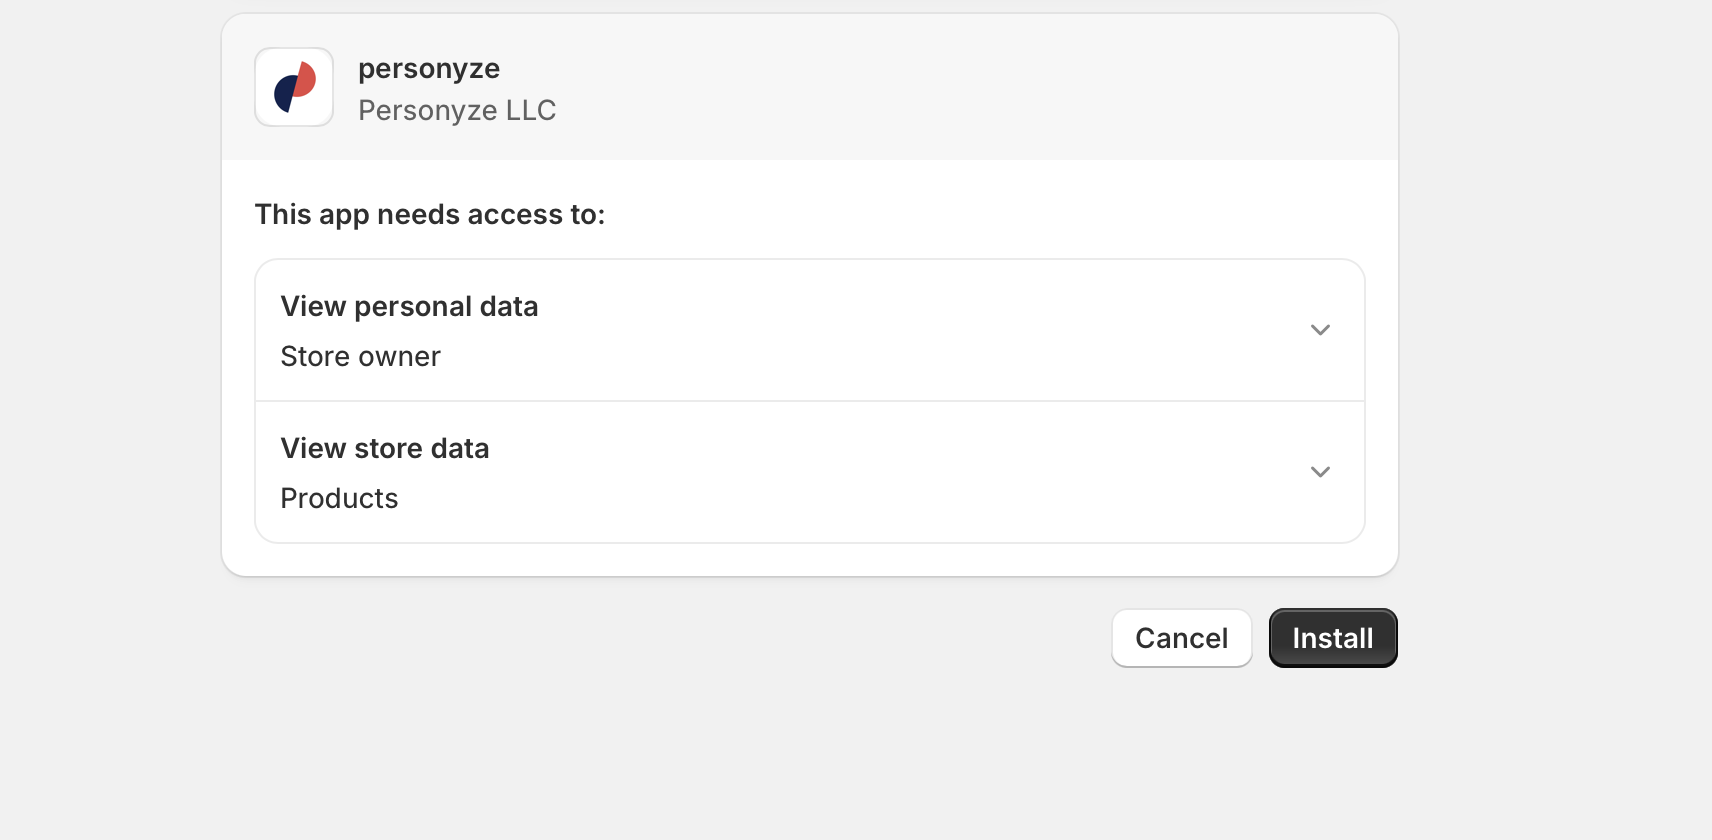
- Install the Personyze app from the Shopify App Store and connect your account.
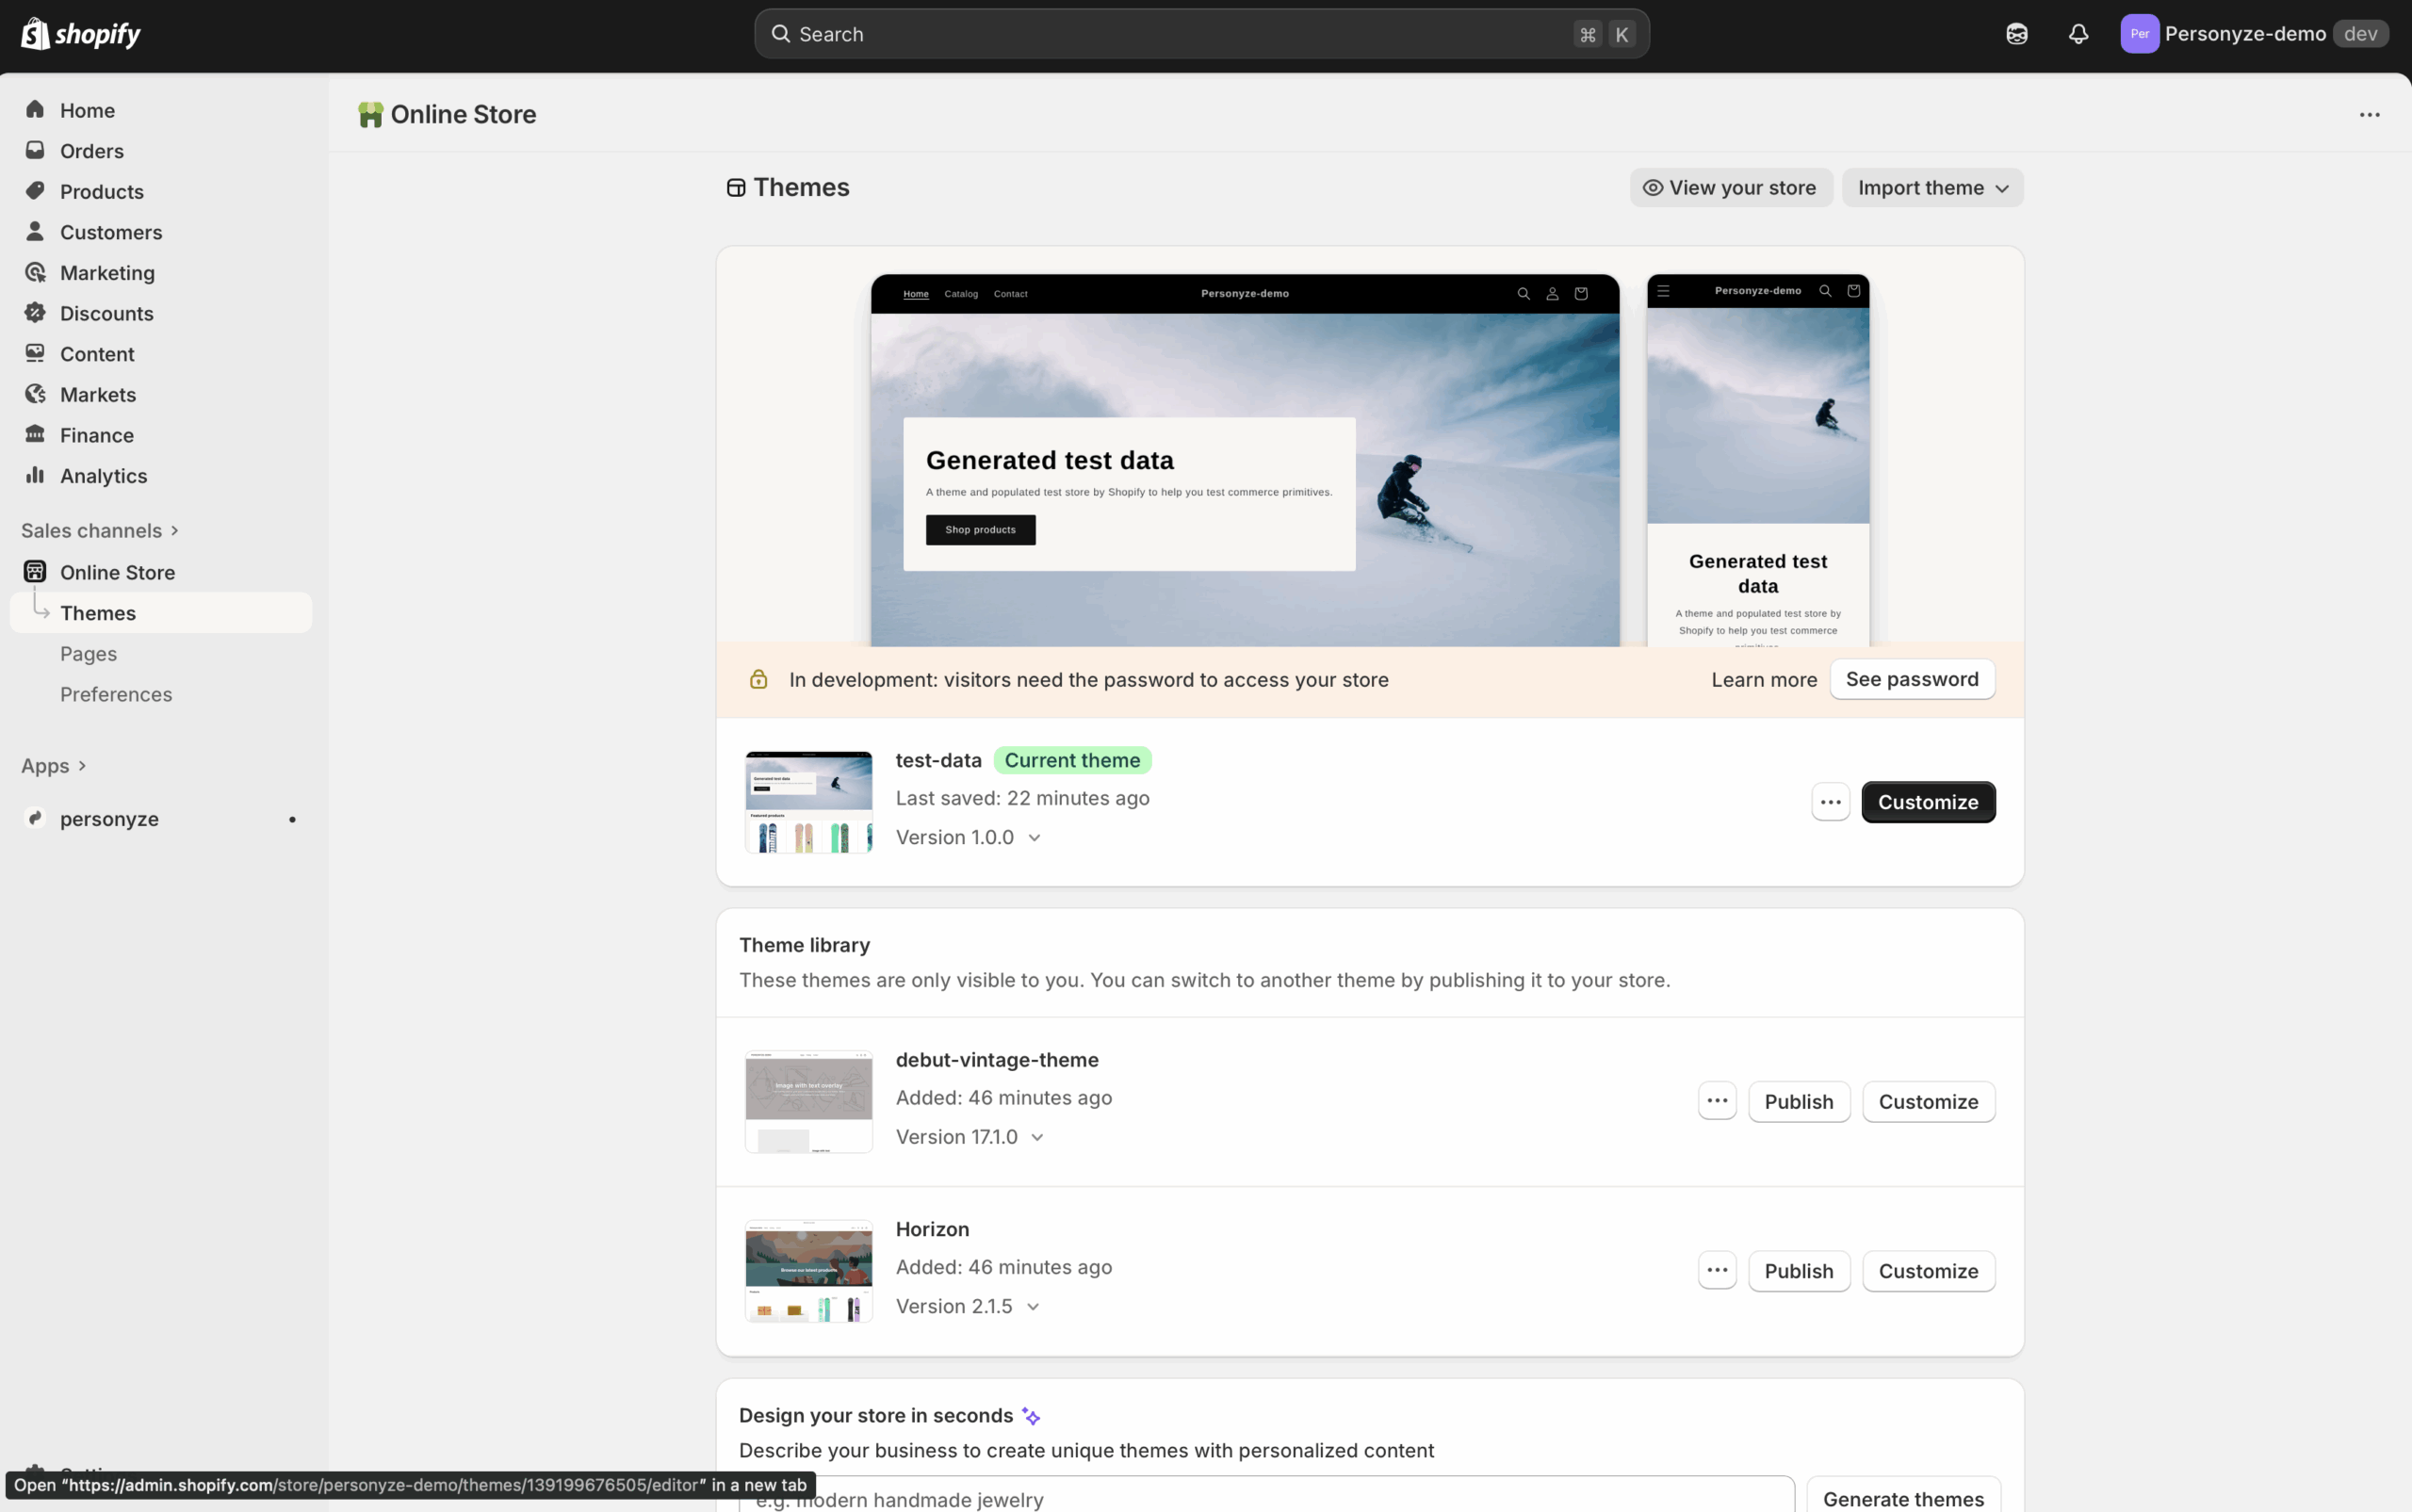
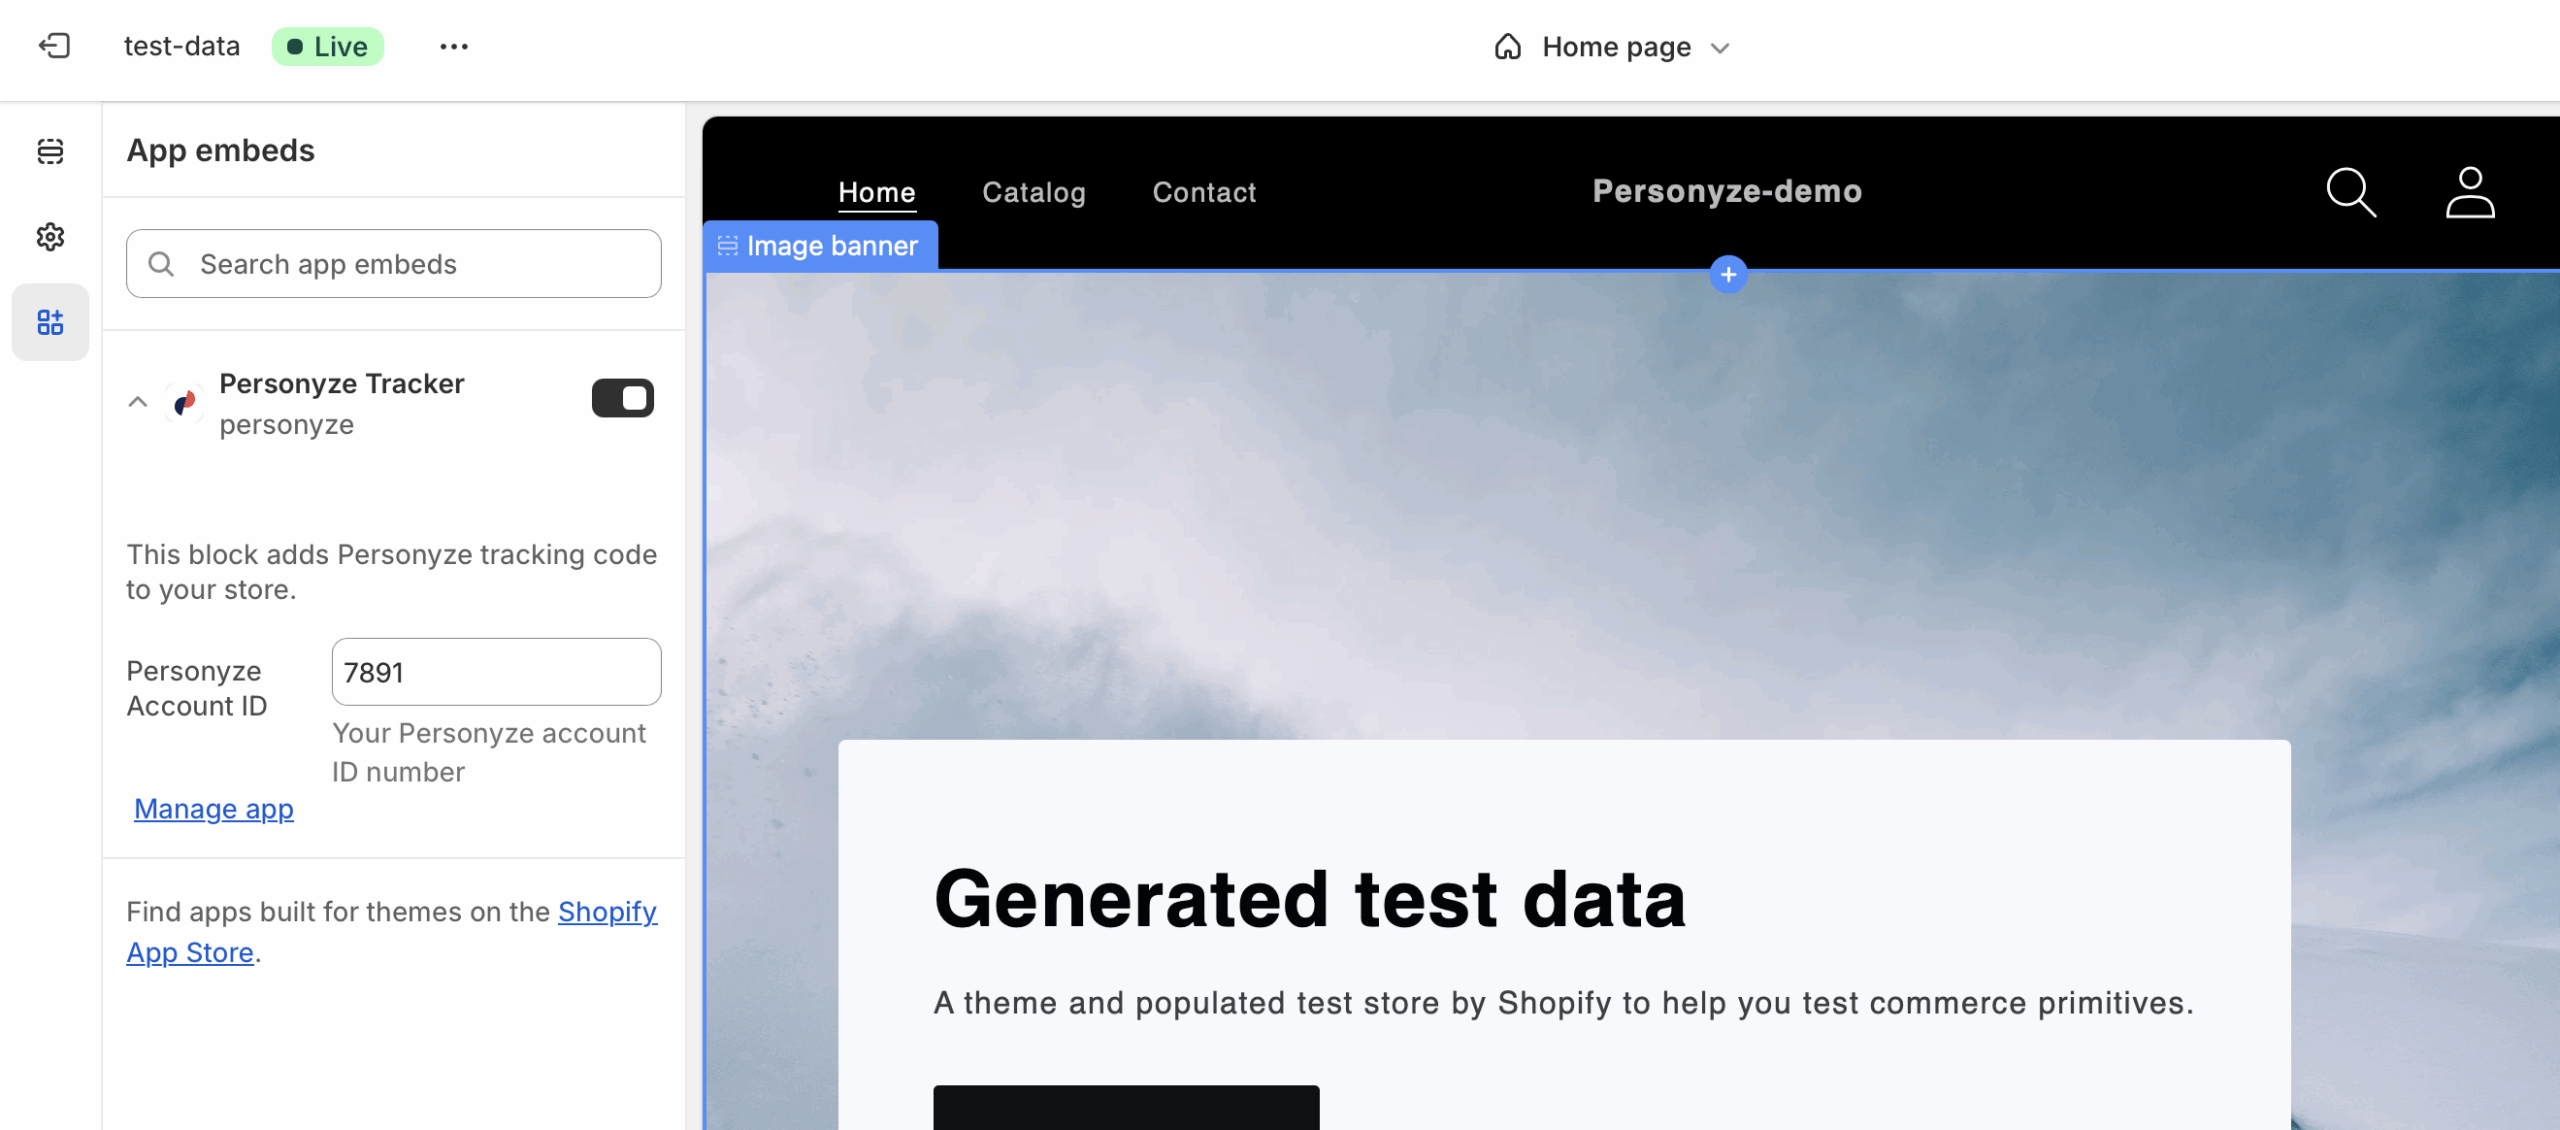
- Open Online Store → Themes → Customize, then select App embeds.
- Enable Personyze Tracker and enter your Account ID.
- Save and load your storefront—tracking starts right away.

WordPress
Manually add the code (no plugin needed):
- From your server/theme files, edit
header.phpin your active theme (or child theme). - Paste the Personyze snippet high in
<head>. Save and deploy.
header.php.Tip: If your theme updates frequently, use a child theme so customizations persist through updates.
Magento (Adobe Commerce)
- Go to Content → Design → Configuration, choose your active theme, and click Edit.
- Open HTML Head (sometimes Other Settings → Scripts and Style Sheets), paste the Personyze code, and Save.
- Flush caches: System → Cache Management (or from CLI) so the change takes effect.
Note: Some stores use custom layouts or head blocks; place the snippet in the global layout that impacts all pages.
Google Tag Manager (no plugin)
If you’re already using GTM, add Personyze via a tag so you don’t touch templates:
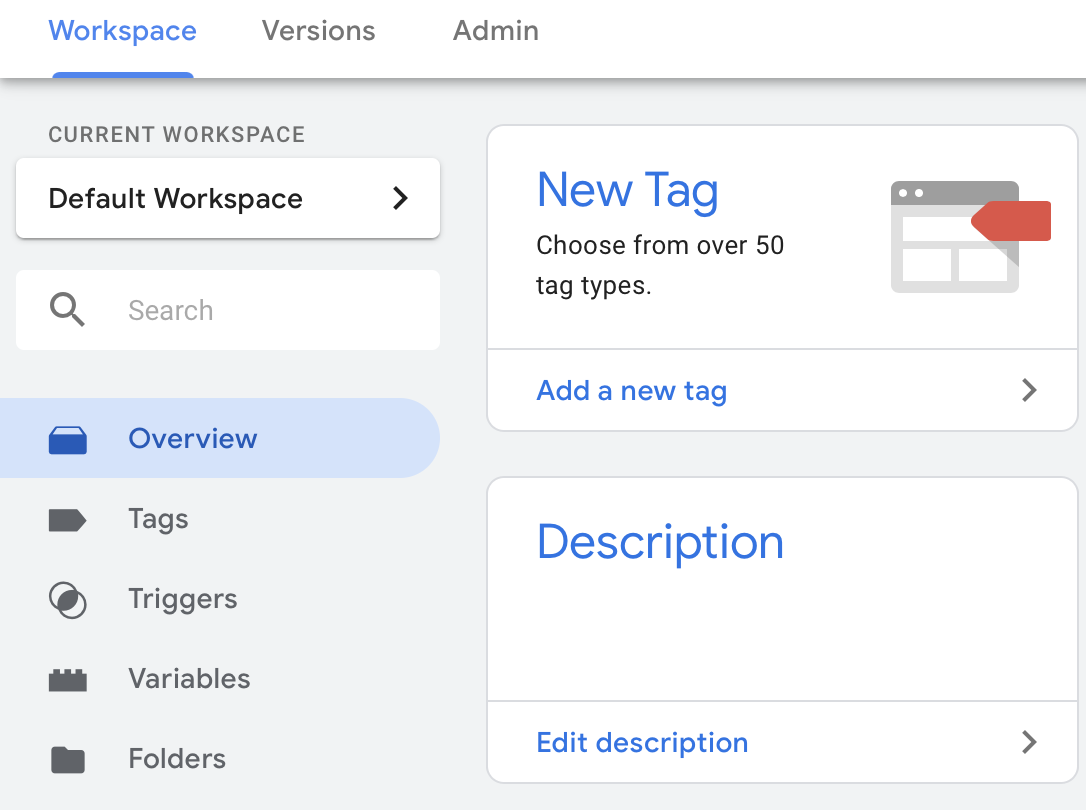
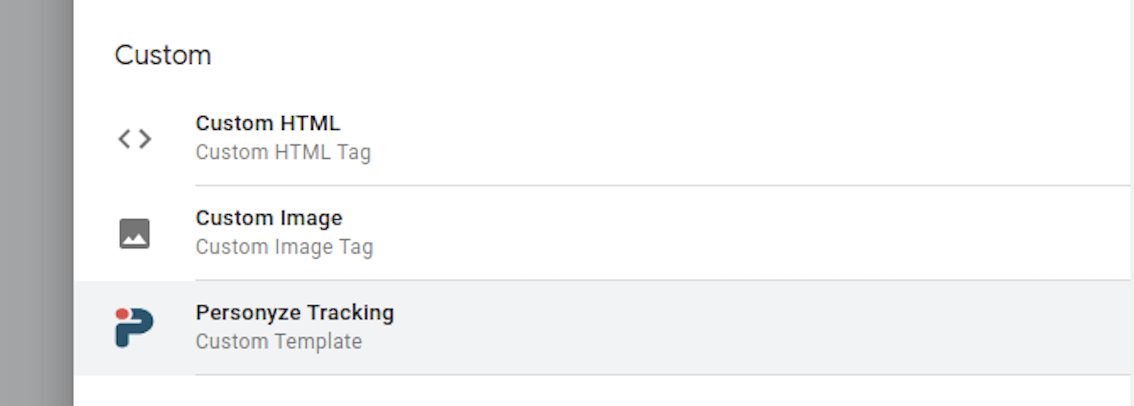
- In GTM, click Add a new tag → choose Personyze Tracking (template) or Custom HTML.
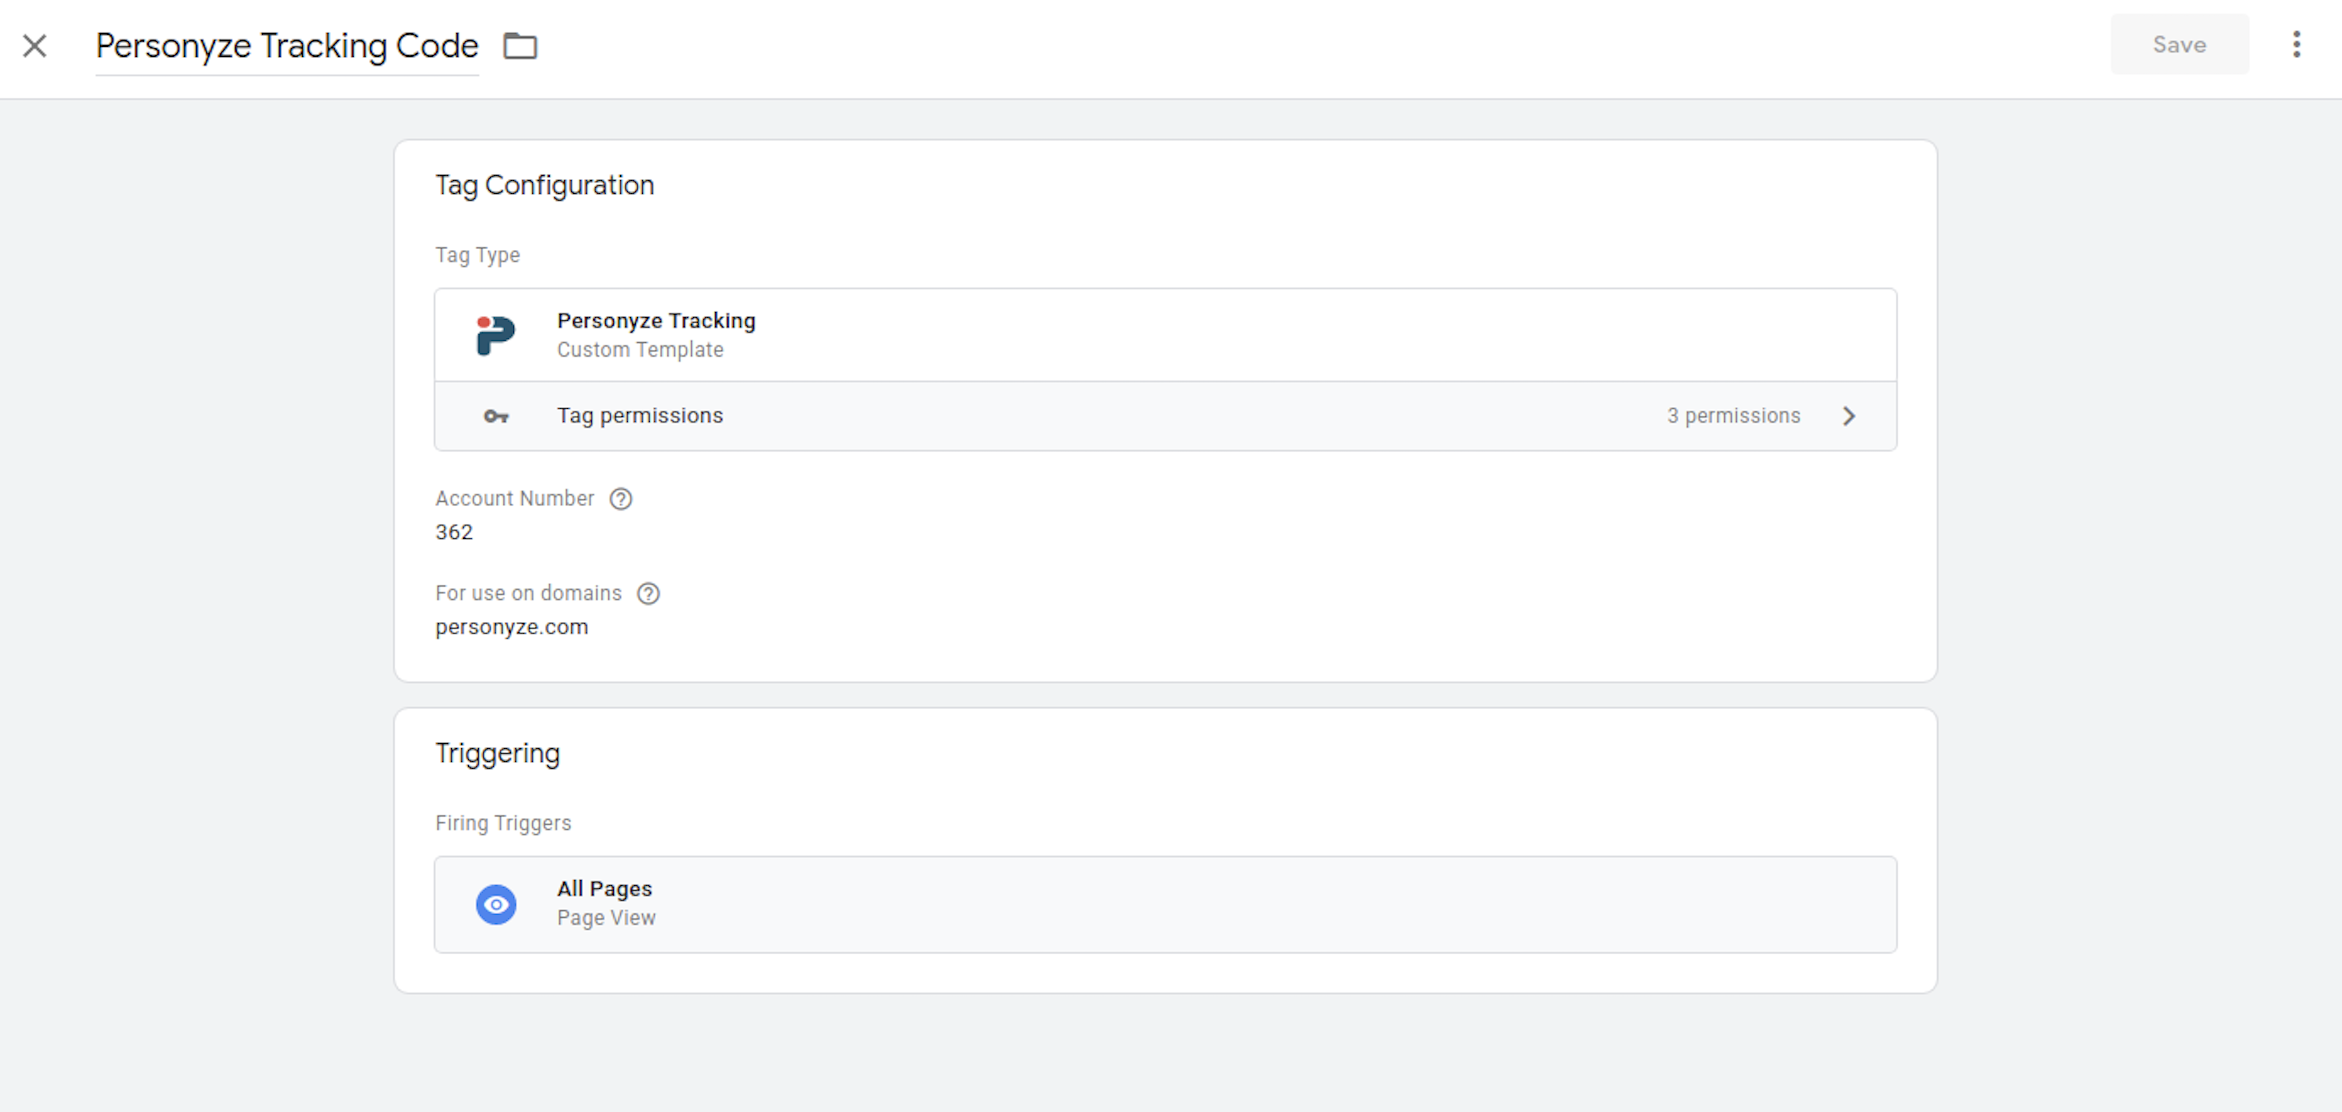
- Enter your Personyze Account ID (template) or paste the script (Custom HTML).
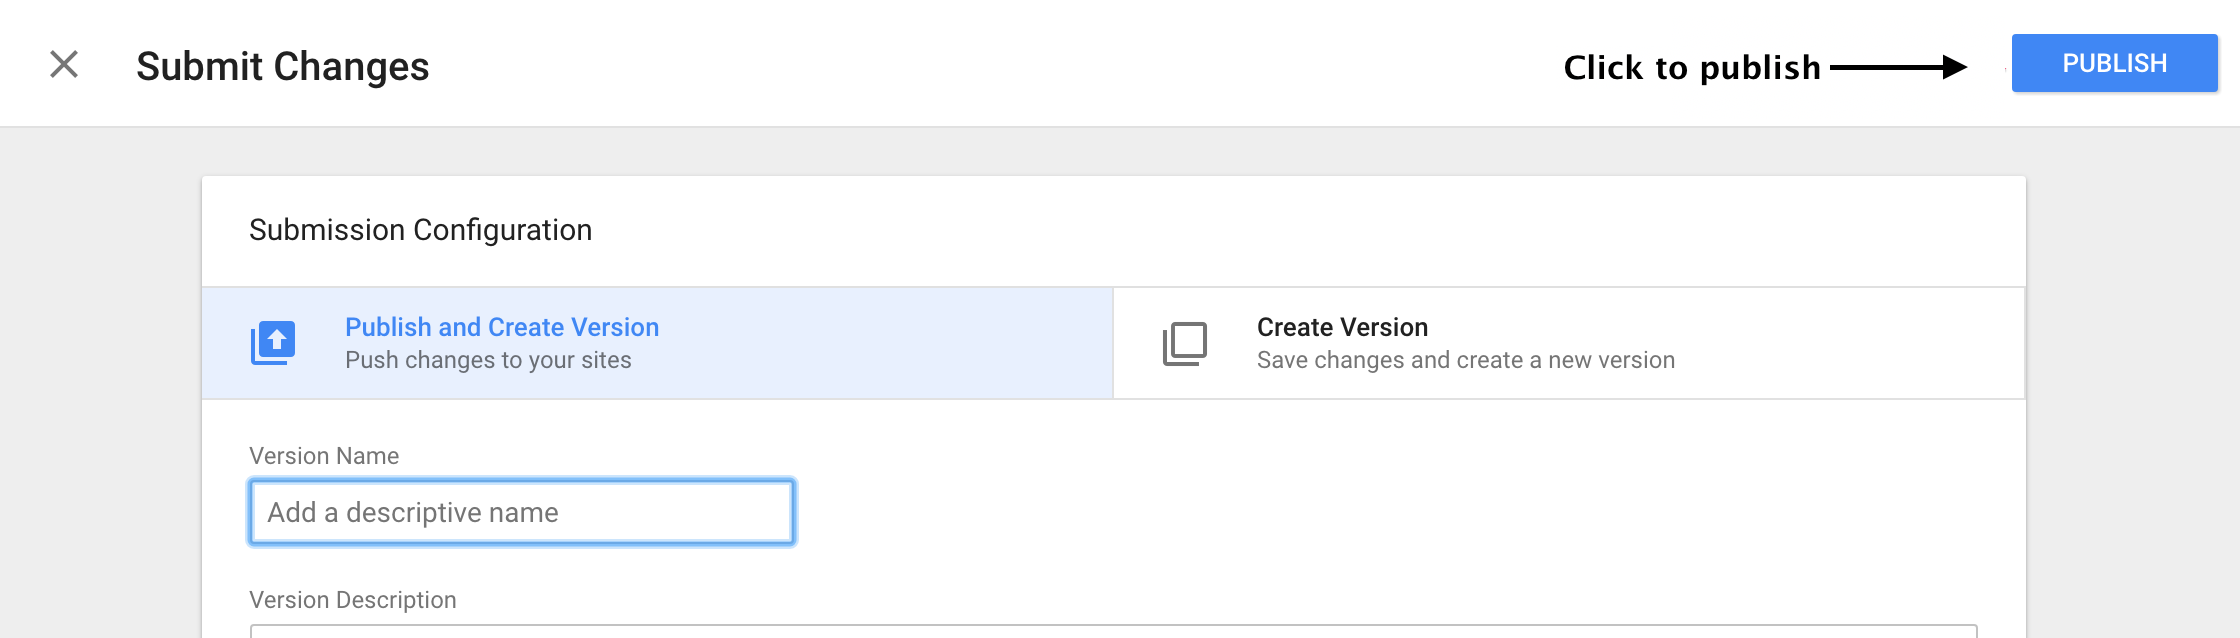
- Trigger on All Pages with Page View (fire as early as possible). Publish.


BigCommerce
Add the Personyze snippet globally using BigCommerce’s Script Manager:
- In BigCommerce admin, go to Storefront → Script Manager.
- Click Create a Script.
- Name it “Personyze”, set Location = Head, Load Method = Script, apply to All pages, and paste your code.
- Save.


Drupal (8/9/10/11)
Inject the Personyze snippet directly into your theme’s base HTML template so it runs site-wide:
- Edit your active theme (or subtheme) file:
themes/your_theme/templates/html.html.twig. - Paste the snippet high inside the document
<head>block. - Clear caches (Configuration → Development → Performance → Clear all caches, or run
drush cr).
Tip: Use a subtheme so updates don’t overwrite your change. See Drupal’s Twig theming docs if you’re new to templates.
Joomla
- Go to Extensions → Templates → Templates, choose your site template, then click index.php.
- Paste the Personyze code high in the template
<head>. Save.

index.php and add the snippet in <head>).Wix
Use Wix’s built-in Custom Code to inject Personyze into the <head>:
- In the Wix Editor, open Settings → Custom Code.
- Click + Add Custom Code, paste the Personyze snippet, set Place code in: Head, and choose to load on All pages.
- Save and publish.
Squarespace (7.1)
- Go to Settings → Developer Tools → Code Injection.
- Paste the Personyze snippet into Header to inject it into the global
<head>. - Save.
Note: For a single landing page, open the page’s Settings → Advanced and use Page Header Code Injection (site-wide still recommended).
Single-Page Apps (React, Vue, Angular)
Enable SPA tracking so Personyze responds to client-side route changes:
- In Personyze, open Tracker Settings and toggle Single-Page Application to ON.
- Choose what constitutes a new “page” (path / query / fragment).

Verify the installation
- Personyze → Tracker Settings: check the domain’s Last activity timestamp after you load your site.
- Browser DevTools → Network: reload your page and filter for
personyzerequests (or your account ID). You should see the tracking script load. - Run a quick test campaign: Create a tiny visual change (e.g., add a “TEST” badge for your own IP) and preview it with the Personyze QA simulator to confirm it executes.
