How to Install Personyze on Your Website
UI Path: Account Settings > General > Tracker Settings
Step 1: Specify Domains to Track
Provide Personyze with the URLs of all domains and subdomains you wish to track. You can add this information when creating your account or later in the Tracker Settings section.

Step 2: Install the Tracking Code
Obtain one of the two unique tracking codes (snippets) from your Personyze account, then install it on your website using either of the following methods:

Important: Do NOT use these codes interchangeably.
- Master Page Header (Recommended)Place the code within the
<head>tag of your HTML document for optimal performance. Ideally, insert the Personyze snippet immediately after your charset declarations and essential meta tags, as high as possible within the<head>. Placing the snippet lower may cause a brief delay in personalization effects.
- Tag ManagerYou can utilize your site’s Tag Management system to implement the Personyze snippet. We recommend configuring snippet execution to trigger as soon as possible to minimize delays in personalization.

Verifying Installation
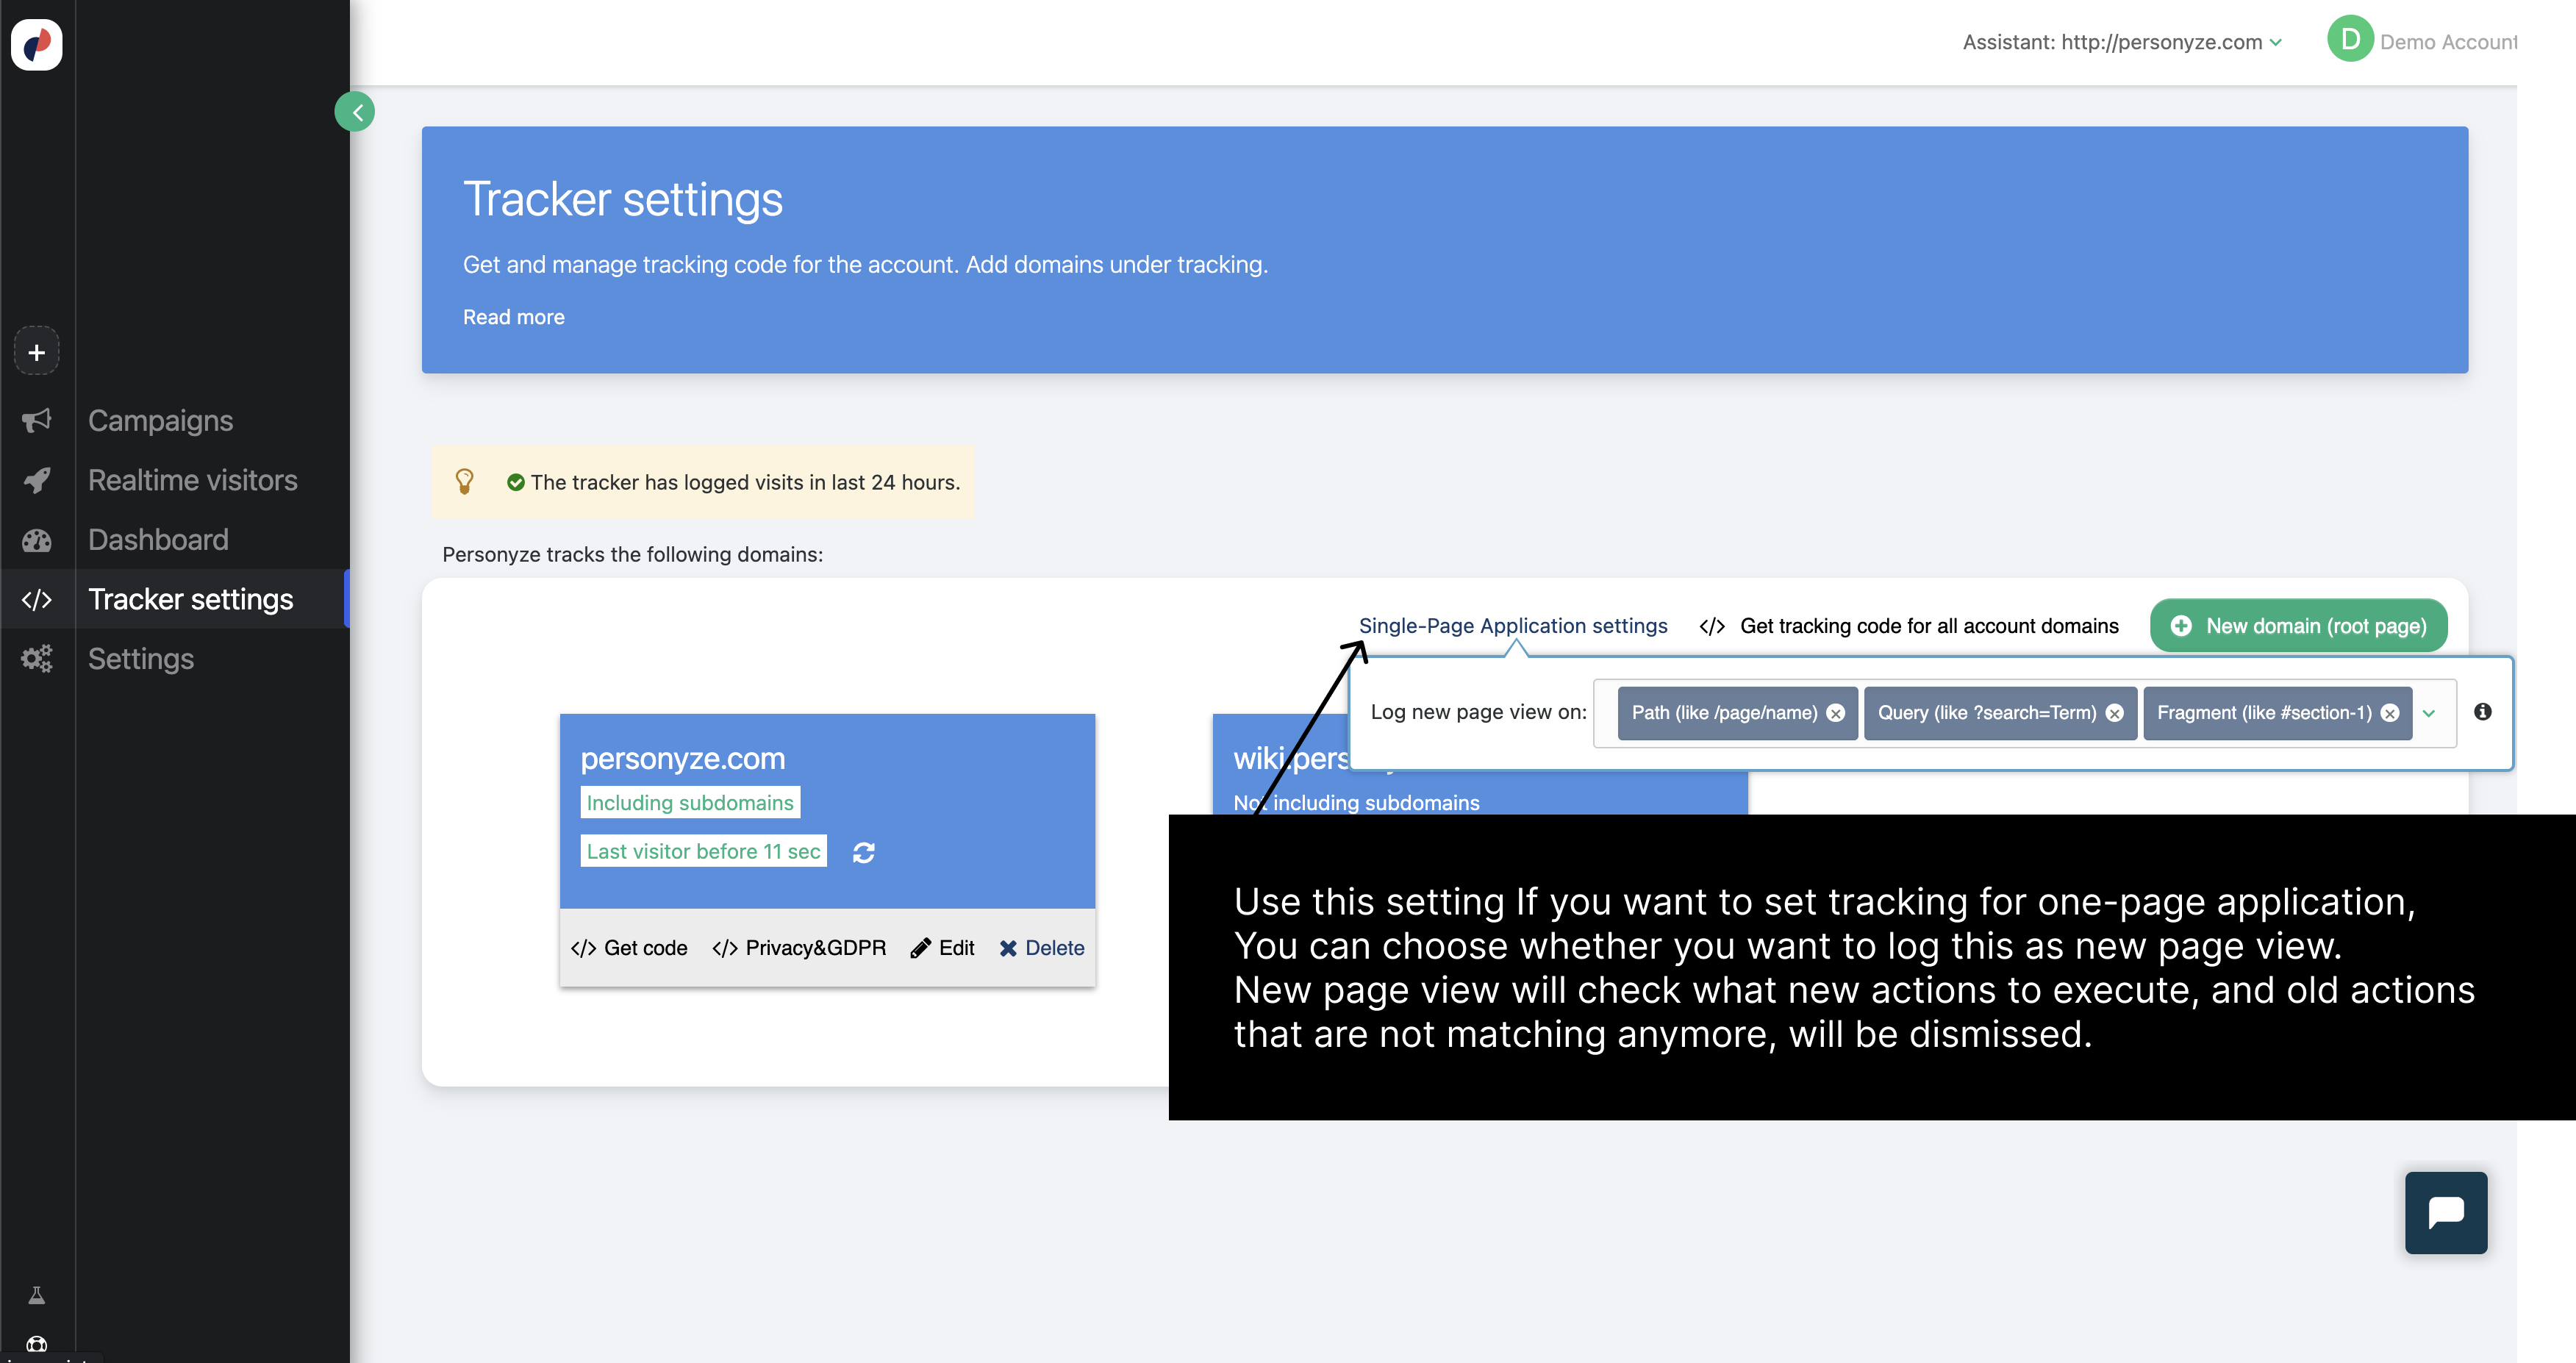
Confirm correct installation by checking the activity indicator below your domain name in the Personyze account. It displays the last recorded activity from your tracked domains.When was the last time we have logged an activity from this
domain name. You can use it as an indicator that tells you if you have installed the
tracking code correctly.
Personalizing One-Page Applications (SPAs)
UI Path: Account Settings > General > Tracker Settings
For one-page applications (SPAs) where URLs change without a page refresh, Personyze allows personalization through Single Page Application tracking.
- Switch the “Single Page Application” toggle to On.
- This ensures Personyze logs URL changes as new page views, triggering new personalization actions and dismissing irrelevant ones automatically.

Cross-Domain Tracking
Personyze enables automatic tracking of user activities across multiple domains. This ensures you have comprehensive insights into visitor behaviors throughout all of your tracked websites.
For detailed instructions on setting up cross-domain tracking within Personyze, visit our internal guide:
Cross-Domain Tracking Guide.
