This wizard guides you through uploading your content catalog, setting up content interactions monitoring to assign visitor interest, and designing the look, feel, and placement of your recommendation widgets.
These content recommendations are able to be embedded anywhere on your site, and multiple recommendation widgets can be placed on a single page, each with its own algorithm.
The algorithms included in our solution cover every recommendation need you may have, including more from this interest, more from this author, more from your favorite authors, most popular based on your mixed interests, etc.
Steps
Content Catalog
Here is where you upload your content catalog (if not already uploaded). Your account only has one catalog, so if you’ve already done this, you don’t need to worry about it.
Personyze uses raw data to synchronize with your content catalog/feed, so it doesn’t matter what content management platform you use. All you need is a spreadsheet with your content data, or a live feed such as an RSS feed or a spreadsheet URL.
If your content data changes frequently, you’ll want to use a feed. If it doesn’t, then a single spreadsheet upload will work.
The more data your feed contains, the more rich and dynamic your content recommendations will be. The most essential things to include are:
- Content Title
- Content Page URL
- Content Image URL
- Author
- Content Description
- Interest Categories for each article (click here to read more about interests)
- Content ID (SKU, or similar unique ID), if applicable
You’ll also need to tell Personyze which column corresponds to which value, in your Personyze content feed.
Tracking Content Interaction
How does Personyze know what a visitor is interested in? The answer is by tracking content interaction events. This allows Personyze to know both what individual visitors are interested in, as well as the general trends among all visitors, or visitors of various demographics, etc.
What is a content interaction event? The most common examples include content views, favoriting or saving, sharing, and custom events like converting by clicking through to products from the content.
In order for Personyze to track these events, you have to tell it how to know when a visitor is viewing a piece of content, when a visitor is adding to favorites, etc.
Optional Tracking methods can be the content ID or content URL or, in some cases, even the content title if they are unique.
Note: You only have to do this once, and then the same logic is applied to all of your content pages. You can also request that the Personyze team do it for you, as part of onboarding with any package.


If you want to set this up yourself, you can read more about setting up interaction event tracking here.
Content
This is where you create the actual display widget design which you will use to show the recommendations on your site. The wizard includes templates, which you can then customize to whatever extent is necessary to match your site and branding, using the template editor. All recommendation templates are responsive, by default.


You will also be prompted here to choose the algorithm which makes the most sense for your current application. You can read more about the various content recommendation algorithms here

Filters:
You can apply filters to the recommended items
For B2B, you may want to use filters to recommend only content from the visitor’s industry.
Or you may want to exclude content that the visitor has already read.

This is another aspect of your account setup that can be outsourced to the Personyze team. Once you create the recommendation design(s) that look good on your site, they can be used to show any algorithm on any page, with the same design.
Target
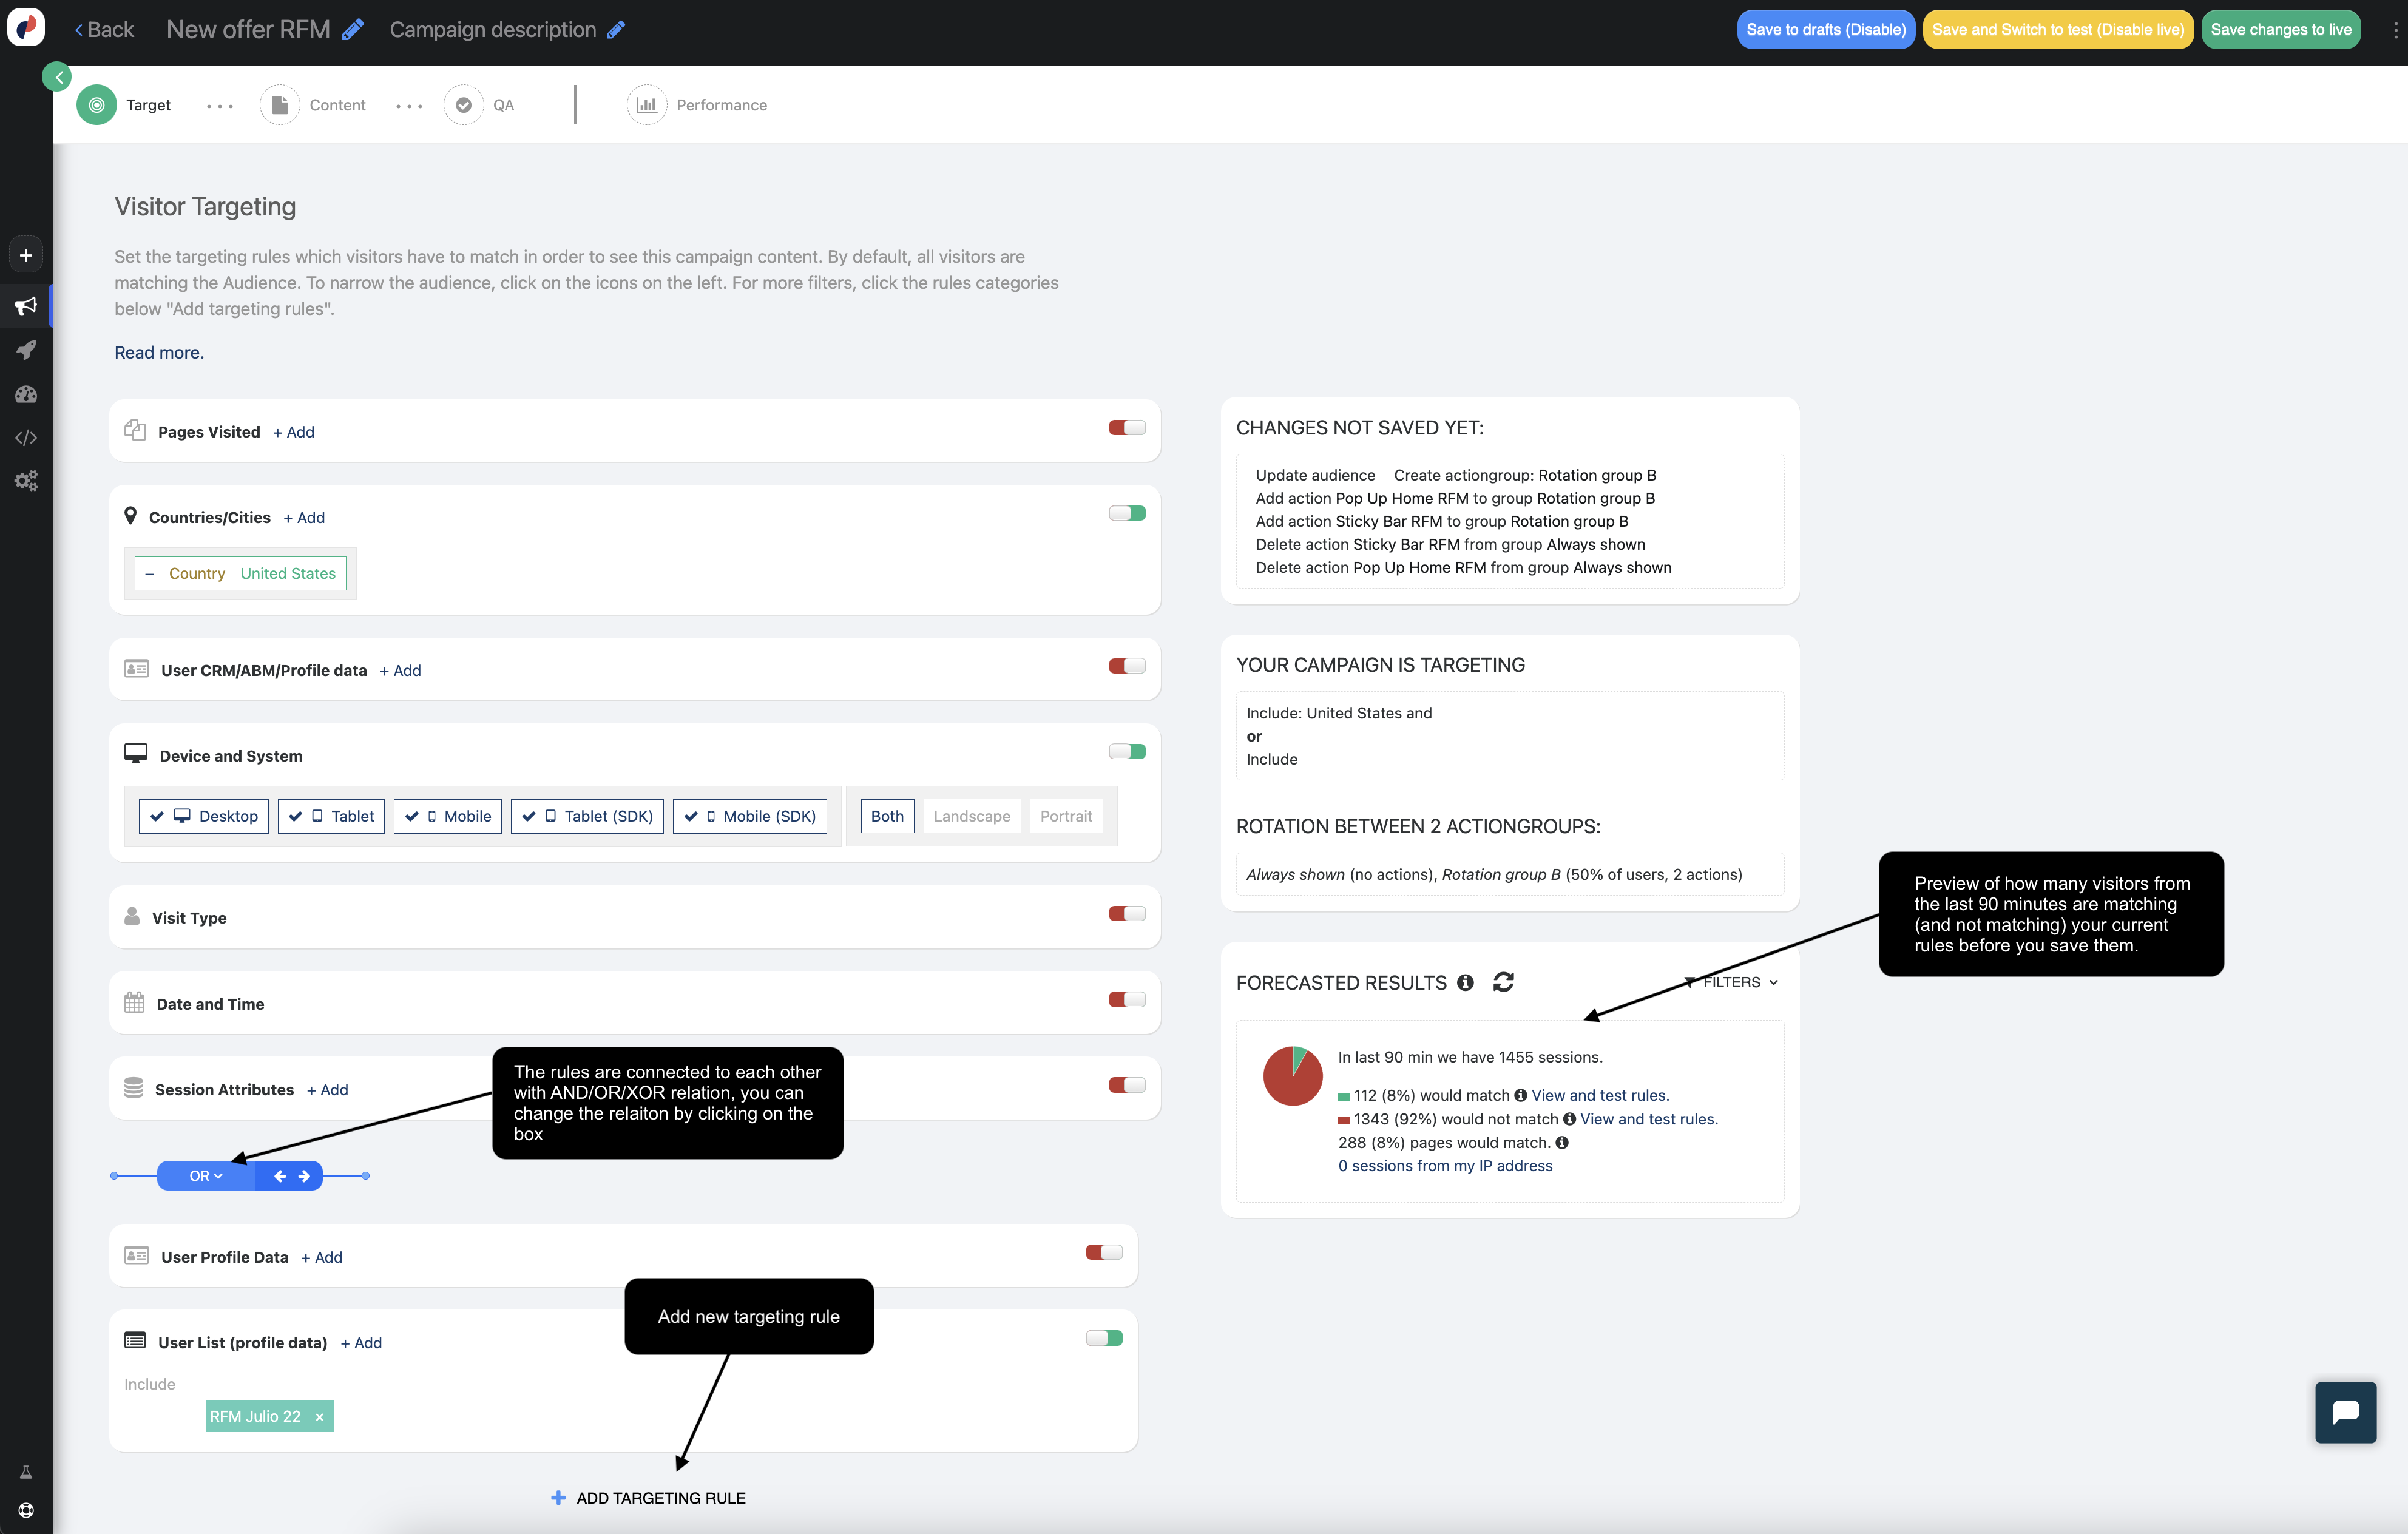
If you want your recommendations to only be displayed to a certain targeted audience, you can insert targeting rules here. For instance, you may only want to show “View It Again” recommendations to users who have been to the site and viewed content before.
This portion of the wizard is the same as any other targeting wizard, and gives you access to the full array of targeting parameters which Personyze is capable of, to limit the audience of this recommendation campaign.

QA
It may take a few days for the recommendations to show; you can view the recommendations data we have ready in the dashboard.
When you build the campaign, you are advised to use a fall-back algorithm that always shows results such as recently added content; this will allow you to preview the recommendation widget on your site.

QAing your recommendation campaign is much the same as QAing any other type of campaign in Personyze. You can click here to read more about the QA process.
