
Beyond the online transactions Personyze tracks in real time, you can feed it your past or offline transactions. Because recommendations are built on transaction statistics, uploading history enhances your recommendations and lets you leverage sales from physical stores, phone orders, or any channel Personyze doesn’t see on-site.
Why upload past transactions?
Usually to give a new Personyze account a jump-start. Otherwise recommendations take a while to become relevant, because they build up as Personyze tracks customer interactions from the day you install it. Feeding in which users bought which products in the past reaches relevance much faster.
Why upload offline transactions?
To enhance recommendations with sales Personyze can’t observe on your site — in-store purchases, POS data, phone orders. Because this is usually an ongoing source rather than a one-time load, it’s best delivered as a recurring feed (RSS/Atom, a URL feed, or SFTP) that keeps updating.
What each row needs
Each row says who bought what, when. A row needs a time, a product, and one way of saying who bought it:
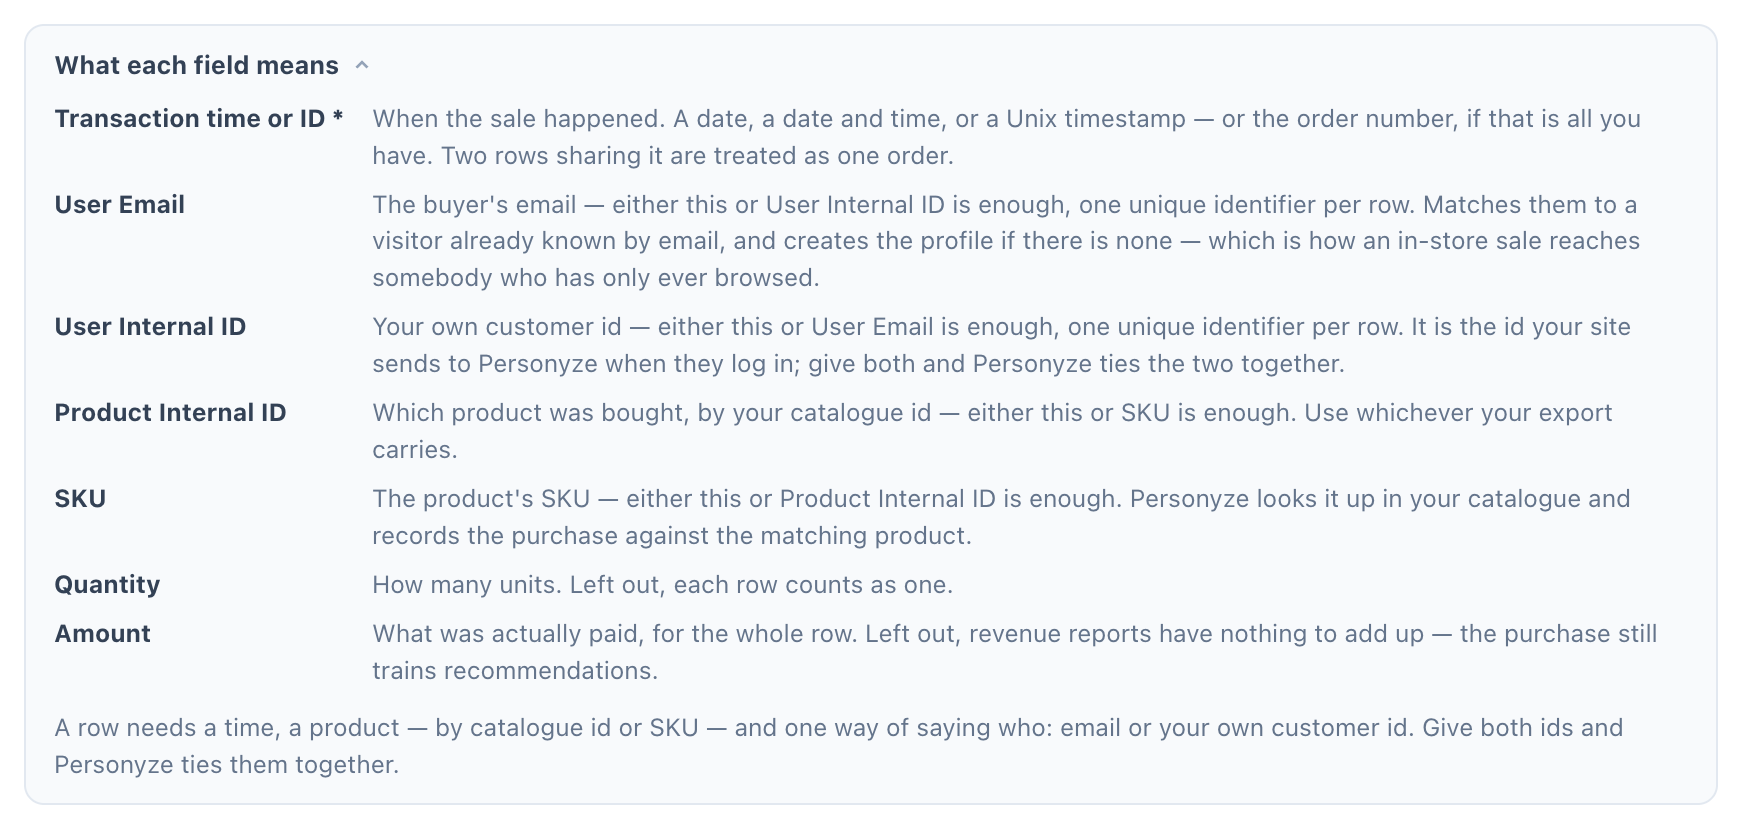
- Transaction time or ID (required) — the date/time of the purchase, or an order ID. If multiple items share one order ID, Personyze learns they were bought together (and recommends them together once that happens often enough). For a timestamp use a standard date-time such as
2026-07-21 14:30:00or a Unix epoch like1751389200. - User Email or User Internal ID (one is required) — the key that ties every transaction to one customer. Email doubles as the key for email recommendation campaigns (e.g. cross-sell emails based on what was purchased). A CRM/internal ID works just as well; you only need one of the two.
- Product Internal ID or SKU (one is required) — which product was bought. A Product Internal ID must match how your product catalog is keyed; a SKU is looked up in the catalog, and the purchase is recorded against the product that carries it. Use whichever your export has.
- Quantity and Amount (optional) — Quantity is how many units; left out, each row counts as one. Amount is what was actually paid for the row. Without it the purchase still trains recommendations, but revenue reports have nothing to add up. The title and other product details always come from your catalog.
📥 Download an example file (CSV). The wizard recognizes each of its columns by name, and its five rows cover every case: two items in one order, a buyer known by both email and customer ID, a row with only a customer ID and a SKU, and a Unix timestamp.
Where to upload it
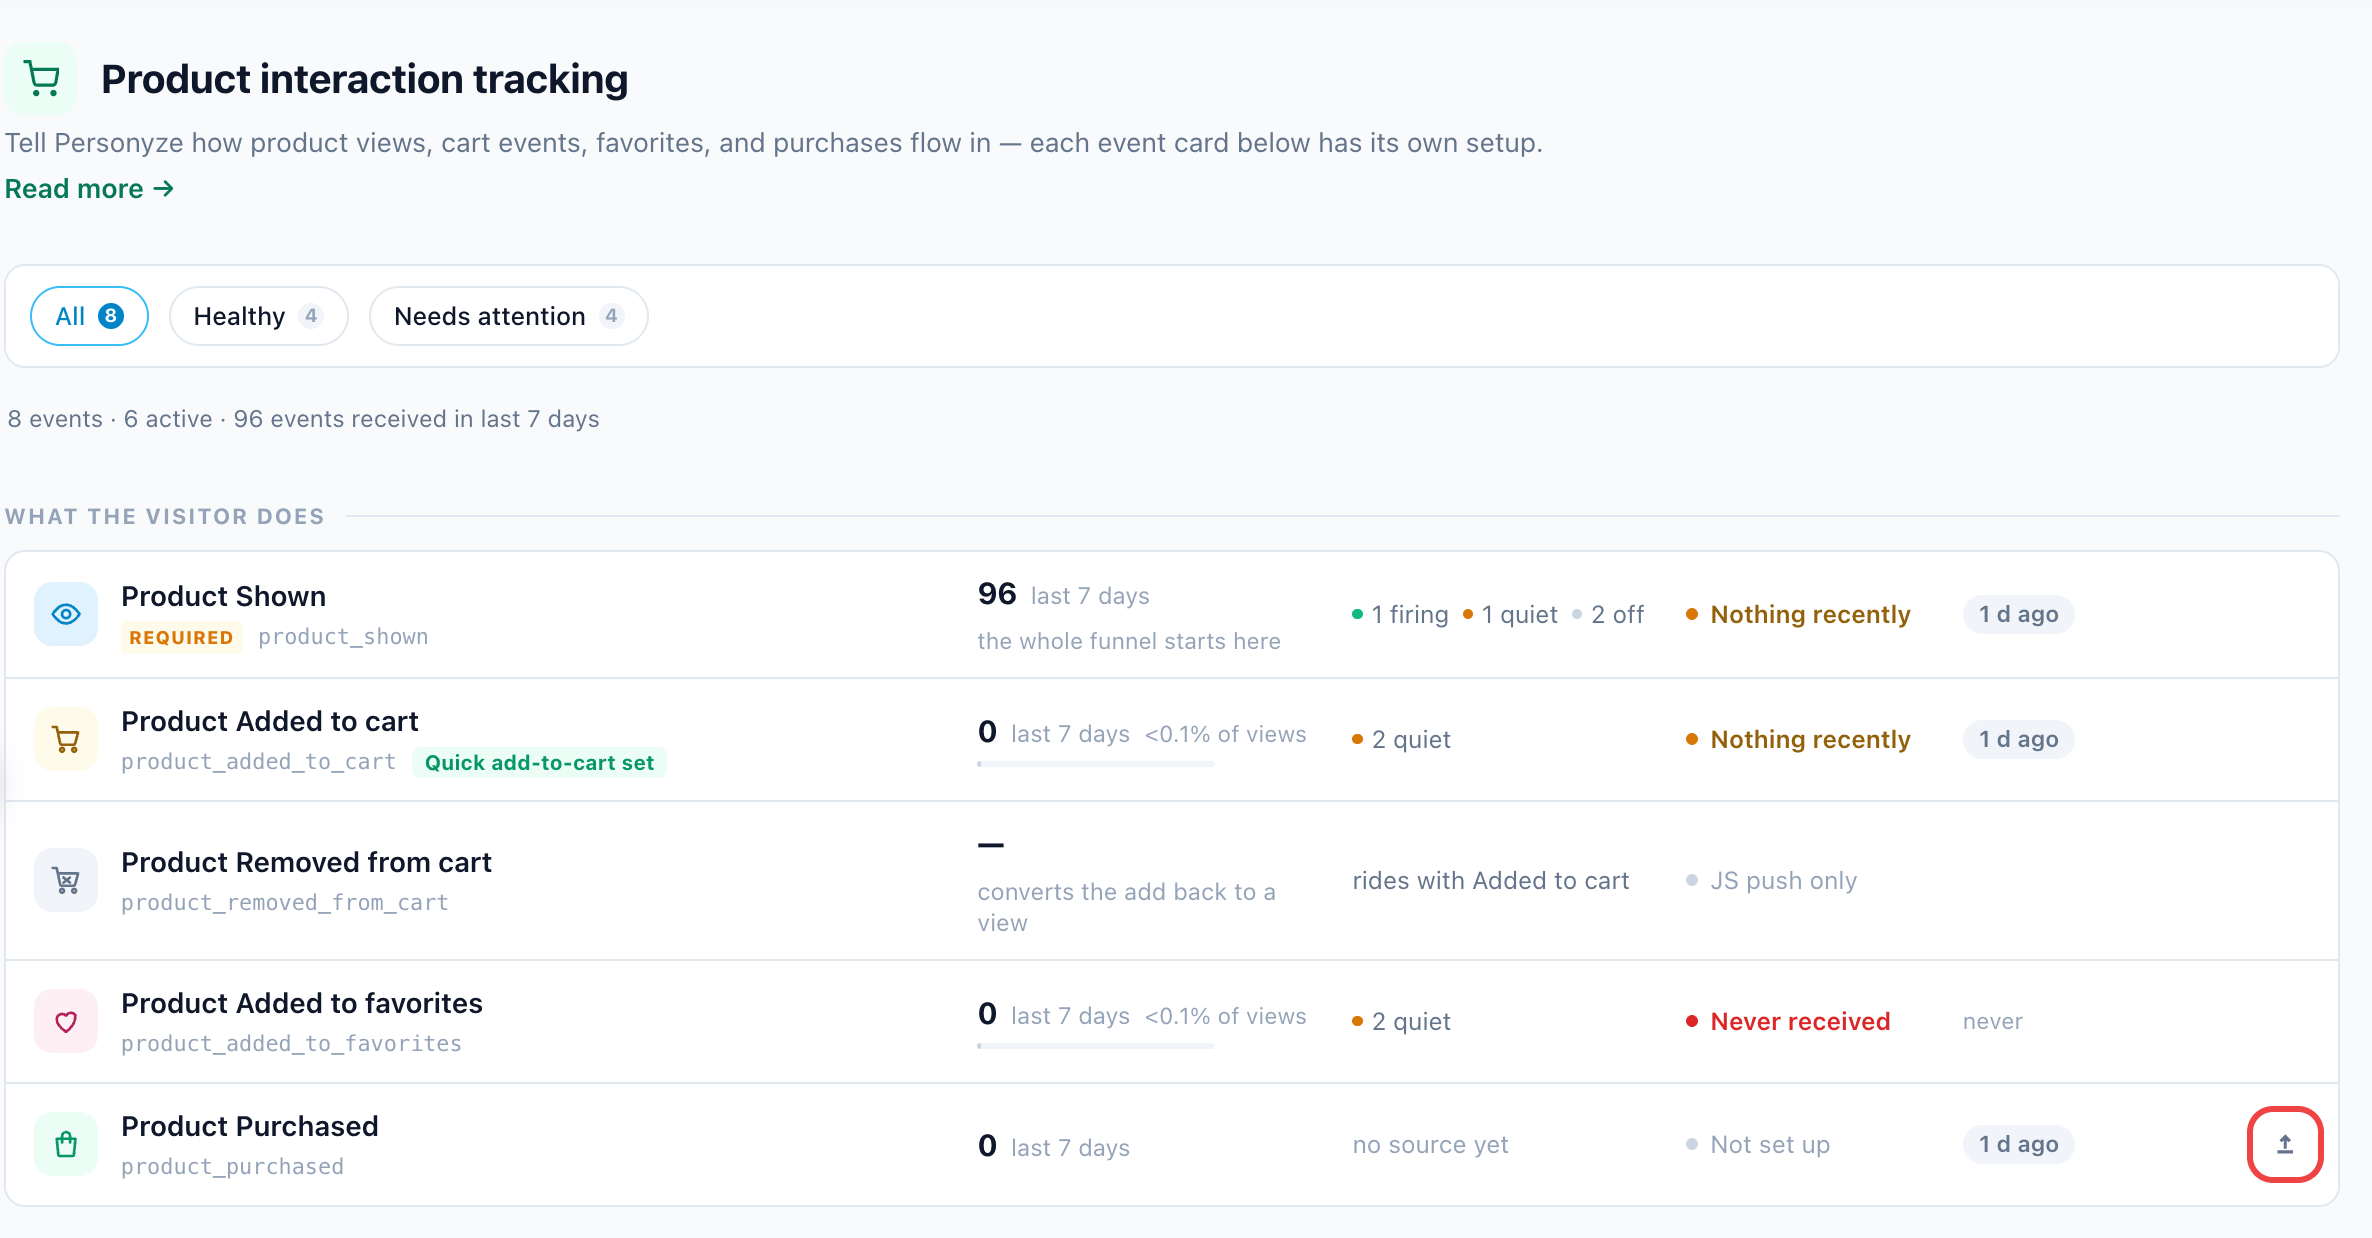
Go to Settings → Recommendation setup → Product Tracking. On the Product Purchased row, click the upload button (Upload past orders). The wizard that opens has three steps.
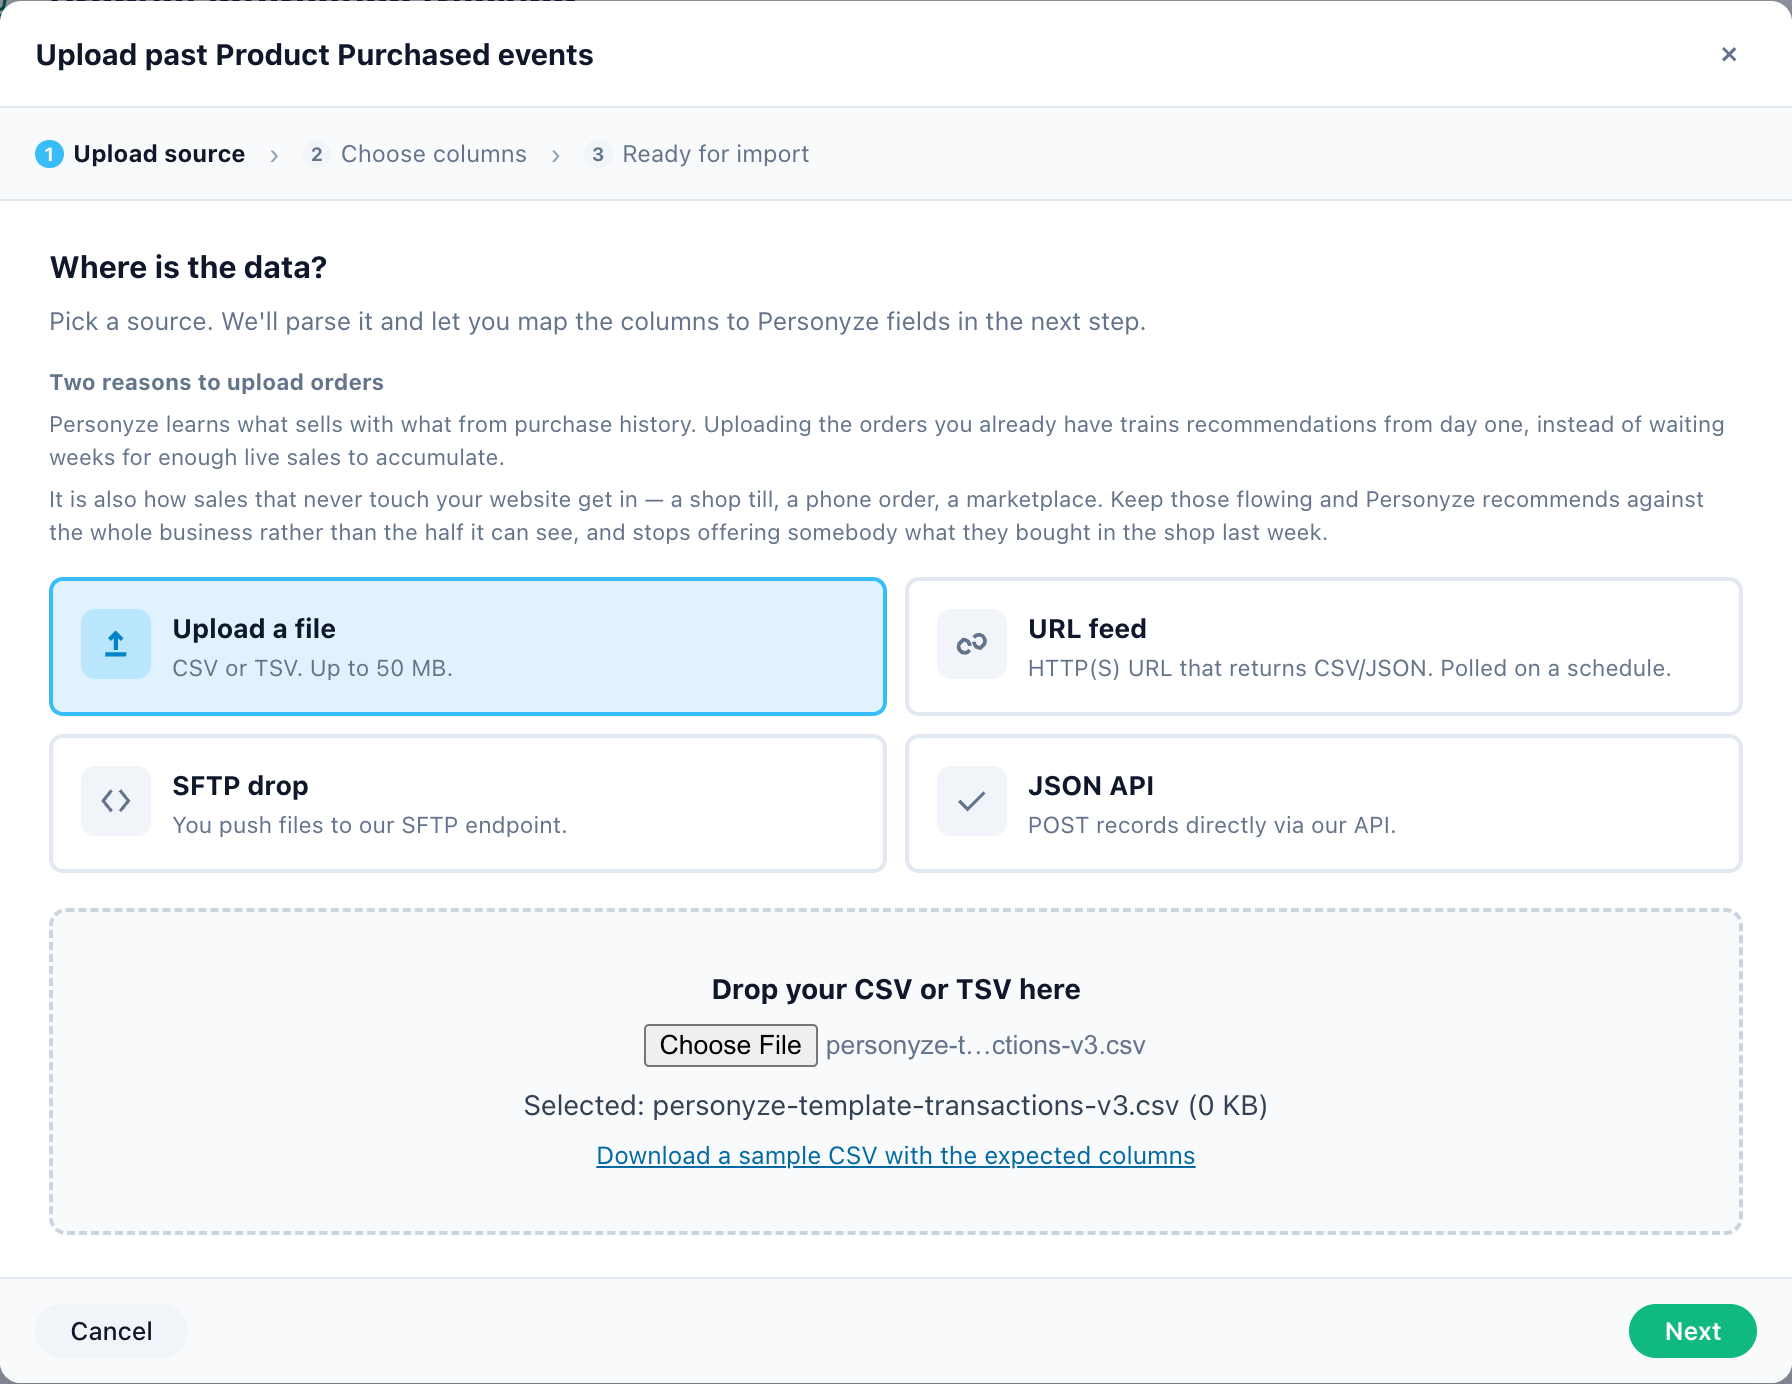
Step 1 — Upload source. Choose how the data reaches Personyze:
- Upload a file — a CSV or TSV from your computer (up to 50 MB). A one-off snapshot; best for a historical back-fill.
- URL feed — an HTTP(S) URL that returns CSV/JSON (or an RSS/Atom feed). Personyze polls it on a schedule, so new transactions keep flowing. Best for offline sales that keep coming.
- SFTP drop — upload your file into the
/uploadfolder onsftp://sftp.personyze.com; it appears in the wizard once detected. Best for large nightly exports. Set your own credentials up in a couple of clicks with Set up SFTP access — see Getting your SFTP credentials. - JSON API — POST records directly from your backend to the transactions endpoint (
social_site_db_products_interactions_archive). See the API docs.
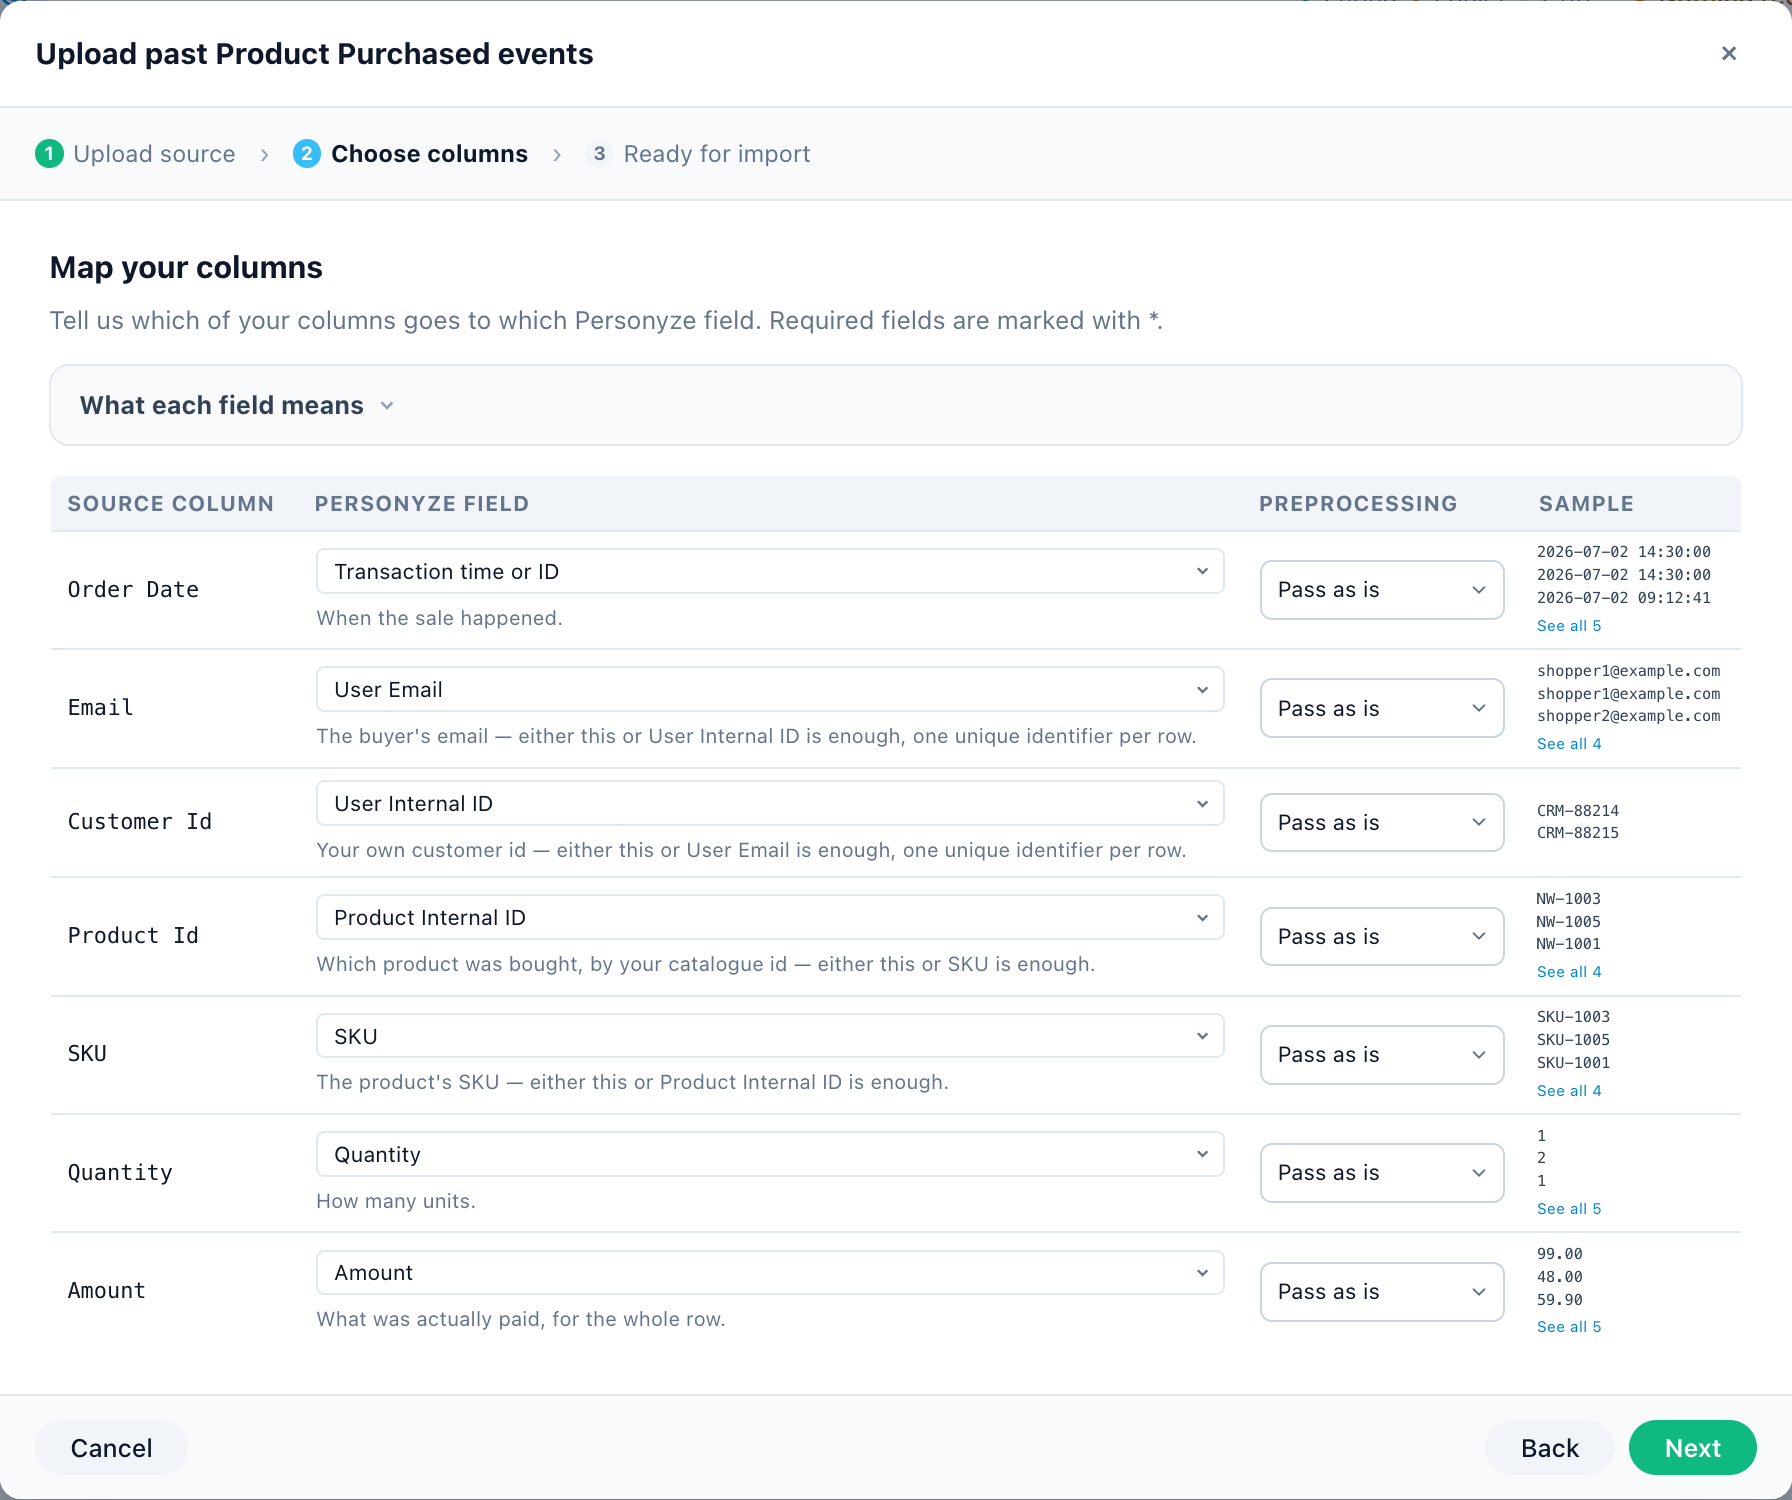
Step 2 — Choose columns. Personyze reads your header row and auto-maps what it recognizes; adjust anything it didn’t. Map at least the time (Transaction time or ID), the product (Product Internal ID or SKU) and the buyer (User Email or User Internal ID). Each column has optional preprocessing (for example, stripping a currency symbol or thousands separators) and a live sample preview.
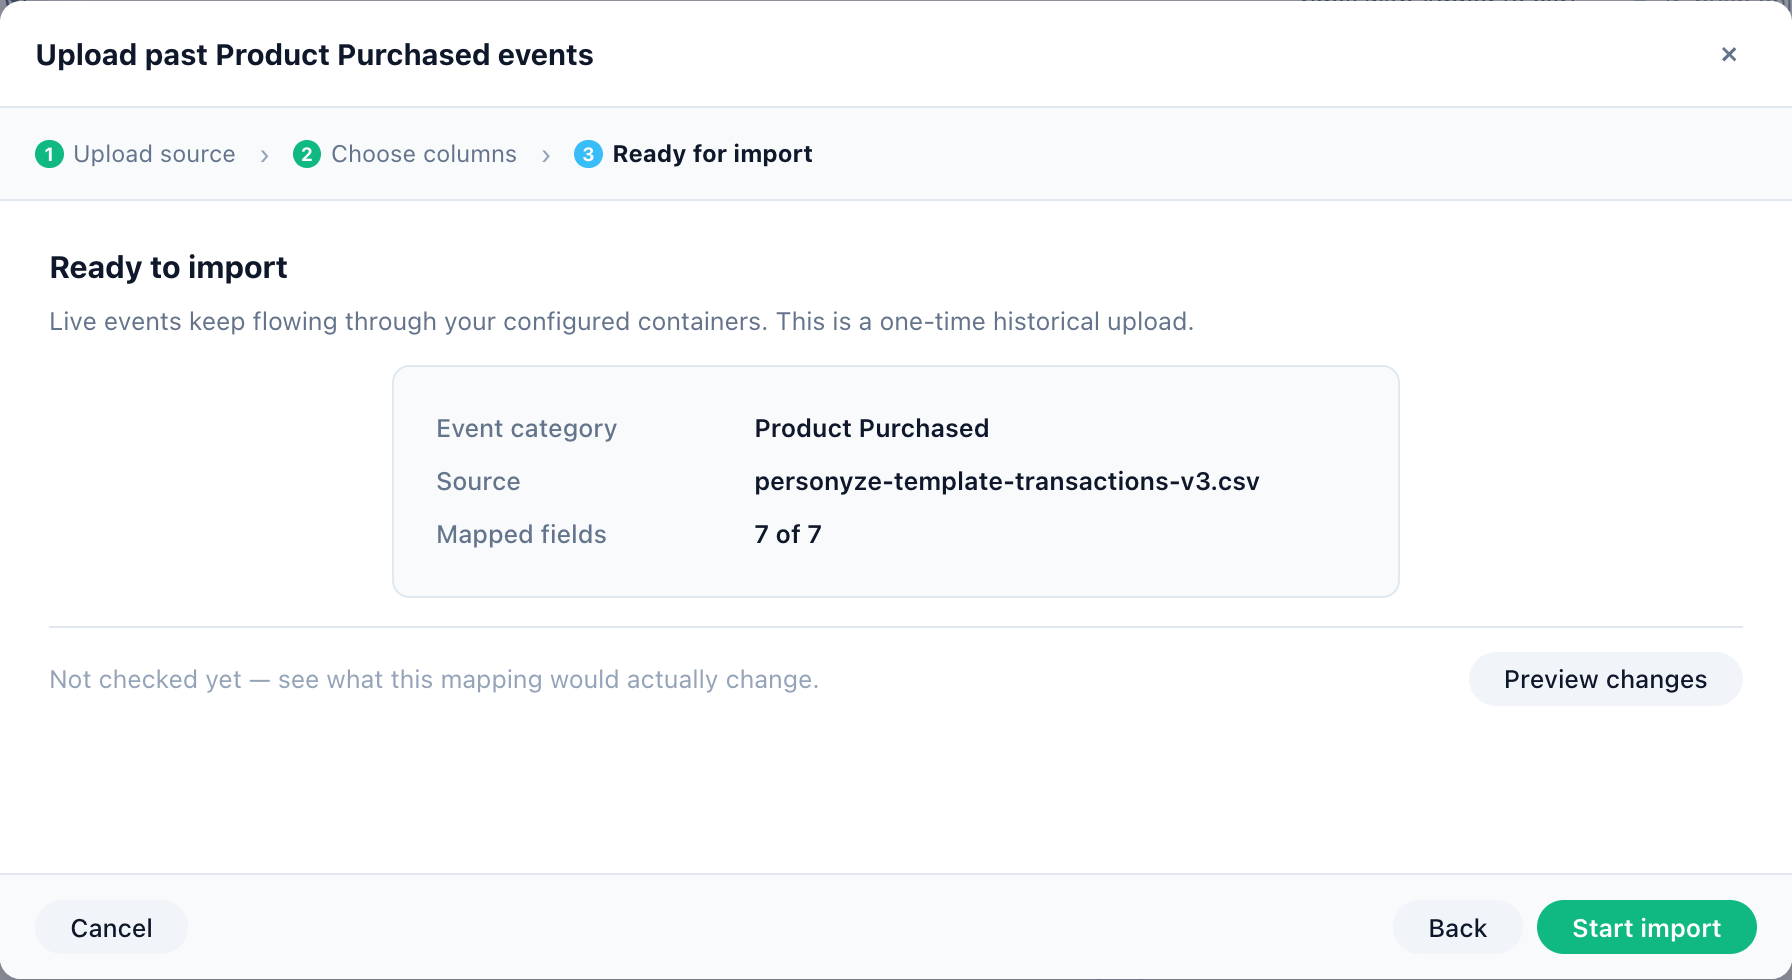
Step 3 — Ready for import. Confirm and start. A file loads once; a URL, SFTP, or API source can be kept as a recurring feed — it re-imports on a schedule and appears under Active feeds on the Product Tracking screen, where you can re-import, edit the mapping, or change its settings at any time. Before you start, Preview changes runs the import as a dry run and tells you how many rows it would add.
Related
- Uploading feeds & data files — the shared import wizard, format rules, and a downloadable transactions template.
- Setting the Product / Content Feed — the catalog these transactions are matched against.