
How to Install Personyze on Your Website
UI path: the Tracking Code icon in the Personyze left menu (</>) → Tracker settings.
Installing Personyze is two steps: tell Personyze which domains you personalize on, then drop the tracking snippet on those pages. Once the snippet is live, Personyze can recognize visitors, track engagement, and deliver personalization.
The Tracker settings page is also your health check. A banner at the top tells you whether the tracker is firing, when the last visit was, across how many domains, and how many visits were logged in the last 90 minutes. Below it, every domain is listed with its last activity and a 90-minute sparkline, and you can filter by All / Active / Idle / Not firing to find domains that have gone quiet.
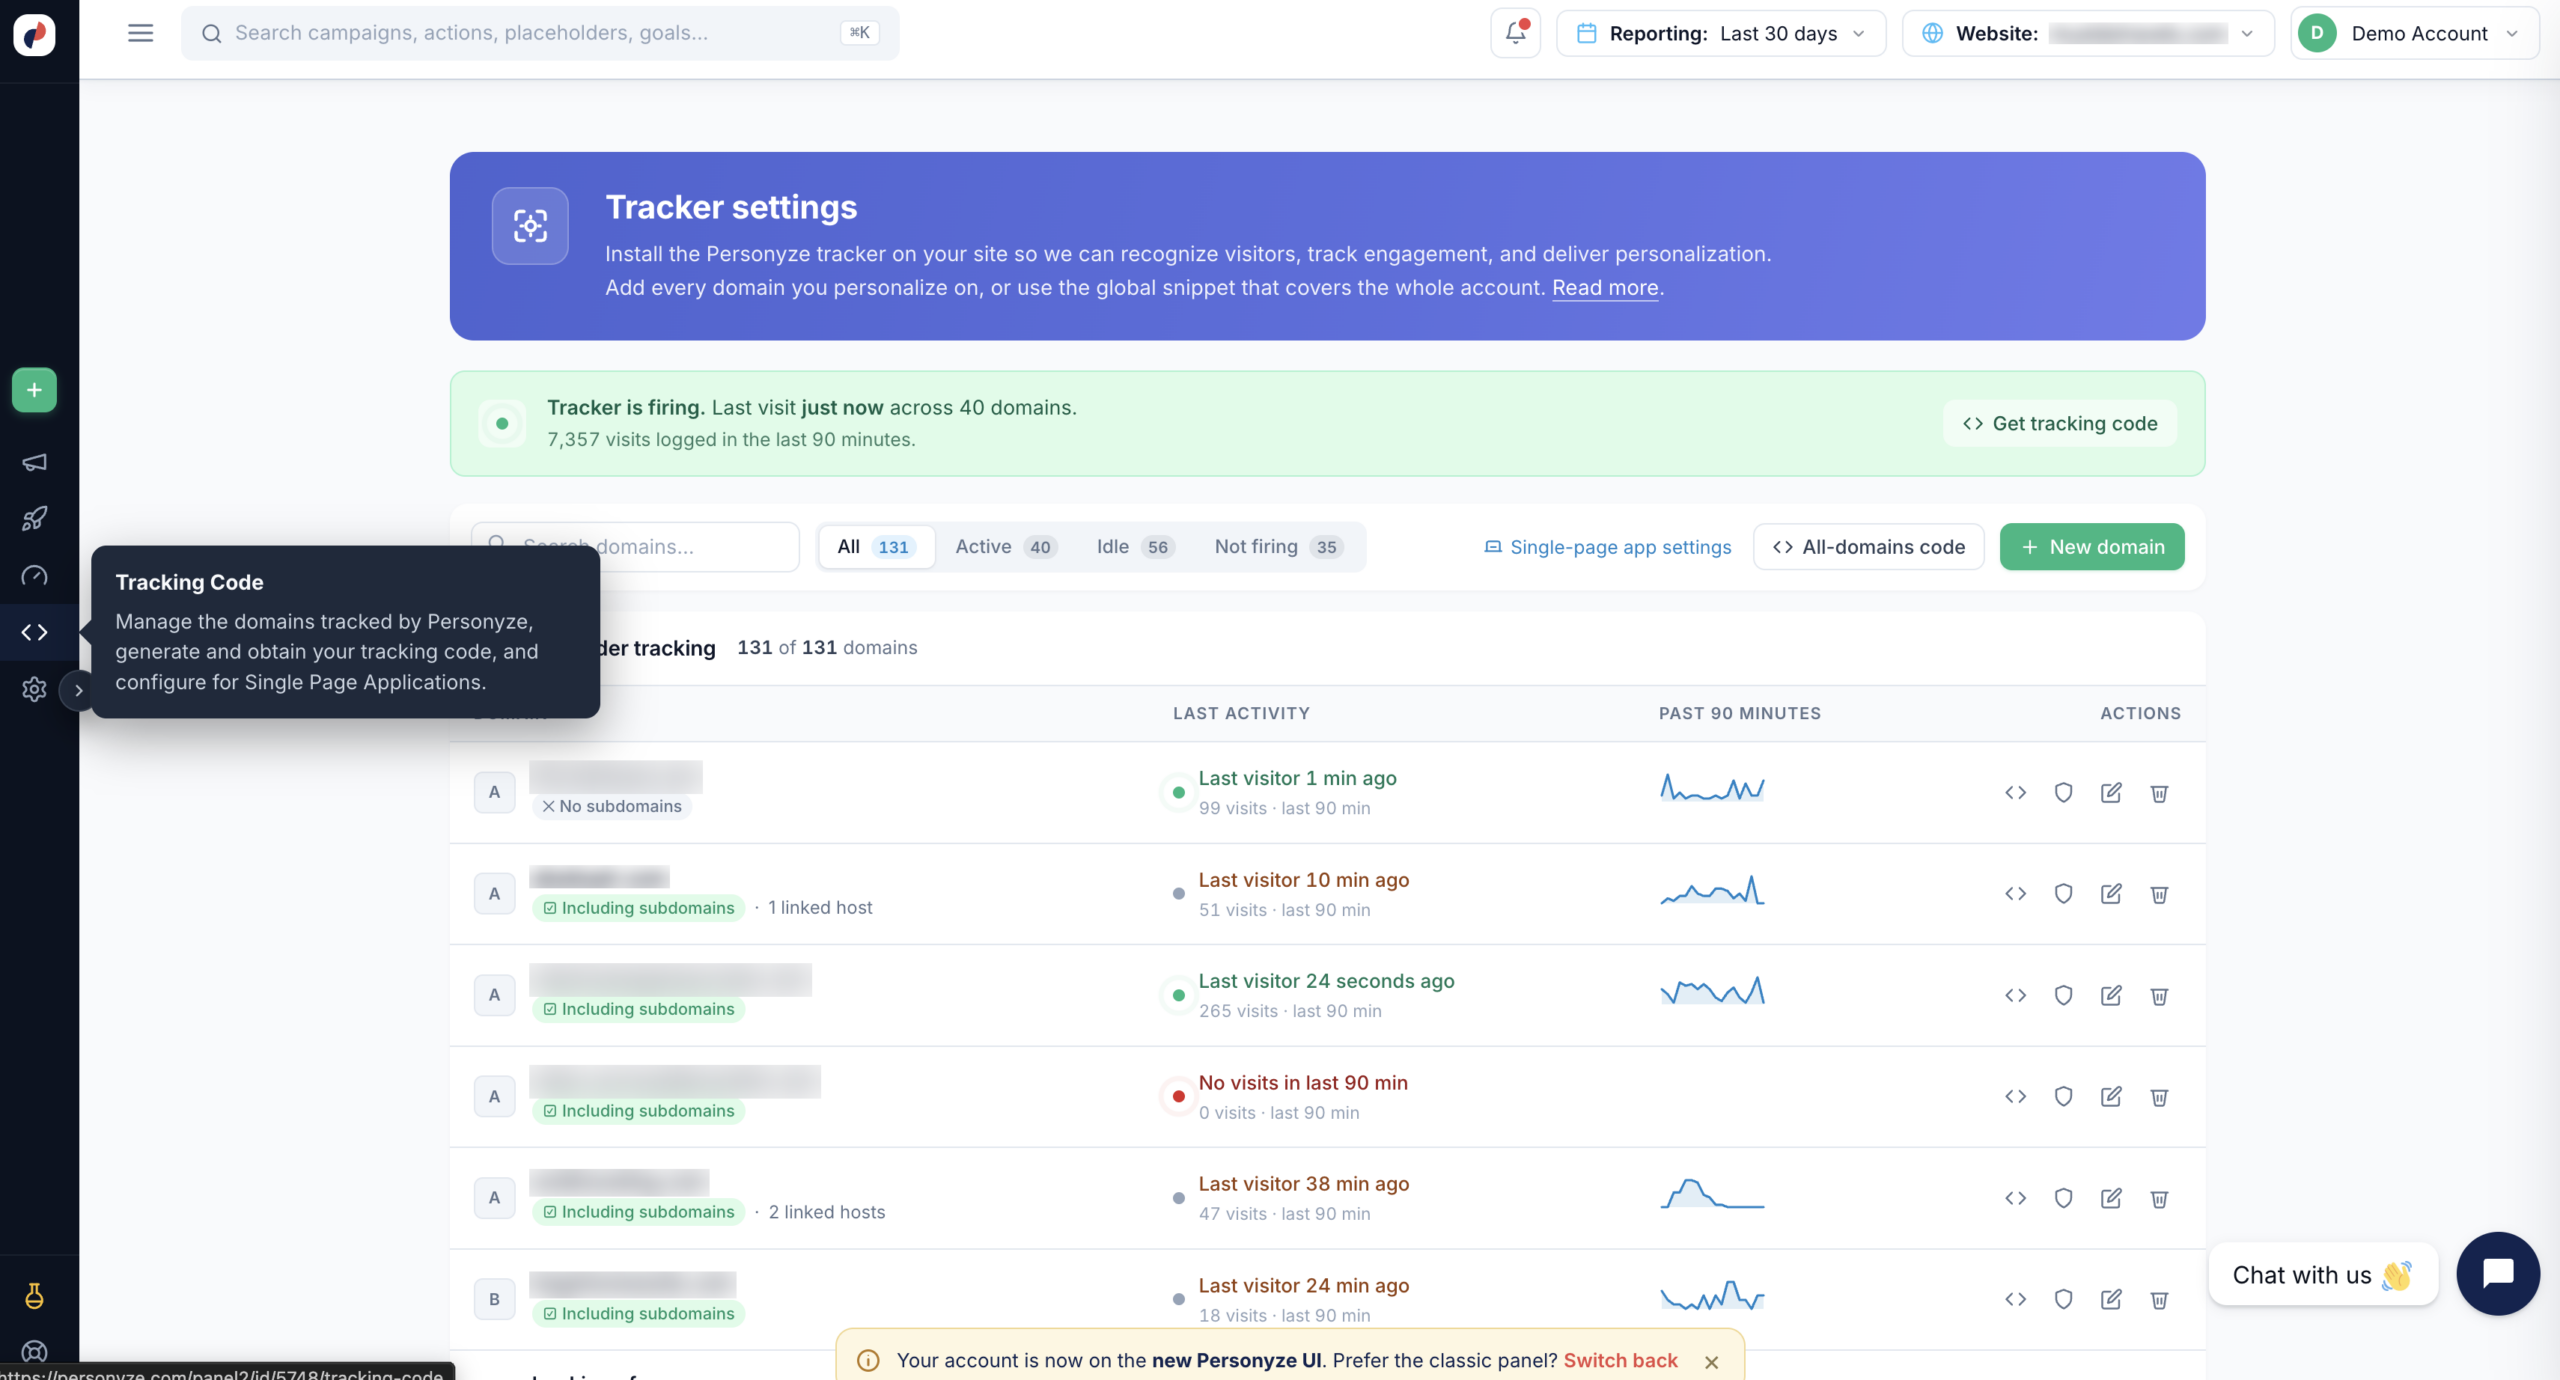
Step 1: Add the Domains You Track
Click + New domain and give Personyze the root page URL — the homepage it will use to detect tracker status. It must be reachable from the public internet.
Two options shape how visitors are counted:
- Include subdomains — track visitors across
*.example.comas one user. Turn this off if your subdomains serve unrelated products and shouldn’t share a visitor profile. - Tracked domains — add any other hostnames that should share the same user profile. Visitors moving between these domains are recognized as one person, which is what you need when, for example, your checkout lives on a separate host.
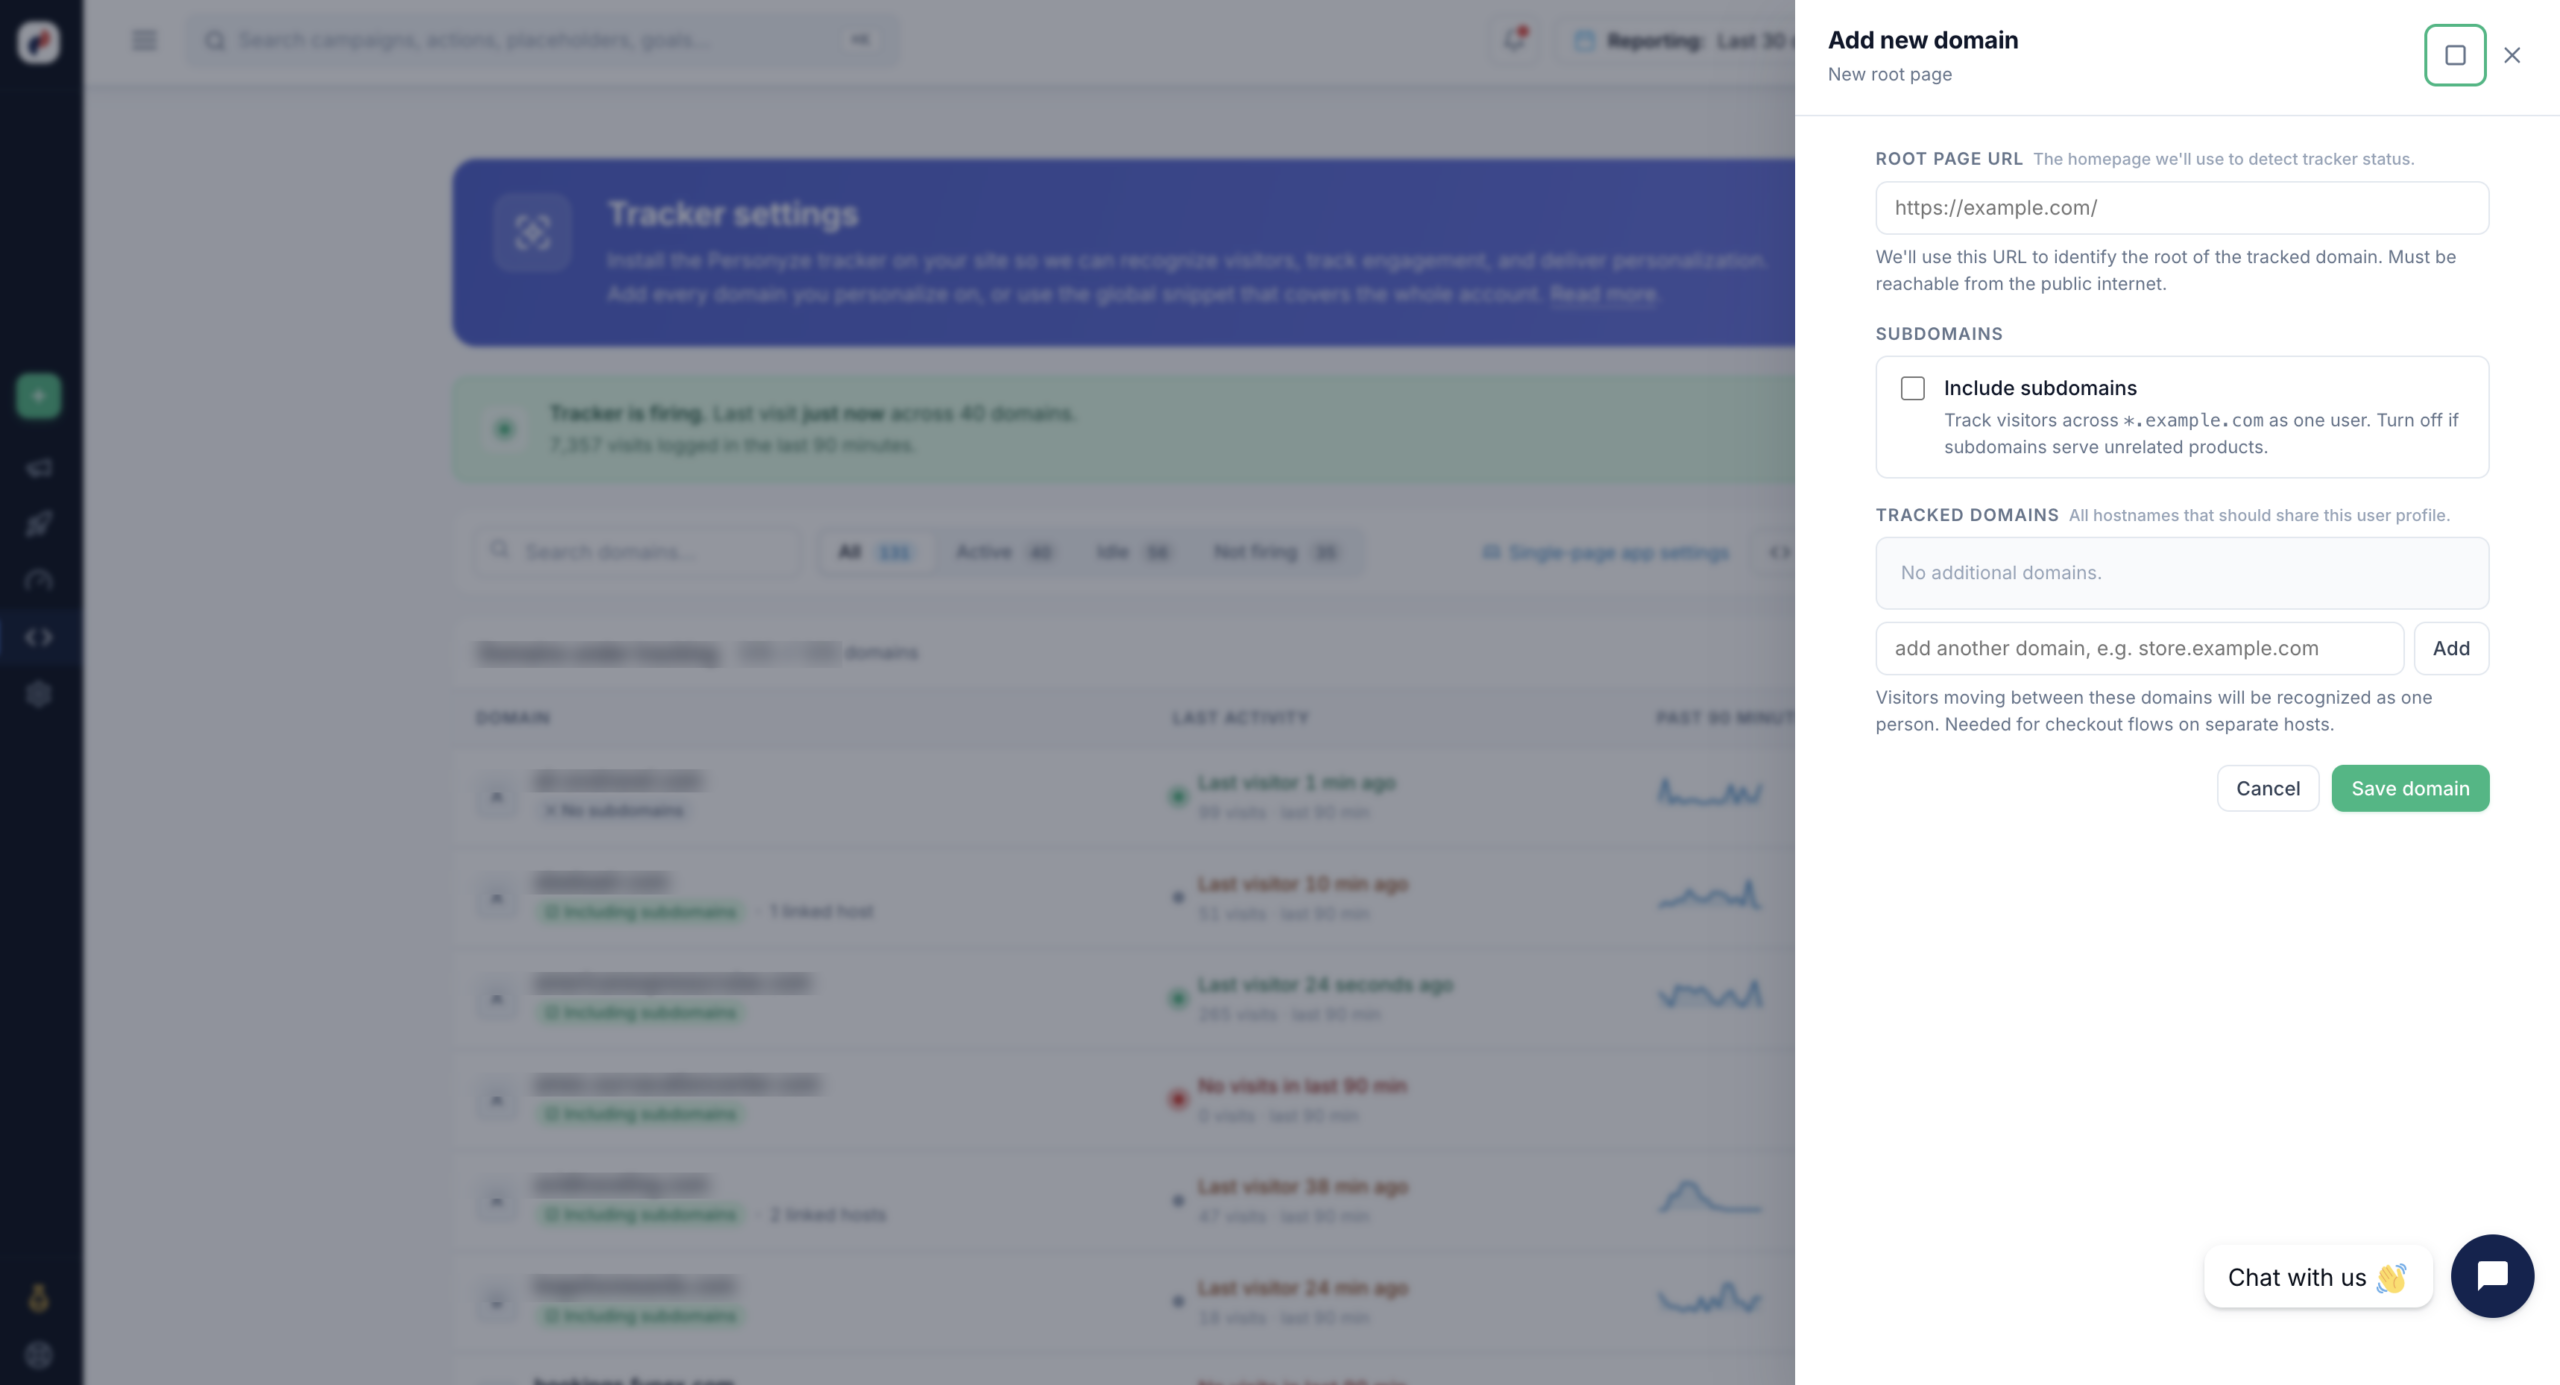
Add every domain you personalize on. If you’d rather cover the whole account with one snippet, use All-domains code instead of adding each domain separately.
Step 2: Install the Tracking Code
Grab the snippet from Get tracking code in the status banner (account-wide), or from the </> icon in a domain’s Actions column to get the snippet scoped to that specific domain.
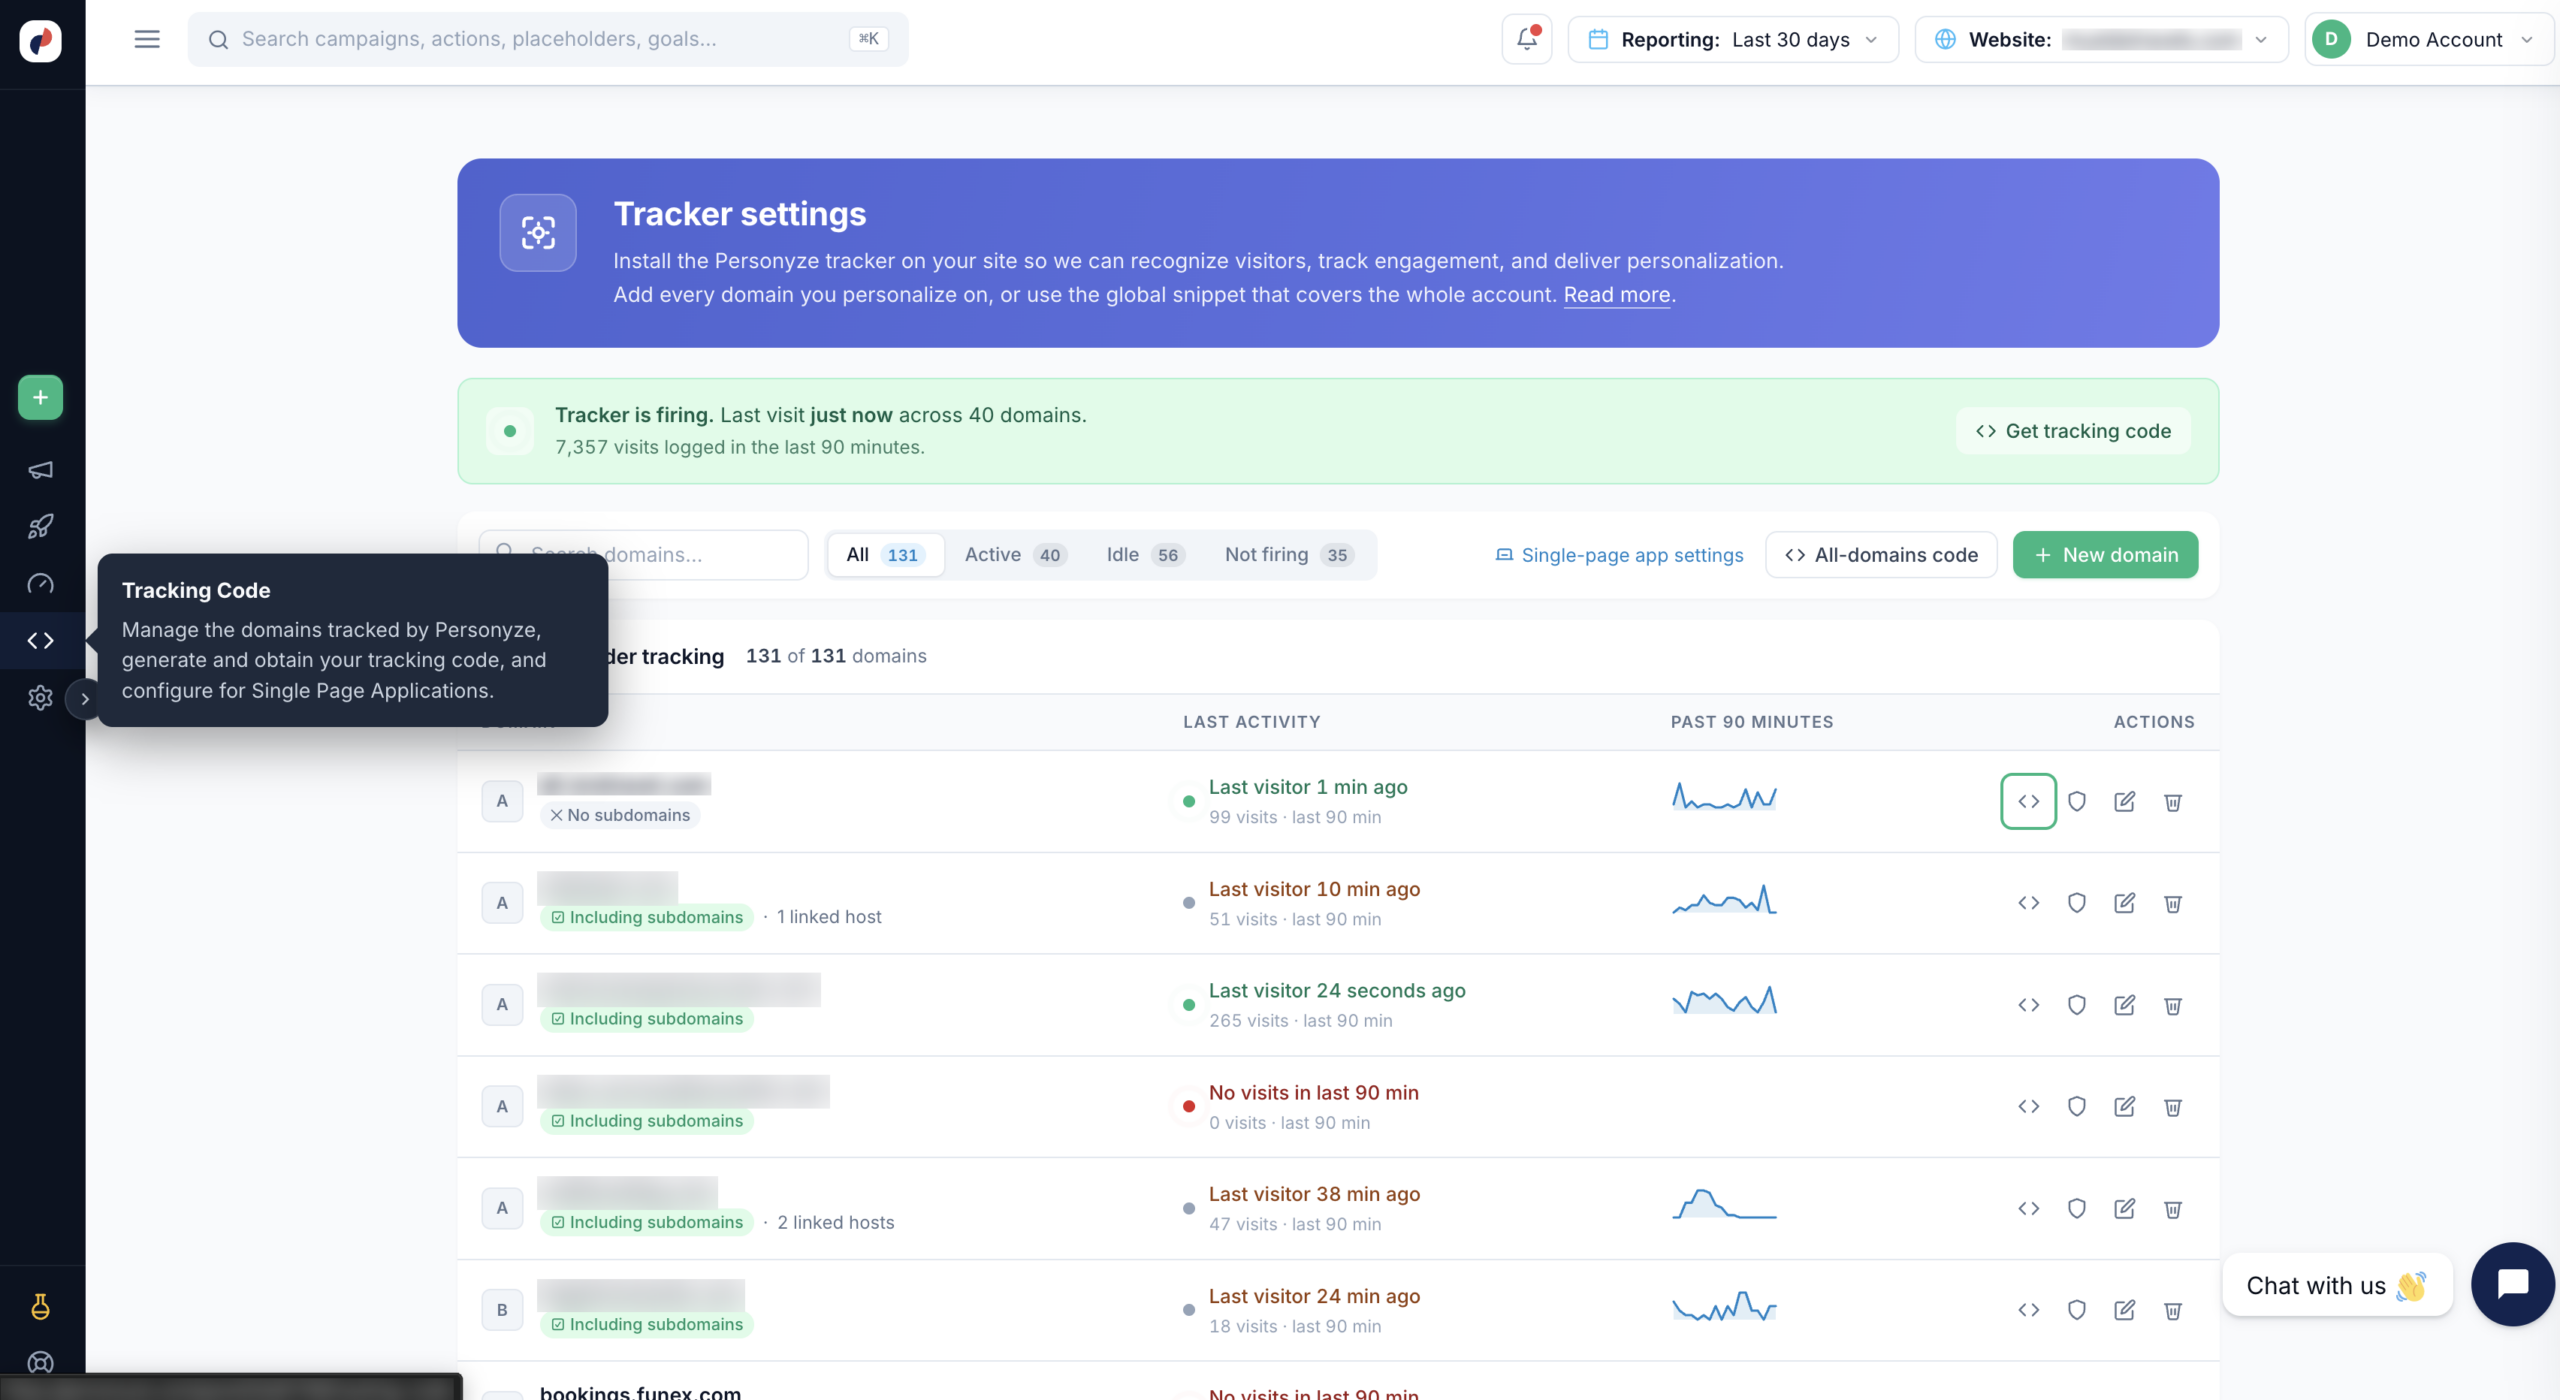
</> button opens the tracking code for that specific domain; the other icons cover privacy settings, editing, and removing the domain.The tracking code panel offers two snippet variants:
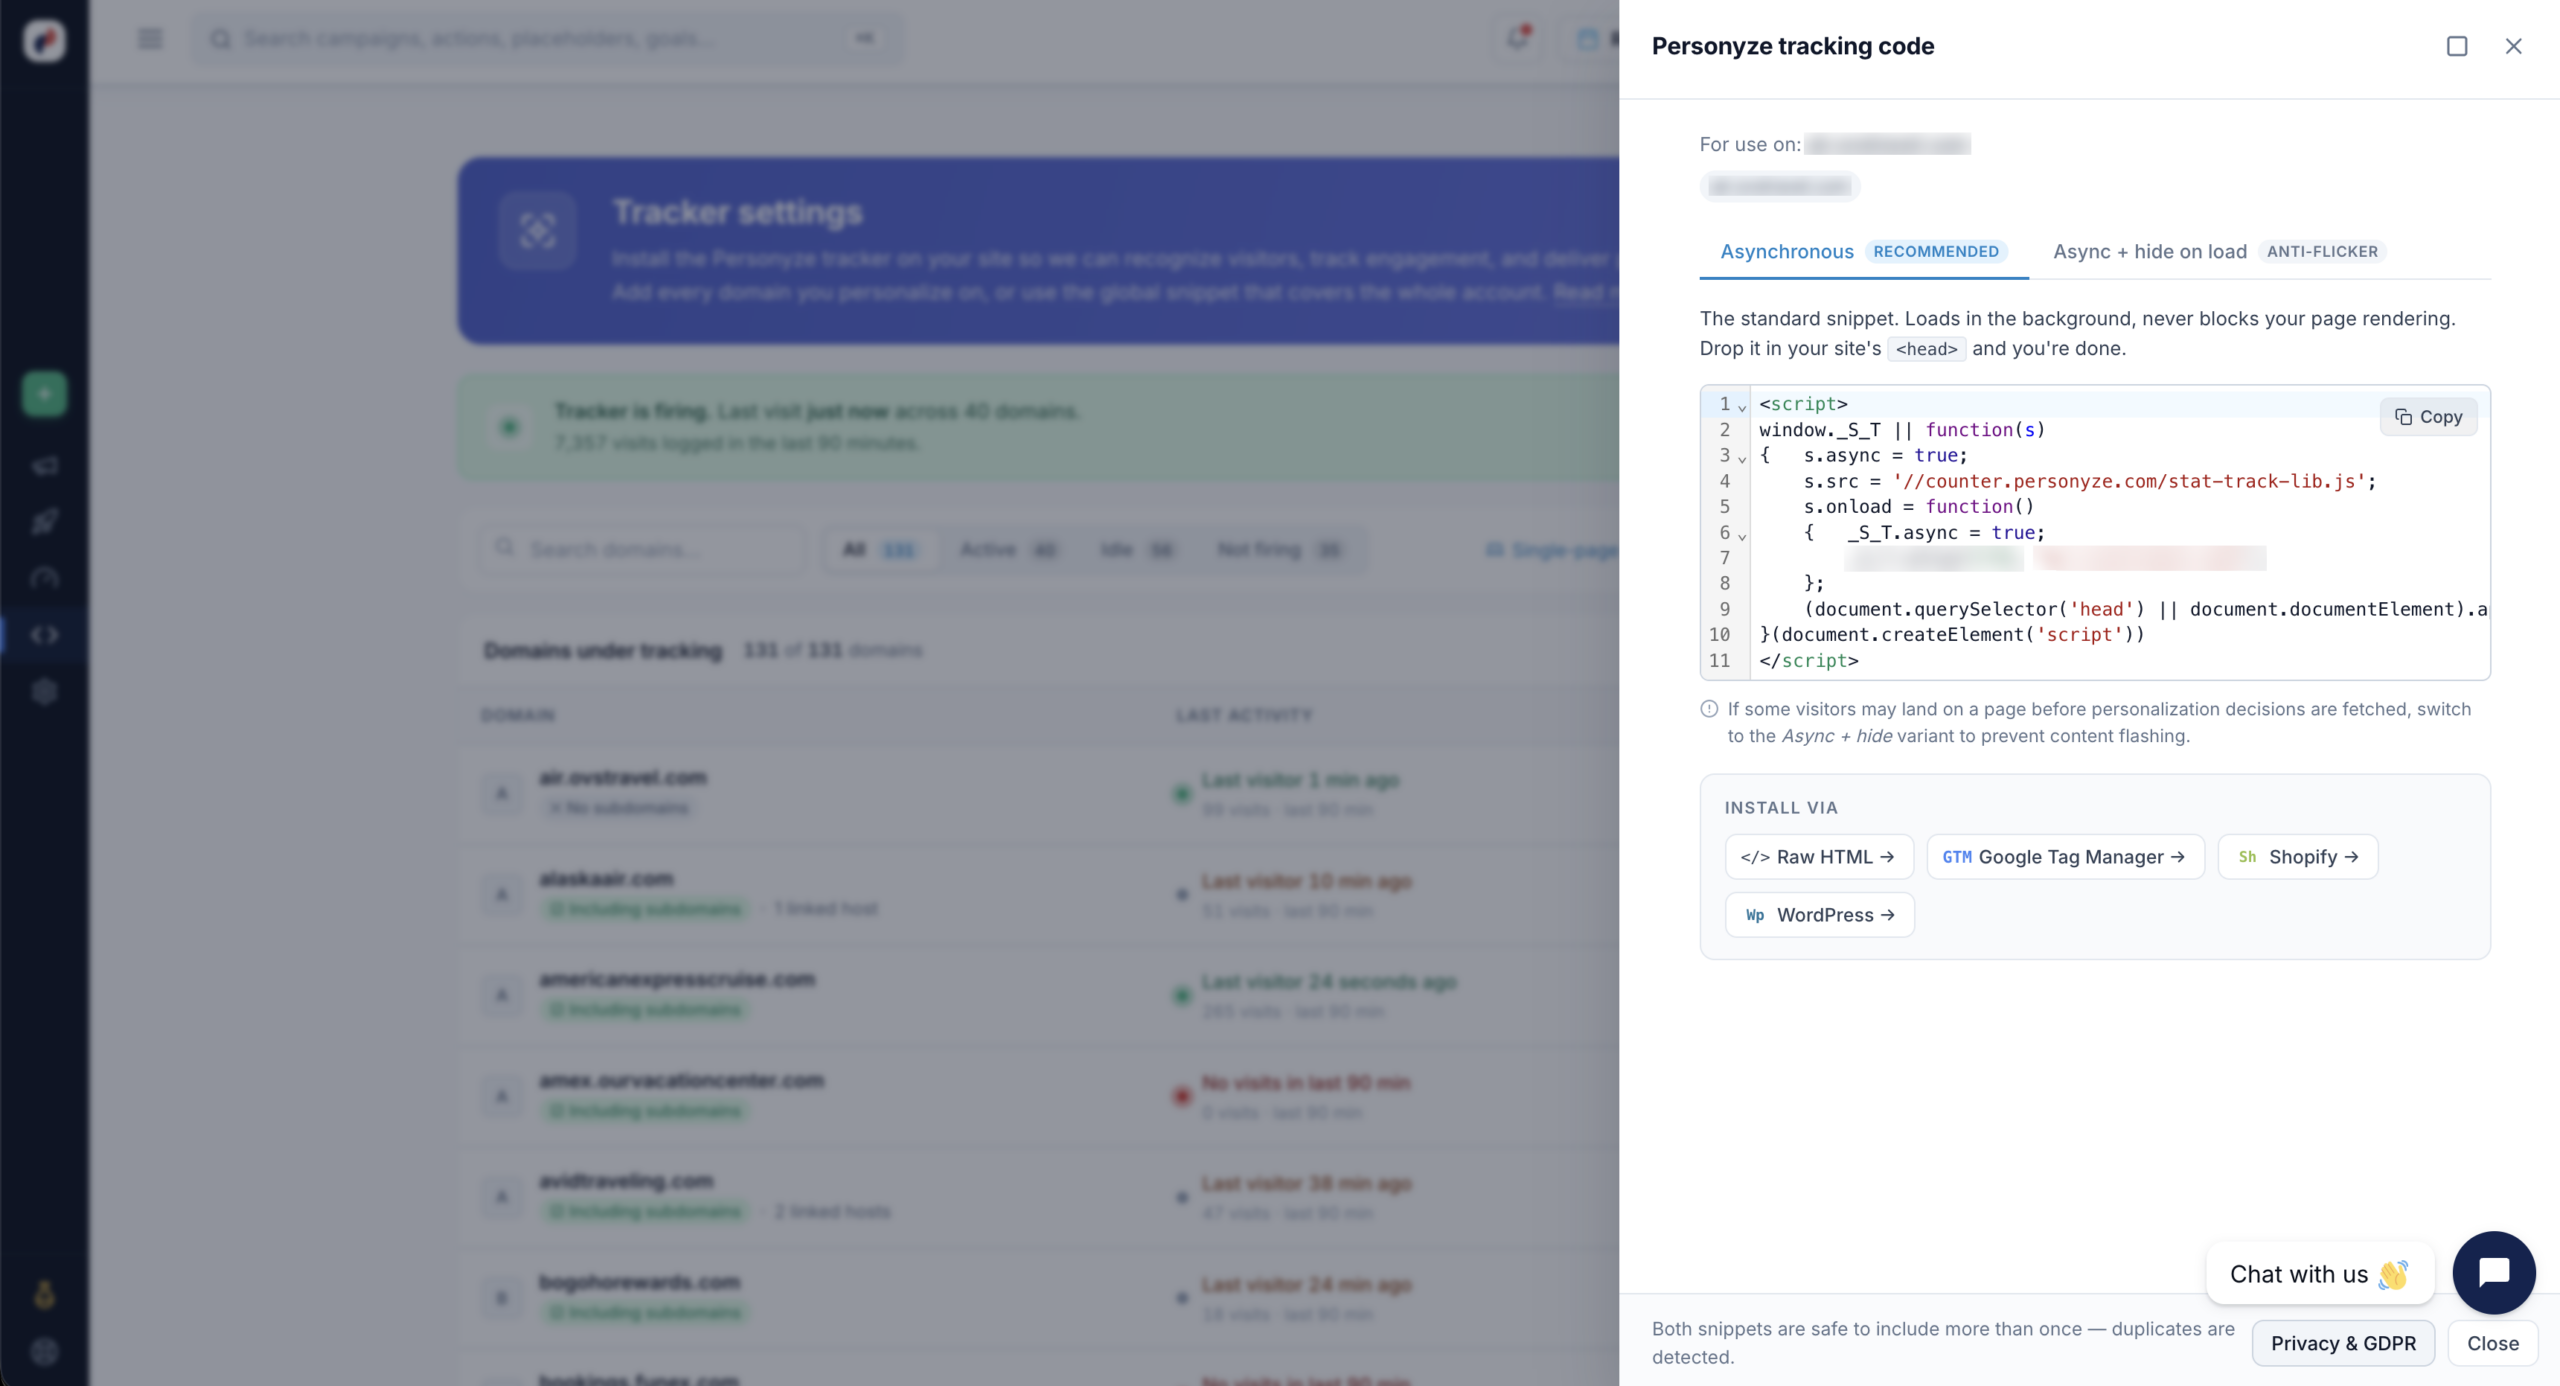
- Asynchronous (recommended) — the standard snippet. It loads in the background and never blocks page rendering. Drop it in your site’s
<head>and you’re done. - Async + hide on load (anti-flicker) — use this if visitors may land on a page before personalization decisions are fetched. It briefly hides content to prevent the original version from flashing before the personalized one renders.
Important: pick one variant per page — do not use both interchangeably. Both snippets are safe to include more than once, though: duplicates are detected.
Where to Put It
- Master page header (recommended). Place the snippet inside the
<head>tag, as high as possible — ideally right after your charset declaration and essential meta tags. Placing it lower delays personalization and makes flicker more likely. - Tag manager. You can deploy the snippet through your tag management system. Configure it to fire as early as possible to minimize that delay. The panel’s Install via shortcuts cover Raw HTML, Google Tag Manager, Shopify, and WordPress.
For platform-specific instructions, see Setup by Site Type — Tracking, Feeds & Integrations.
Verifying the Installation
Go back to Tracker settings and check the domain’s row. The Last activity column shows when Personyze last logged a visit from that domain, and the sparkline shows the last 90 minutes. If a domain you’ve just installed on shows No visits in last 90 min, the snippet either isn’t on the page, isn’t firing, or is on a different hostname than the one you registered. The Not firing filter lists every such domain at once.
Personalizing Single-Page Applications (SPAs)
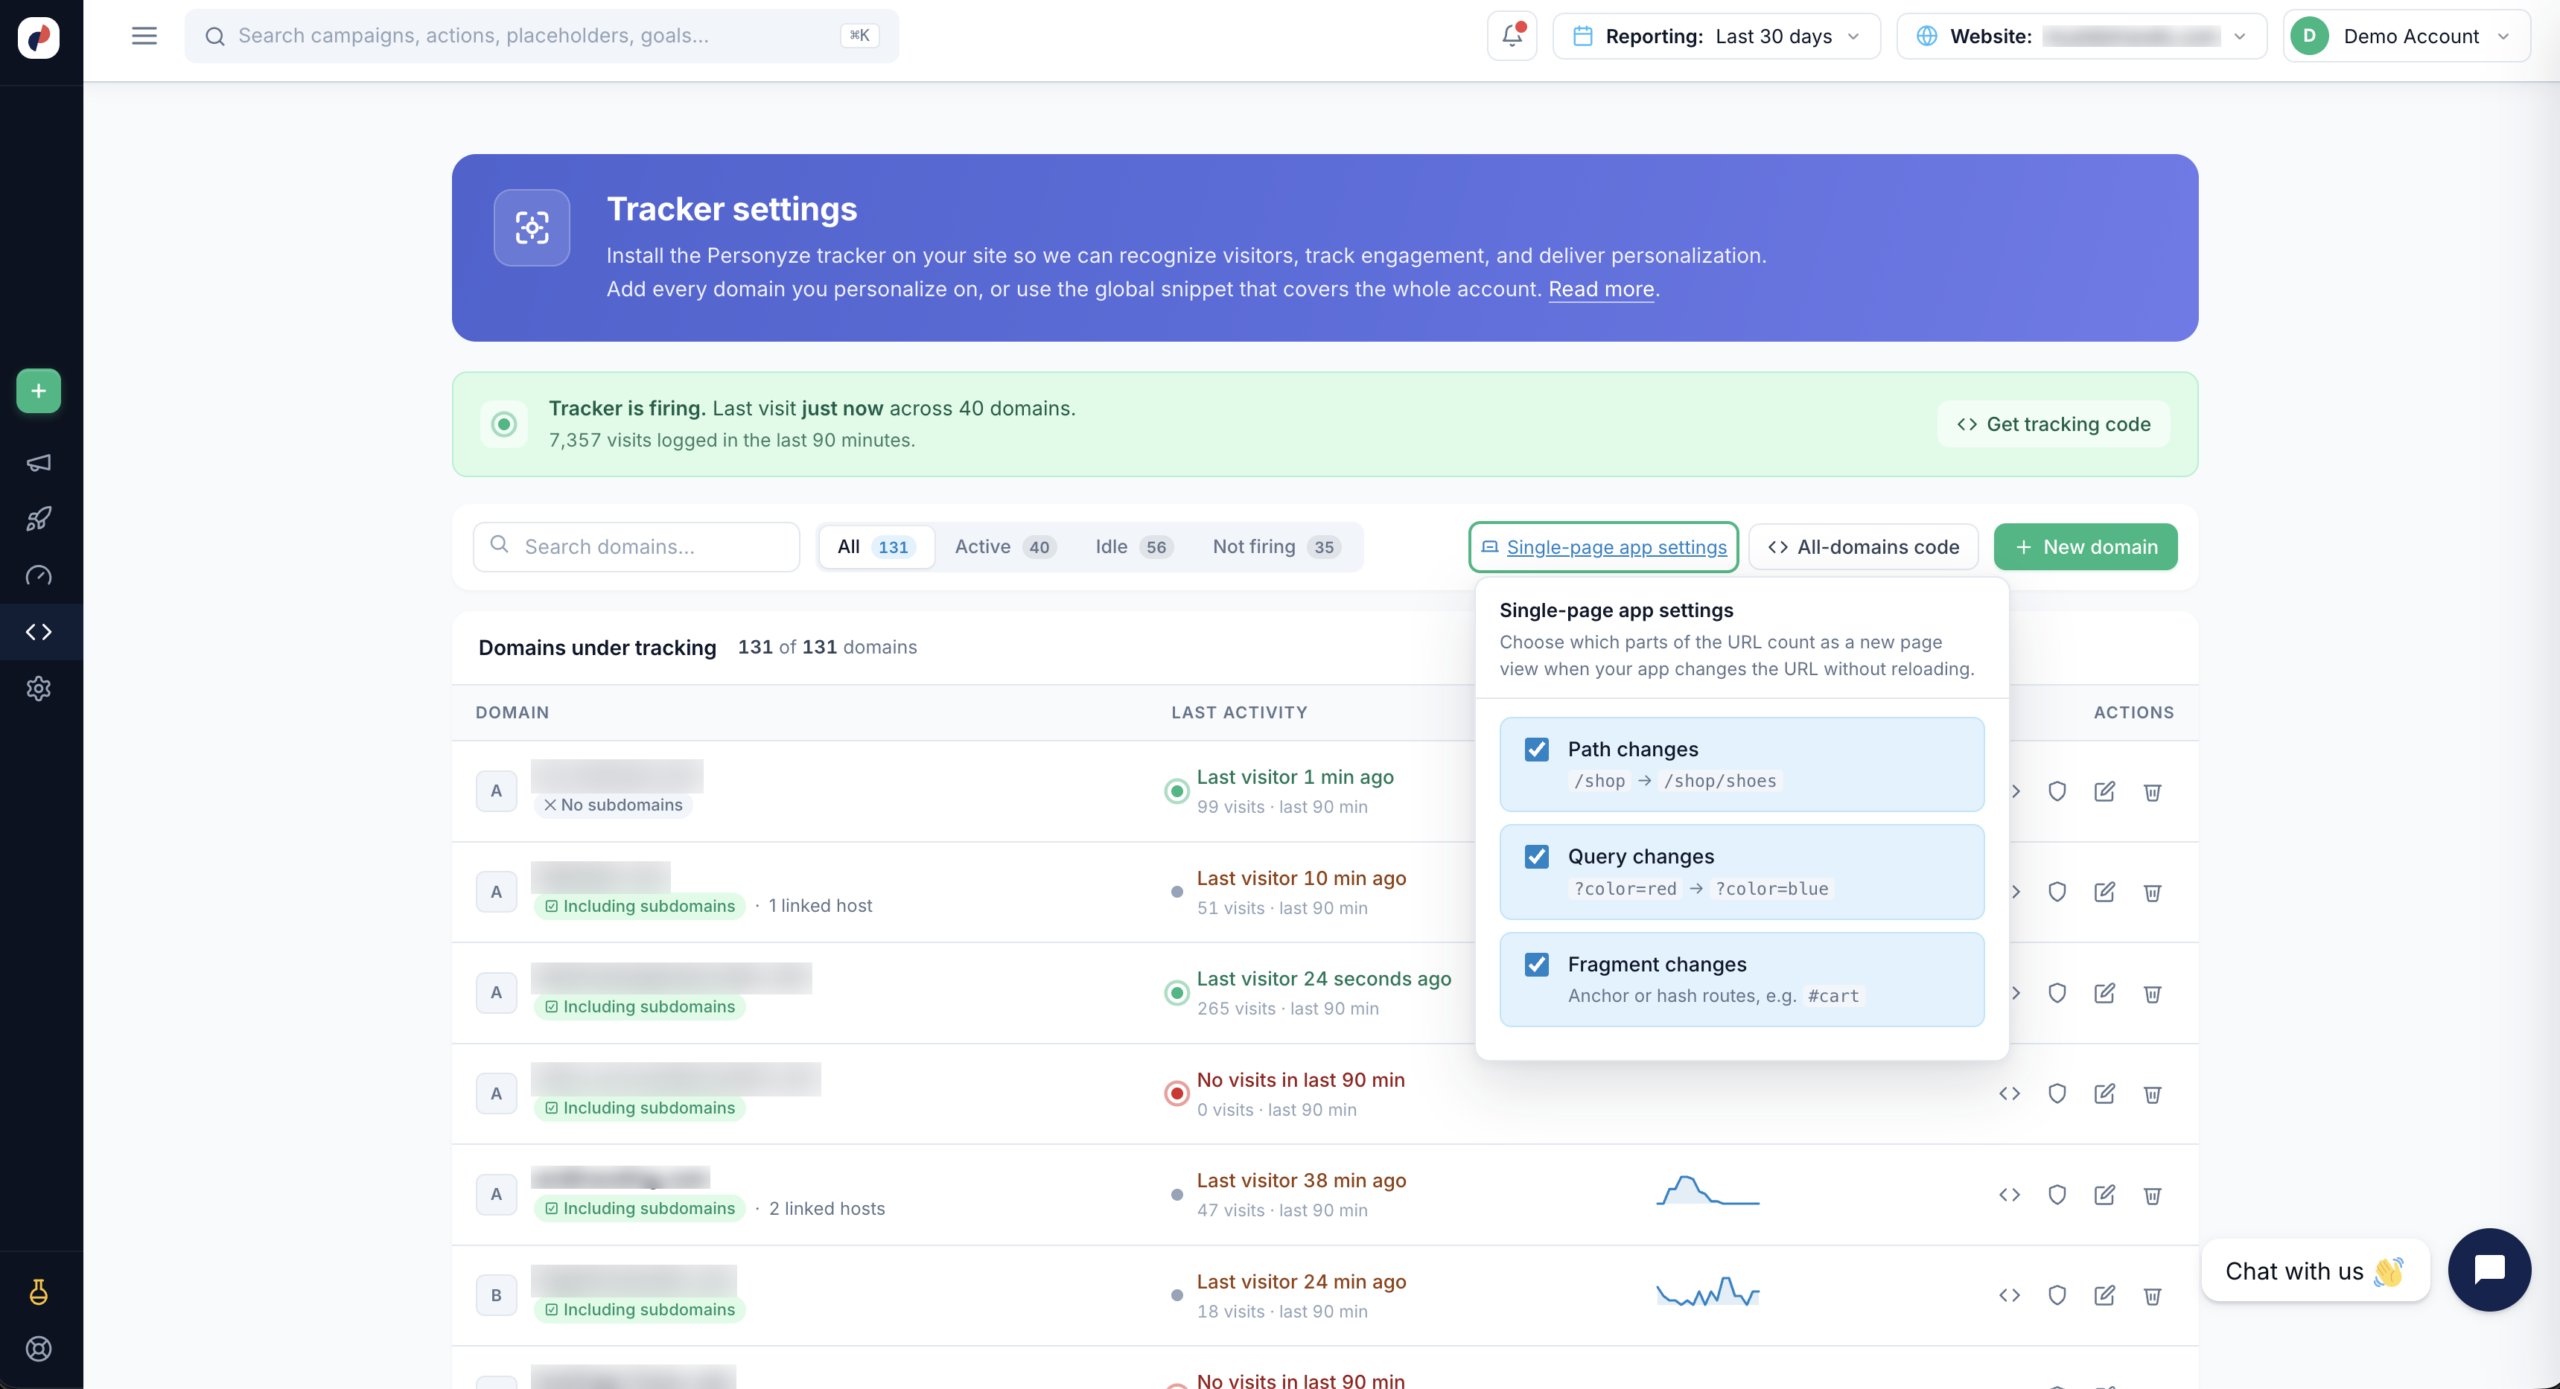
In a single-page app the URL changes without a full page reload, so Personyze needs to know which URL changes should count as a new page view — that’s what triggers new personalization actions and dismisses ones that no longer apply.
Open Single-page app settings above the domain list and choose which parts of the URL count:
- Path changes — e.g.
/shop→/shop/shoes - Query changes — e.g.
?color=red→?color=blue - Fragment changes — anchor or hash routes, e.g.
#cart
For more detail, see the One-Page Applications guide.
Cross-Domain Tracking
Personyze can track visitors across multiple domains automatically, so a person moving between your sites is recognized as one visitor rather than several. The Tracked domains field when adding a domain is what links those hostnames to a single user profile.
For the full setup, see the Cross-Domain Tracking Guide.