
Installing Personyze on Shopify is a one-click job. You install the app and approve the
permissions it asks for — and the app does the rest of the setup for you. There is no tracking code to paste,
no theme file to edit, and no Account ID to copy across.
What you need: a Shopify store with admin access. You do not need a Personyze account
beforehand — the app creates and connects one for you.
Install the app and approve access
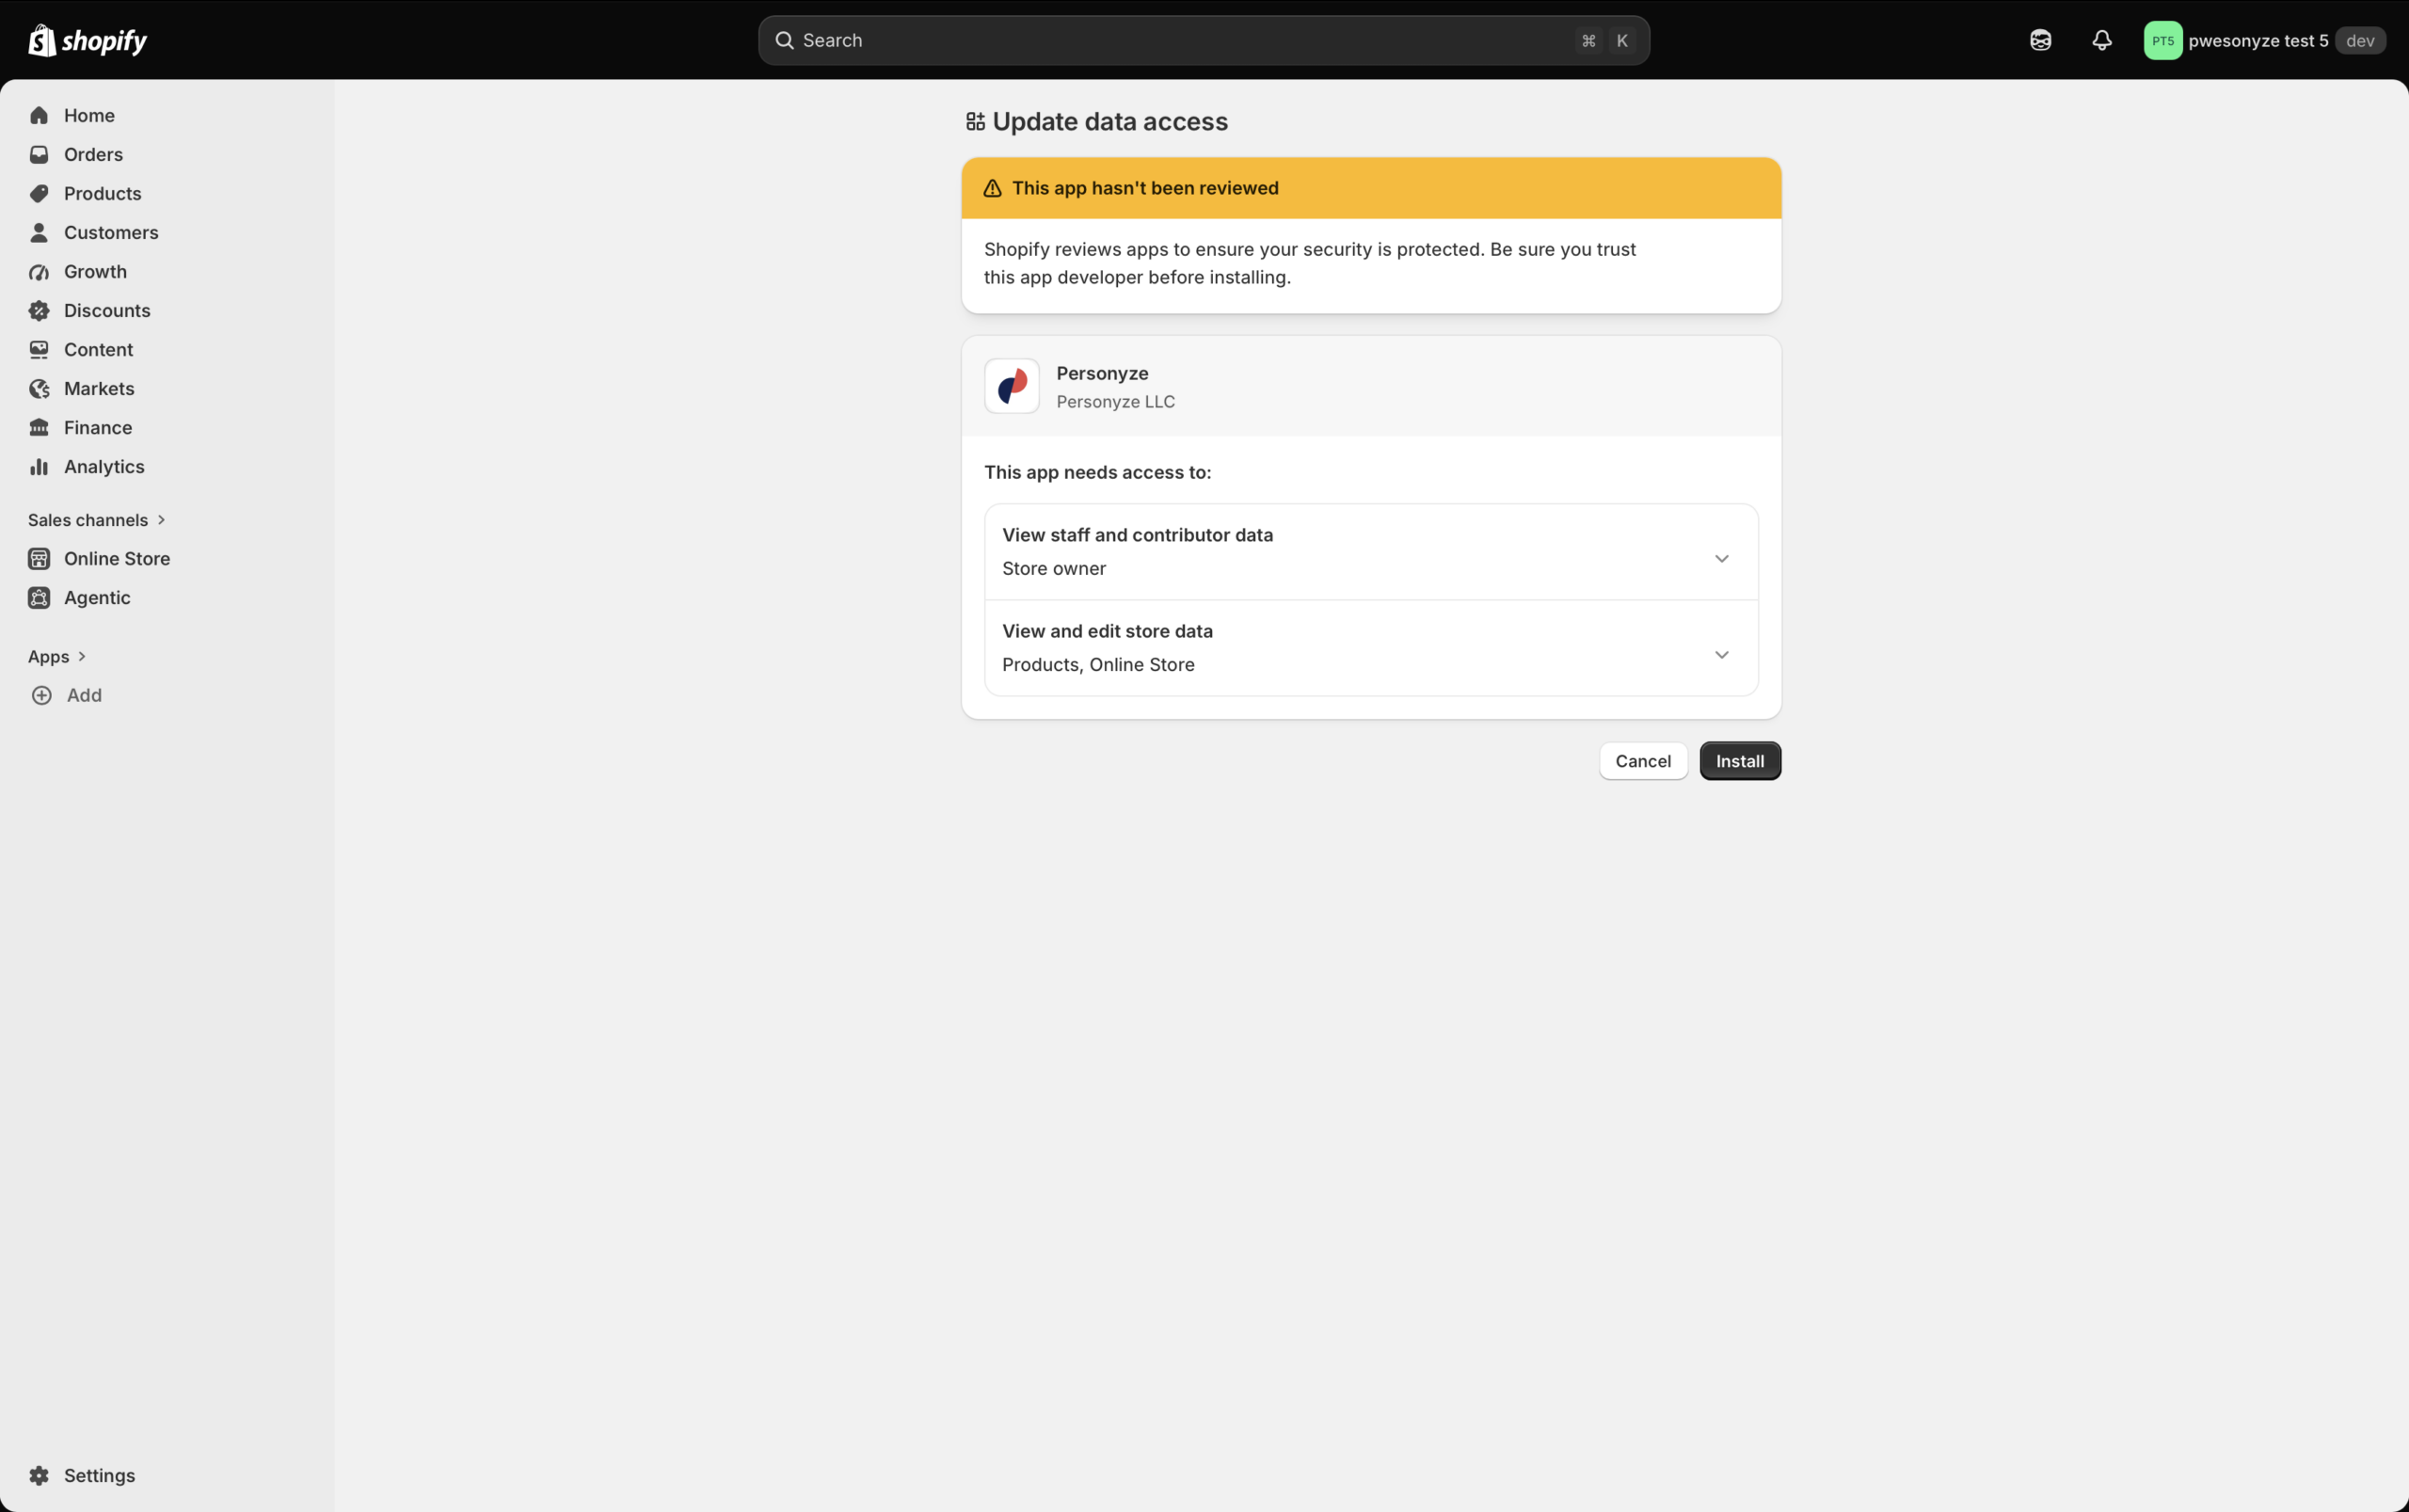
Open the Personyze app for Shopify and click Install. Shopify shows exactly what the app is asking
for before anything happens:
- View staff and contributor data — store owner, so the app knows who to set the account up for.
- View and edit store data — Products and Online Store, so it can sync your
catalog and place content in your theme.
Prefer to watch? The walkthrough below takes it from
install to a live targeted popup, in under two minutes.
Installing the app and launching a first targeted popup. 1:37.
What the app sets up for you
Once you approve the permissions, the app configures everything that used to be done by hand:
- Your Personyze account — created and connected automatically, already matched to your store.
- The tracking code — embedded in your live theme for you. Nothing to paste, no theme editing,
no Account ID to enter. - Your product catalog — synced automatically, so recommendations have products to work with
from the start. - Content placements — the app reads your theme and sets up locations where personalized
content and recommendation widgets can appear.
walkthrough above ends by launching a targeted popup.
Confirming it works
Open your storefront in a new browser tab, then check Live visits in Personyze — your own
visit should appear. Tracking begins on the next page view after install, so give it a moment if the first check looks
empty.
If nothing arrives after that, see
Troubleshooting: the tracker
isn’t firing. Two things worth confirming first: that you completed the permission screen above (rather than
cancelling it), and that the theme you are viewing is the live one.
Related
- Tracking Shopify e-commerce events — product views, add-to-cart and purchases.
- Shopify integration (connect by API) — products, orders and customers synced through an app of your own.
- Product / content feed — how the catalog is kept up to date.
- A/B testing — test what you build.
On the Personyze site
- Shopify personalization & product recommendations — what you can build on a Shopify store.