
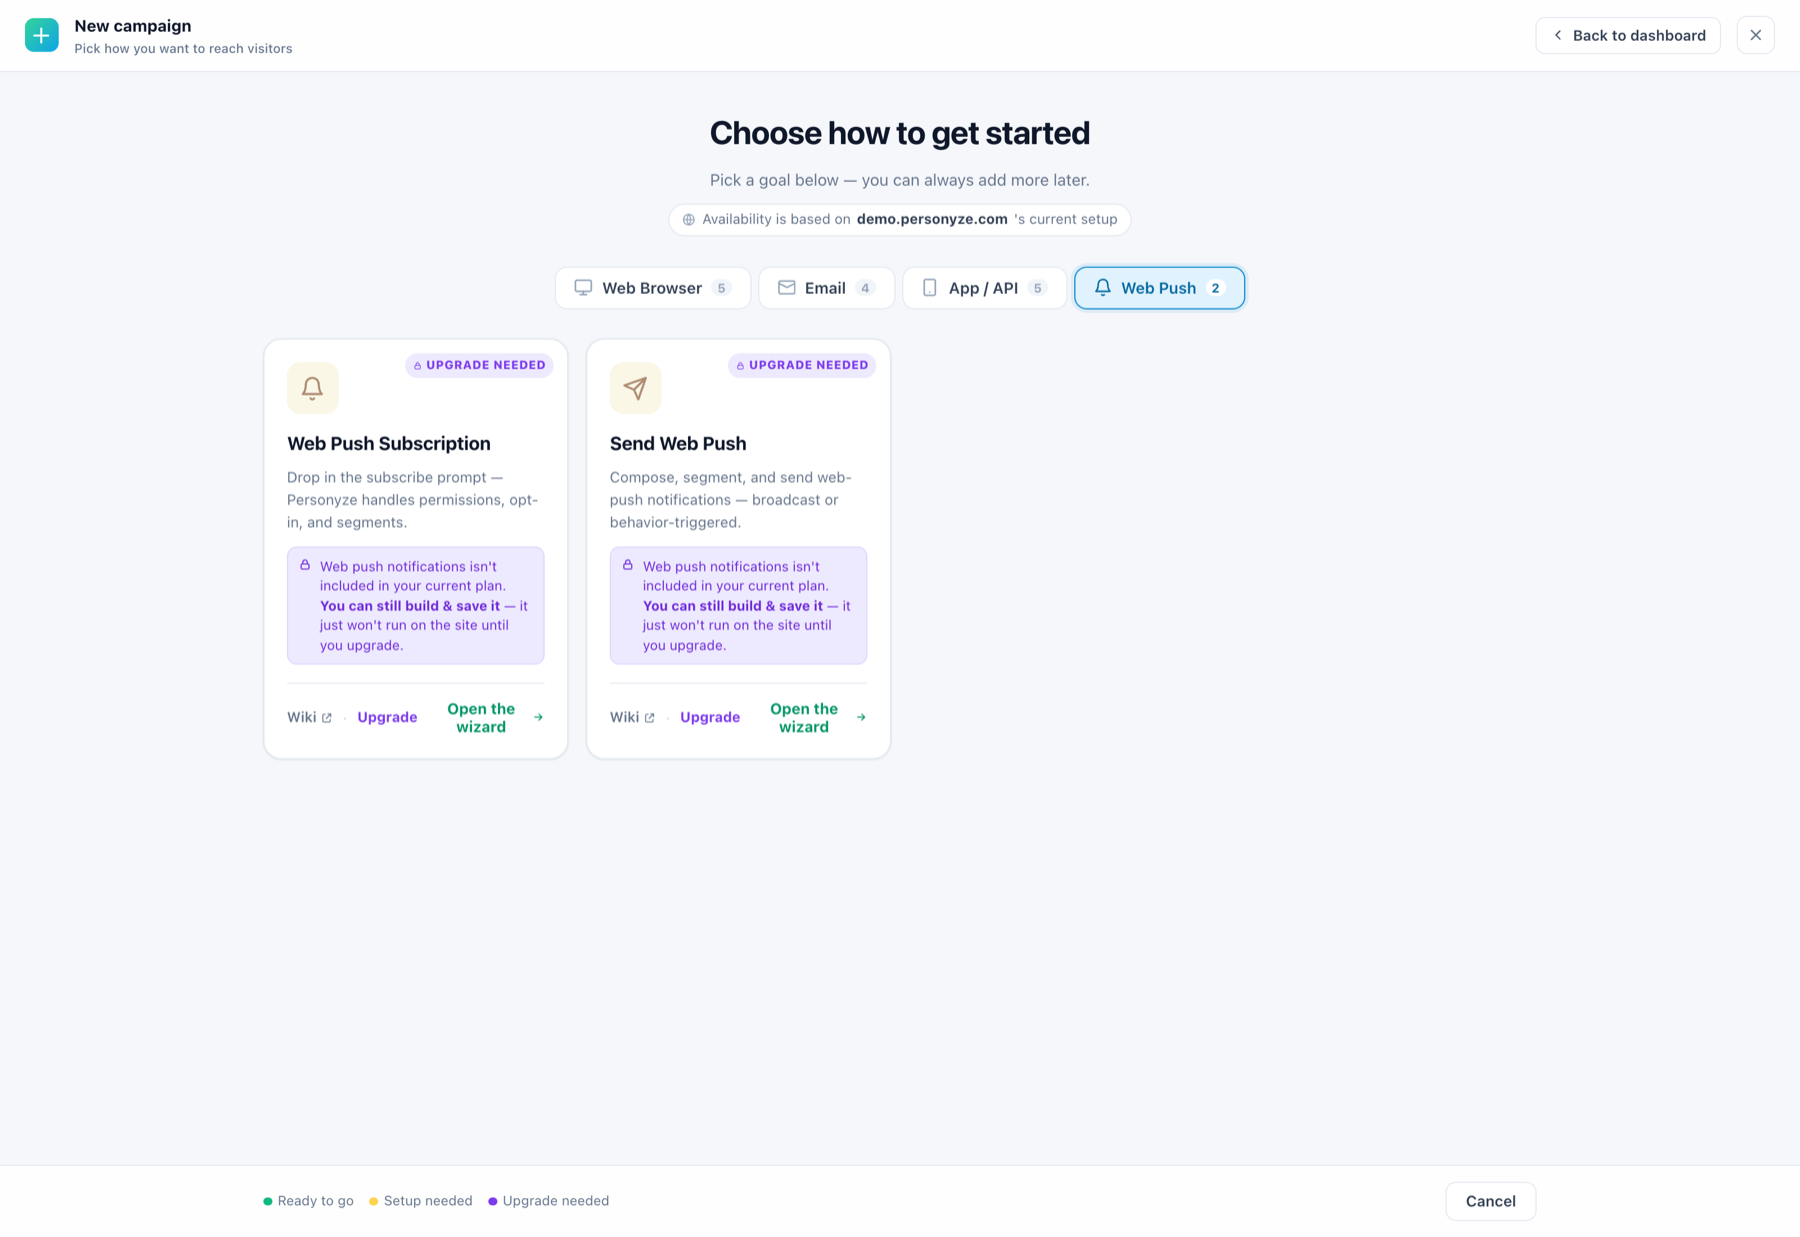
Before you can send a single web push notification, people have to opt in. The Web Push Subscription campaign builds that opt-in prompt — the banner or popup that asks permission — and hands the resulting subscribers to Personyze, segmented and ready to target.
On personyze.com: Personalized web push notifications →
This is the first of two campaigns. Once you have subscribers, Send Web Push covers composing and sending.
Why a custom prompt, and not just the browser dialog
A browser only lets you ask for notification permission once in any meaningful way. If someone clicks Block, that is effectively permanent — you cannot ask again, and undoing it means the visitor digging through a browser setting they will never find.
That is the whole argument for a soft prompt of your own. You ask “would you like updates?” first, and only trigger the real browser permission dialog for people who say yes. Anyone who declines your prompt can be asked again another day. Anyone who declines the browser’s cannot.
Prerequisite: the service worker
Web push needs a service worker — a JavaScript file on your site that can receive messages while your page is closed. A site can have only one. That constraint decides which path applies to you.
Download Personyze’s sw.js, then:
- If your site has no service worker — put
sw.jsin the root folder of your site, so it is reachable at/sw.js. Leave the register checkbox in the campaign ticked. - If your site already has one — do not add a second file. Have your developers paste the contents of Personyze’s
sw.jsat the beginning of your existing service worker, and leave the checkbox unticked: your site already launches the worker, and registering twice causes conflicts.
The campaign’s readiness panel flags this, but note what it says: “A service worker file has to sit at the root of your domain. We cannot see it from here, so please confirm it with whoever manages your site before you publish.” Personyze cannot verify the file for you — a green campaign is not proof the worker is in place. This is the most common reason a subscription campaign runs and collects nobody.
The steps
Four steps: Target, Content, QA and Performance.
1. Target — who gets asked
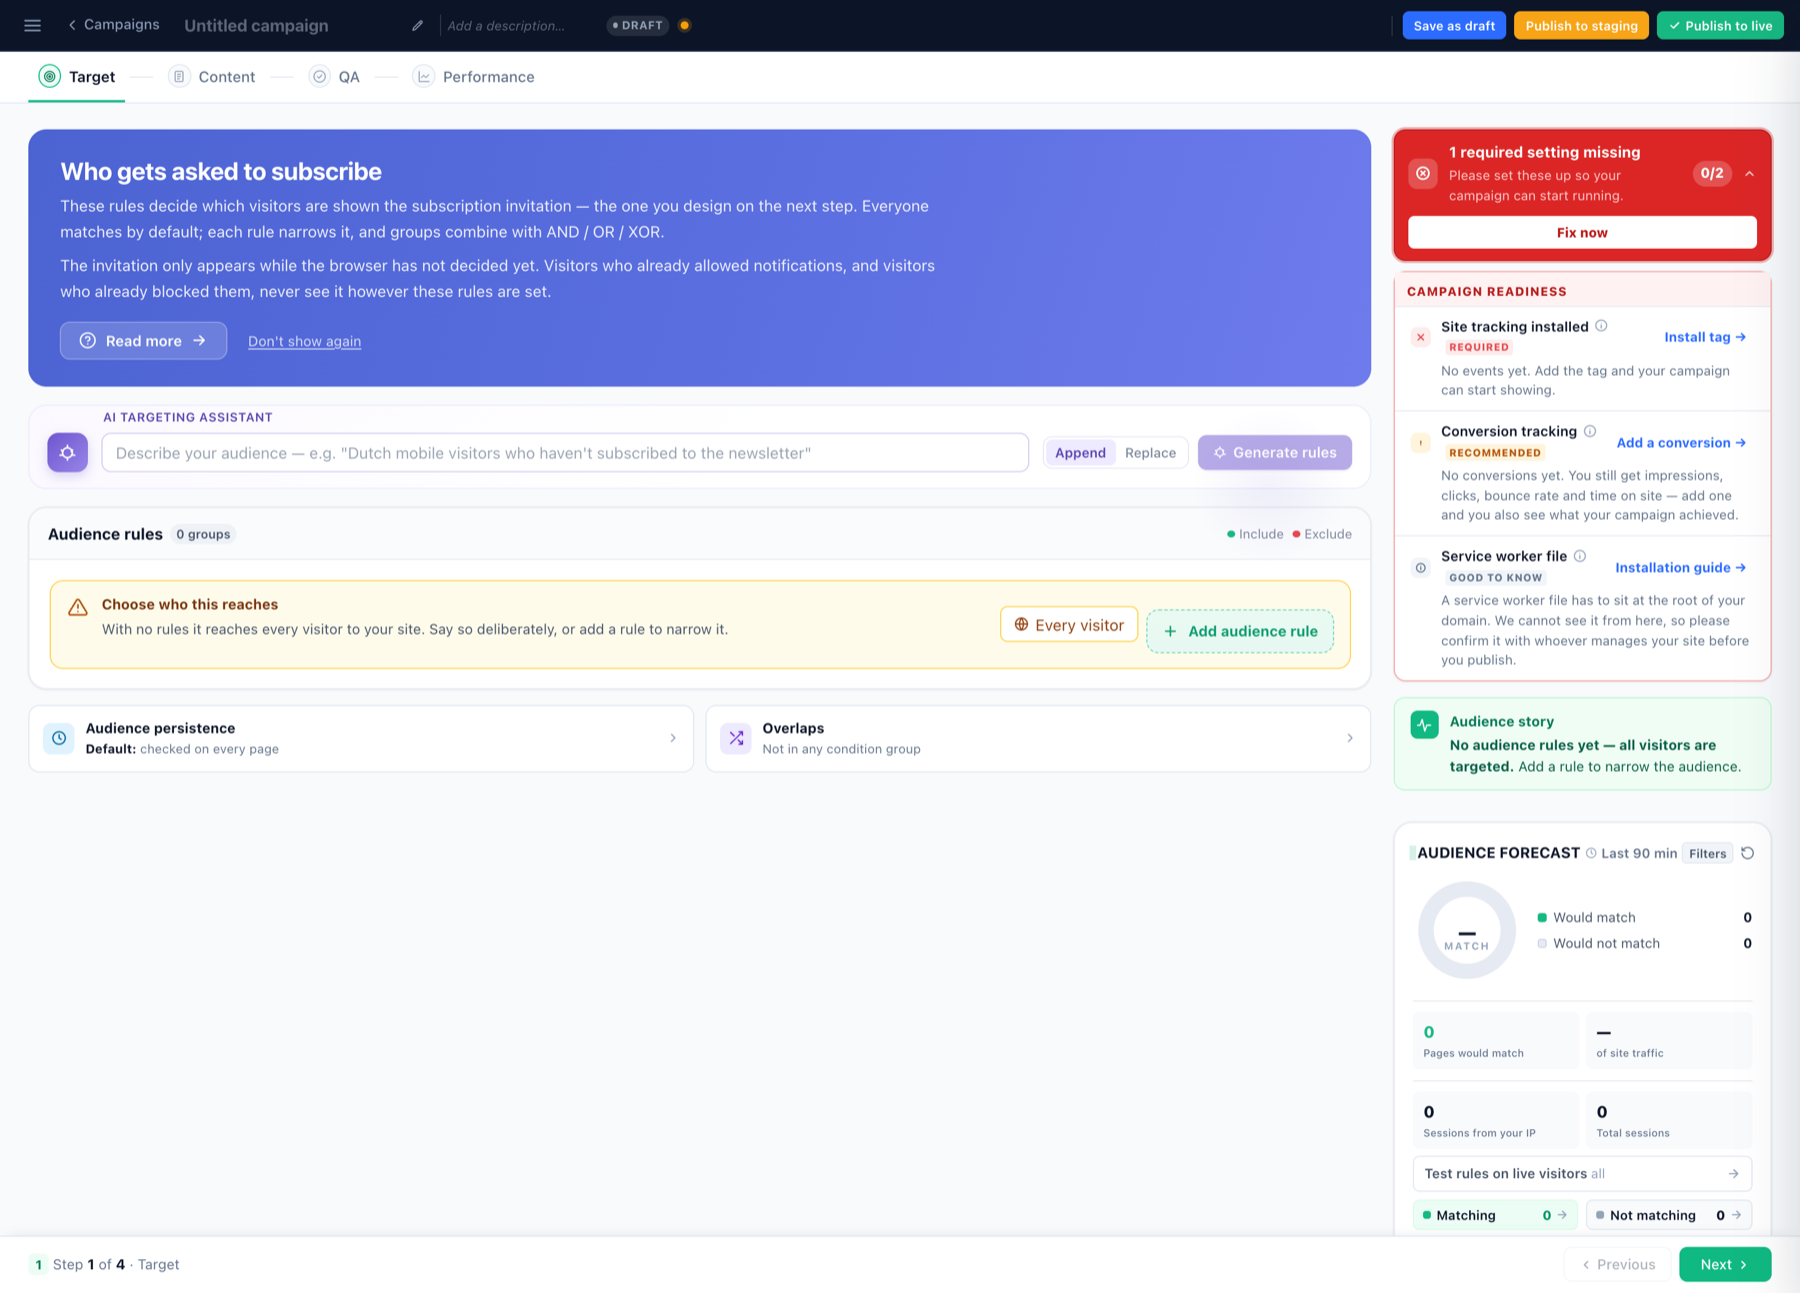
You do not need a rule to exclude existing subscribers. The invitation only appears while the browser has not decided yet — visitors who already allowed notifications, and visitors who already blocked them, never see it however these rules are set. Personyze handles that for you.
With no rules at all, the prompt reaches every visitor. That is rarely what you want: asking on arrival is the version most likely to get blocked, and a block is permanent. Rules worth considering:
- Not on the first page view — let them see the site before you ask for anything.
- Second visit, or a few minutes on site — interest before permission.
- On a relevant page — ask on the product or category the notifications will be about.
Rules join with and / or / only one and can be grouped. If you would rather describe the audience in words, the AI targeting assistant at the top of the rules generates them from a plain-English description and adds them to yours, or replaces yours with Replace my current rules on.
Two settings sit below the rules. Audience persistence controls how often membership is re-evaluated — by default it is checked on every page. Overlaps shows whether this campaign shares an audience with any condition group.
On the right, the audience forecast estimates how many recent visitors would match, and Test rules on live visitors checks your rules against real sessions. If the forecast reads zero and you expected otherwise, fix that before moving on.
2. Content — the prompt itself
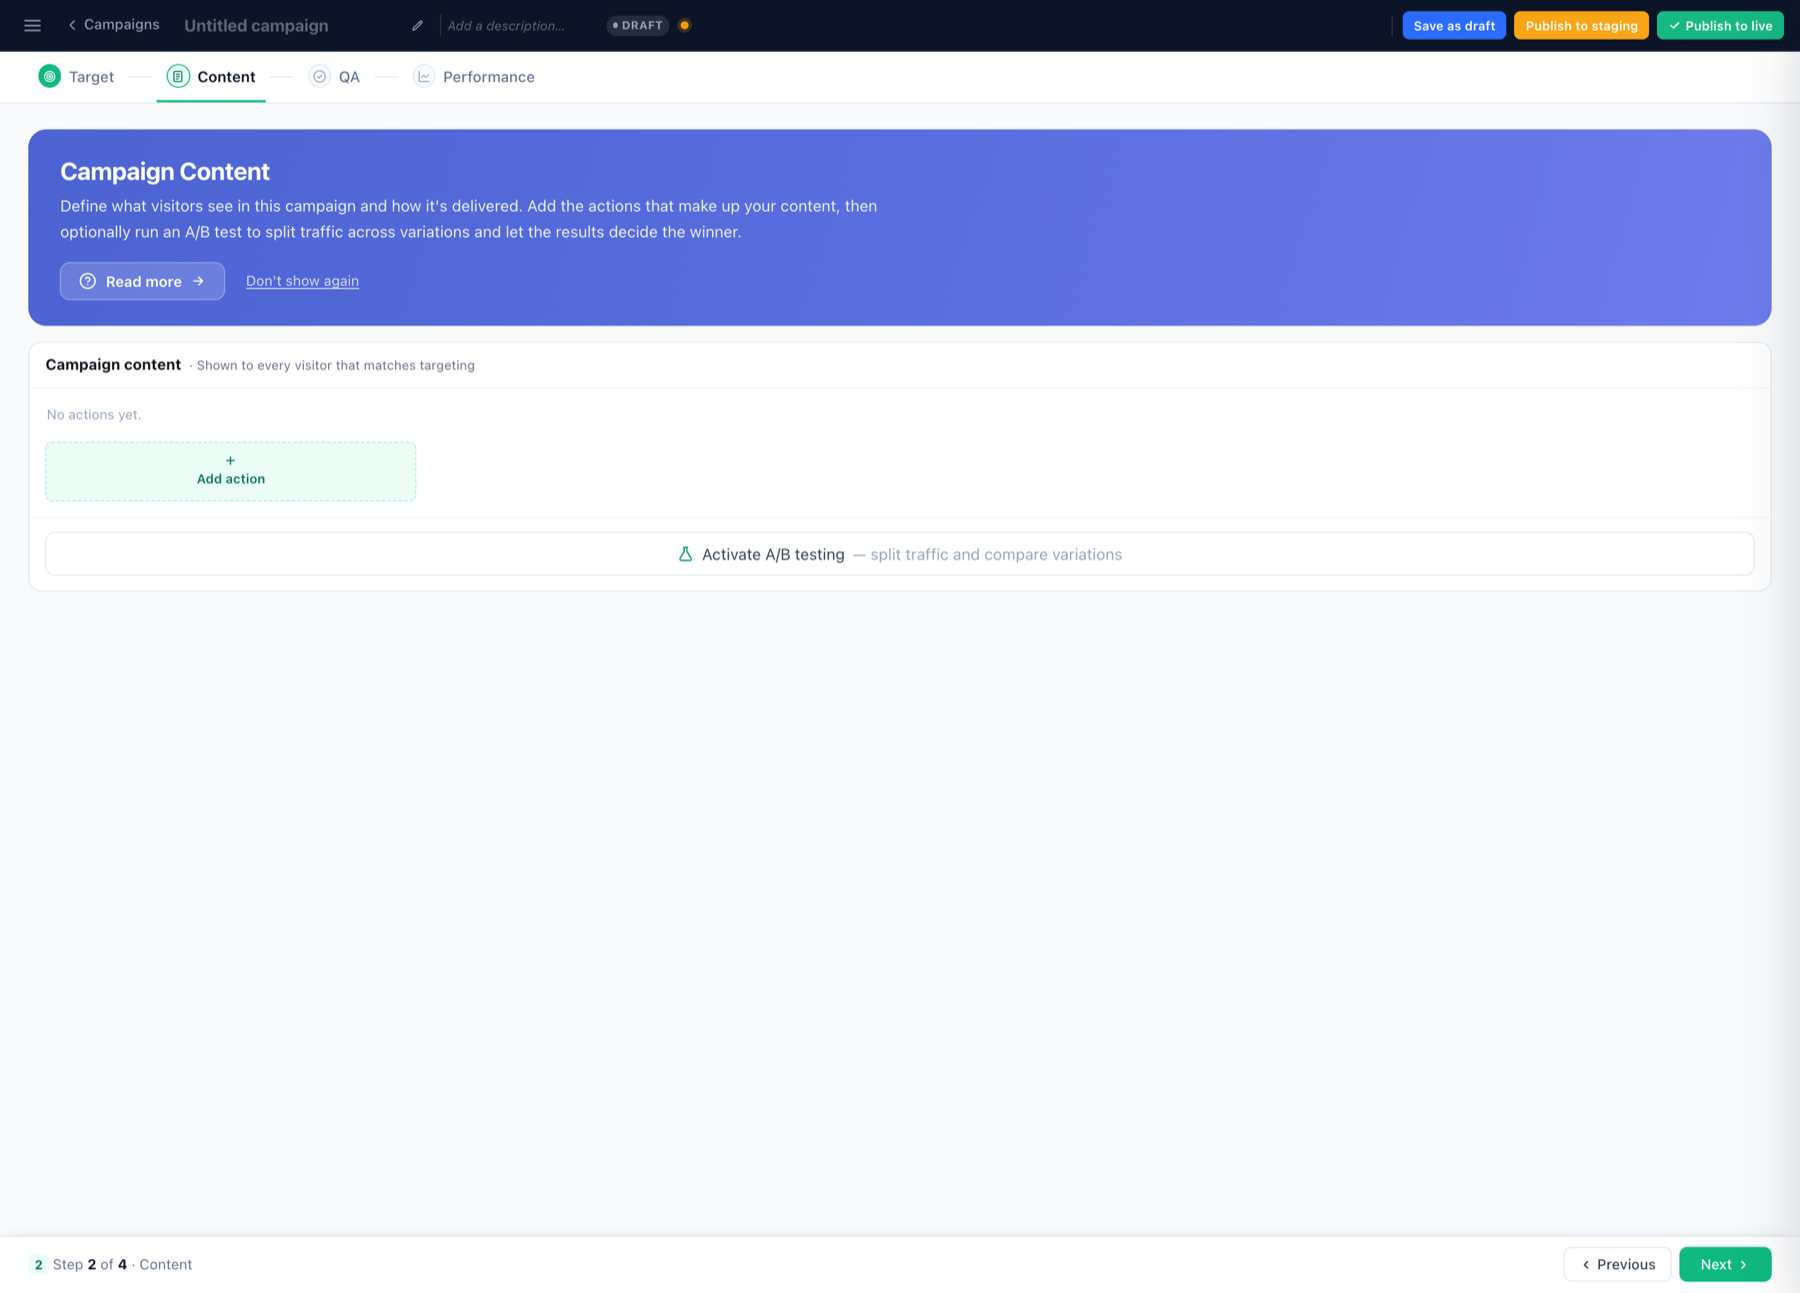
Click Add action to build the invitation. The action editor has three tabs: Service worker, What to present and Choose placement.
Under What to present, choose a pre-built notification banner or popup template, or start from a custom design. What you can adjust:
- Banner settings — placement and animation.
- Text — headline and description. Say what the notifications are for (“order updates”, “back-in-stock alerts”) rather than simply asking for permission. A reason converts; a bare request does not.
- Primary button — the opt-in, e.g. “Enable notifications”. This is what triggers the real browser dialog.
- Secondary button — a soft decline, e.g. “Maybe later”. This is the button that protects your ability to ask again.
- Close button — lets people dismiss the prompt outright.
- Advanced HTML editing — full control over the markup.
Then, under Choose placement, decide where it appears: in a placeholder on the page, or as a popup.
You can also activate A/B testing from this step to split traffic across variations — useful for testing the wording of the ask, which moves opt-in rates more than the design does.
3. QA — check before publishing
The QA step opens once the campaign has been saved. Save it as a draft and the preview and QA panels appear, letting you preview the prompt and confirm the targeting.
The thing to verify here is the service worker, since Personyze cannot check it for you.
4. Performance — results once it is live
Once running, this step shows how many people saw the prompt and how many accepted: Shown, Subscribed, Subscribe rate, Subscribers (distinct people) and Dismissed or blocked. Watch the ratio rather than the raw count — a prompt shown to the wrong audience looks busy and subscribes nobody. How the rest of the Performance step reads: One campaign’s Performance step.
Publishing
Three options in the top bar: Save as draft, Publish to staging, and Publish to live. Staging is the safe way to see the prompt on the real site without showing it to real visitors.
Troubleshooting
- The prompt shows but nobody subscribes. Almost always the service worker: missing at
/sw.js, or double-registered because the checkbox was left ticked on a site that already has its own worker. - The prompt never shows. Check the readiness panel first — if site tracking is not installed, nothing shows at all. Then check whether the browser has already decided for that visitor.
- It works locally but not in production. Service workers require HTTPS, and the file must be served from your own domain.
Next
With subscribers collected, go to Send Web Push.