
The Site profile is the top-level settings page for a single tracked site — it controls which Personyze capabilities are active and how that site behaves. Open it at Settings → Site profile. If you manage several sites, each one has its own site profile; switch between them with the Website picker in the top bar.
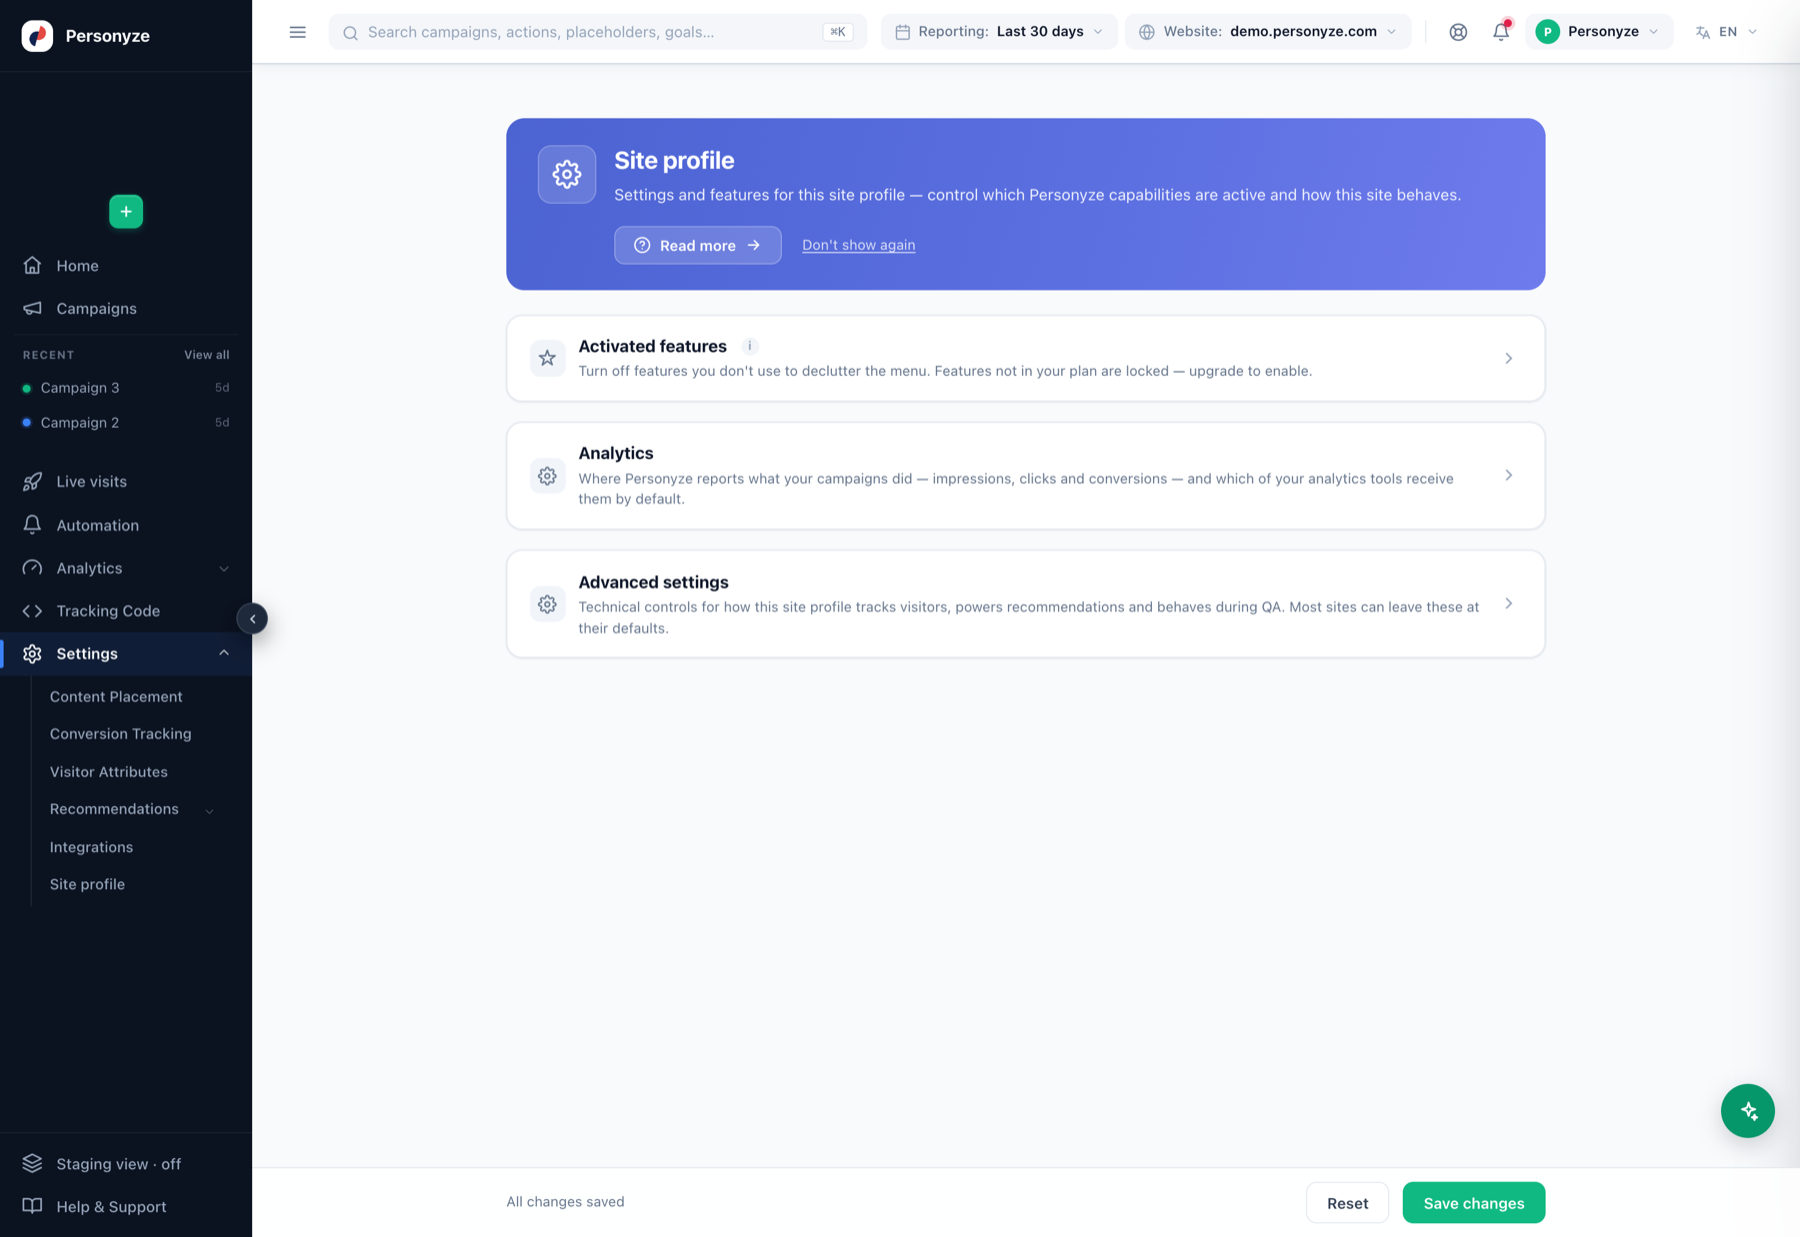
Activated features
Turn features you don’t use off, to declutter the left menu and keep the panel focused on what your team actually does. Features that aren’t part of your plan appear locked — upgrading enables them. Turning a feature off here only hides it; it doesn’t delete anything you’ve built.
Analytics
Controls where Personyze reports what your campaigns did — impressions, clicks, and conversions — and which of your analytics tools receive that data by default. From here you connect and set defaults for destinations such as Google Analytics 4, GTM data layer, Segment, Tealium, and Klaviyo, so campaign events flow into the same reporting stack you already use. Each destination has its own integration guide under Integrations.
Advanced settings
Technical controls for how the site profile tracks visitors, powers recommendations, and behaves during QA. Most sites can leave these at their defaults — they exist for edge cases and specialized setups. Change them only when you know you need to, or when Personyze support asks you to.
Two rows under Advanced point elsewhere, in the Set on other pages group: Visitor identity & profile (merging visitors into known users, and sending profile fields to the page) links to Data & privacy → What we collect, and User-data retention to Data & privacy → Data retention. Both are set there, with the other privacy settings.
Related settings
The site profile is the hub; the day-to-day configuration lives in its own pages:
- Tracking Code — install the tracker and manage tracked domains.
- Content Placement — named slots where content renders.
- Conversion Tracking — define the goals that count as success.
- Visitor Attributes — the data Personyze remembers about each visitor.
- Team Members — who can access the account and what they can do.
- Data & Privacy — how long visitor data is kept, what the tracker collects, and visitor requests to see or delete their data.
Save behavior
Changes are staged as you make them; the footer shows All changes saved or a Save changes button, with a Reset option to discard edits before saving.