
Team Members Overview
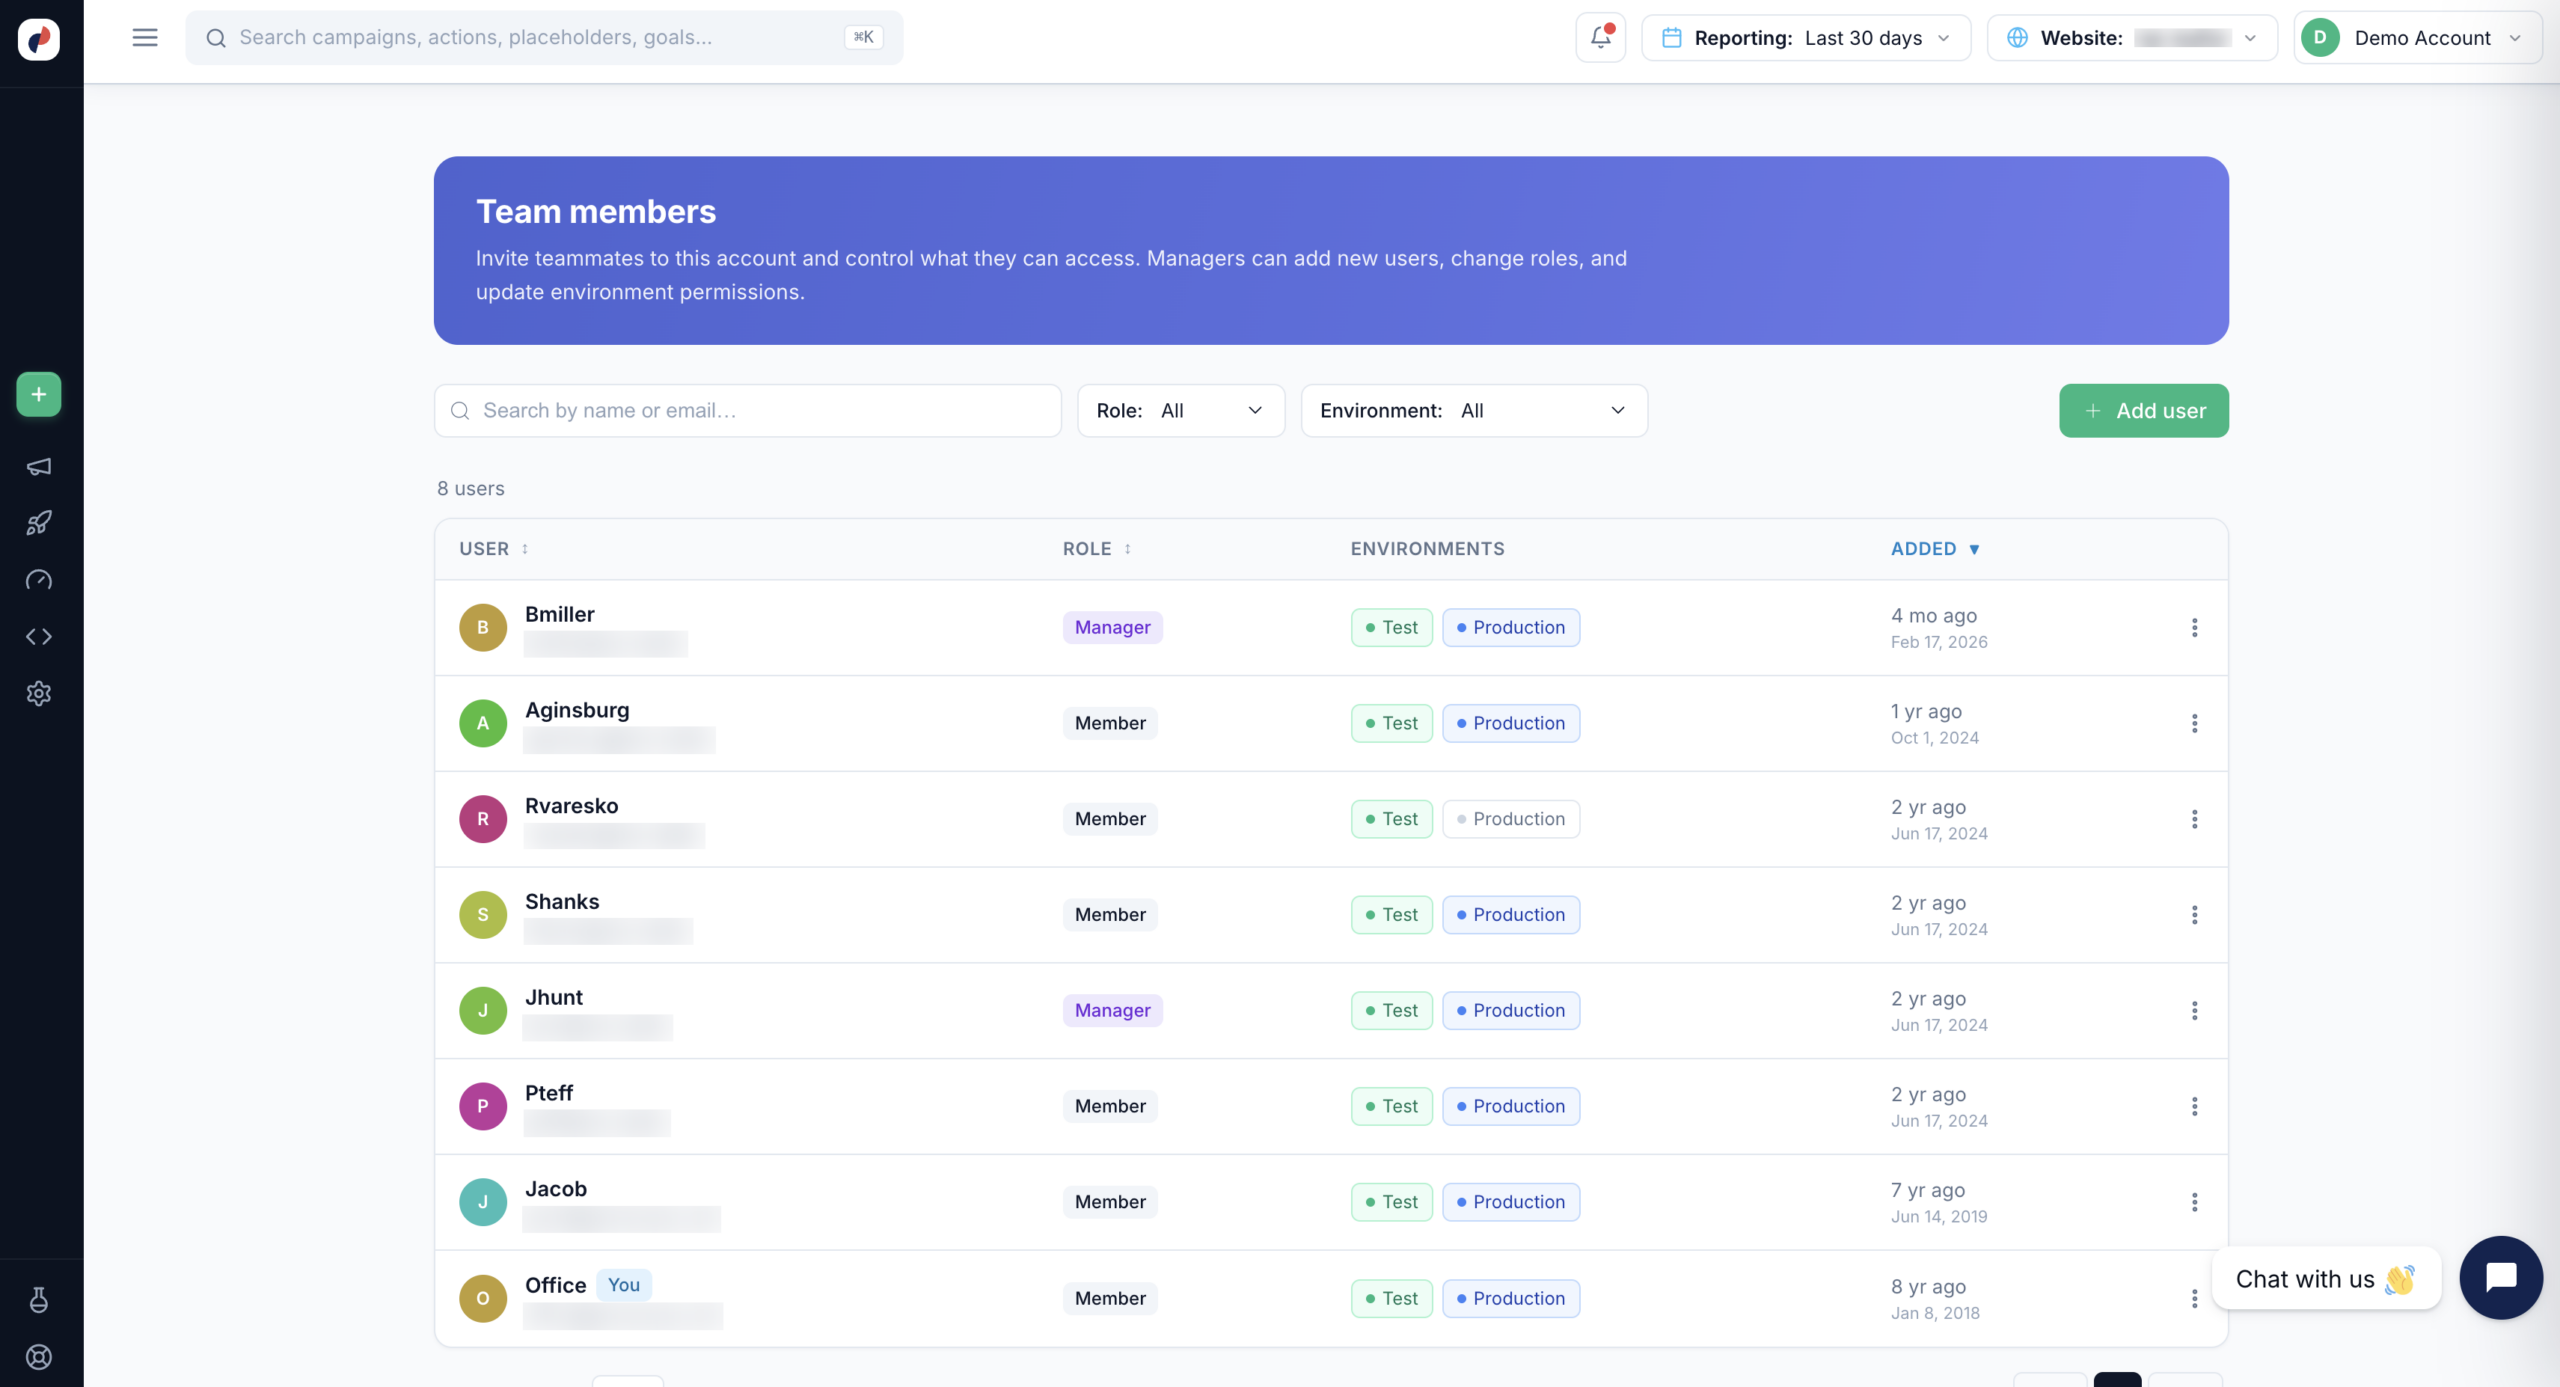
The Team members page is where you invite teammates to your Personyze account and control what they can access. Every team member gets a role (what they’re allowed to do) and one or more environments (which campaigns they’re allowed to touch). Managers can add new users, change roles, and update environment permissions at any time.
To open it, open the account menu at the top right of the panel and choose Account › Team members.
Adding a Team Member
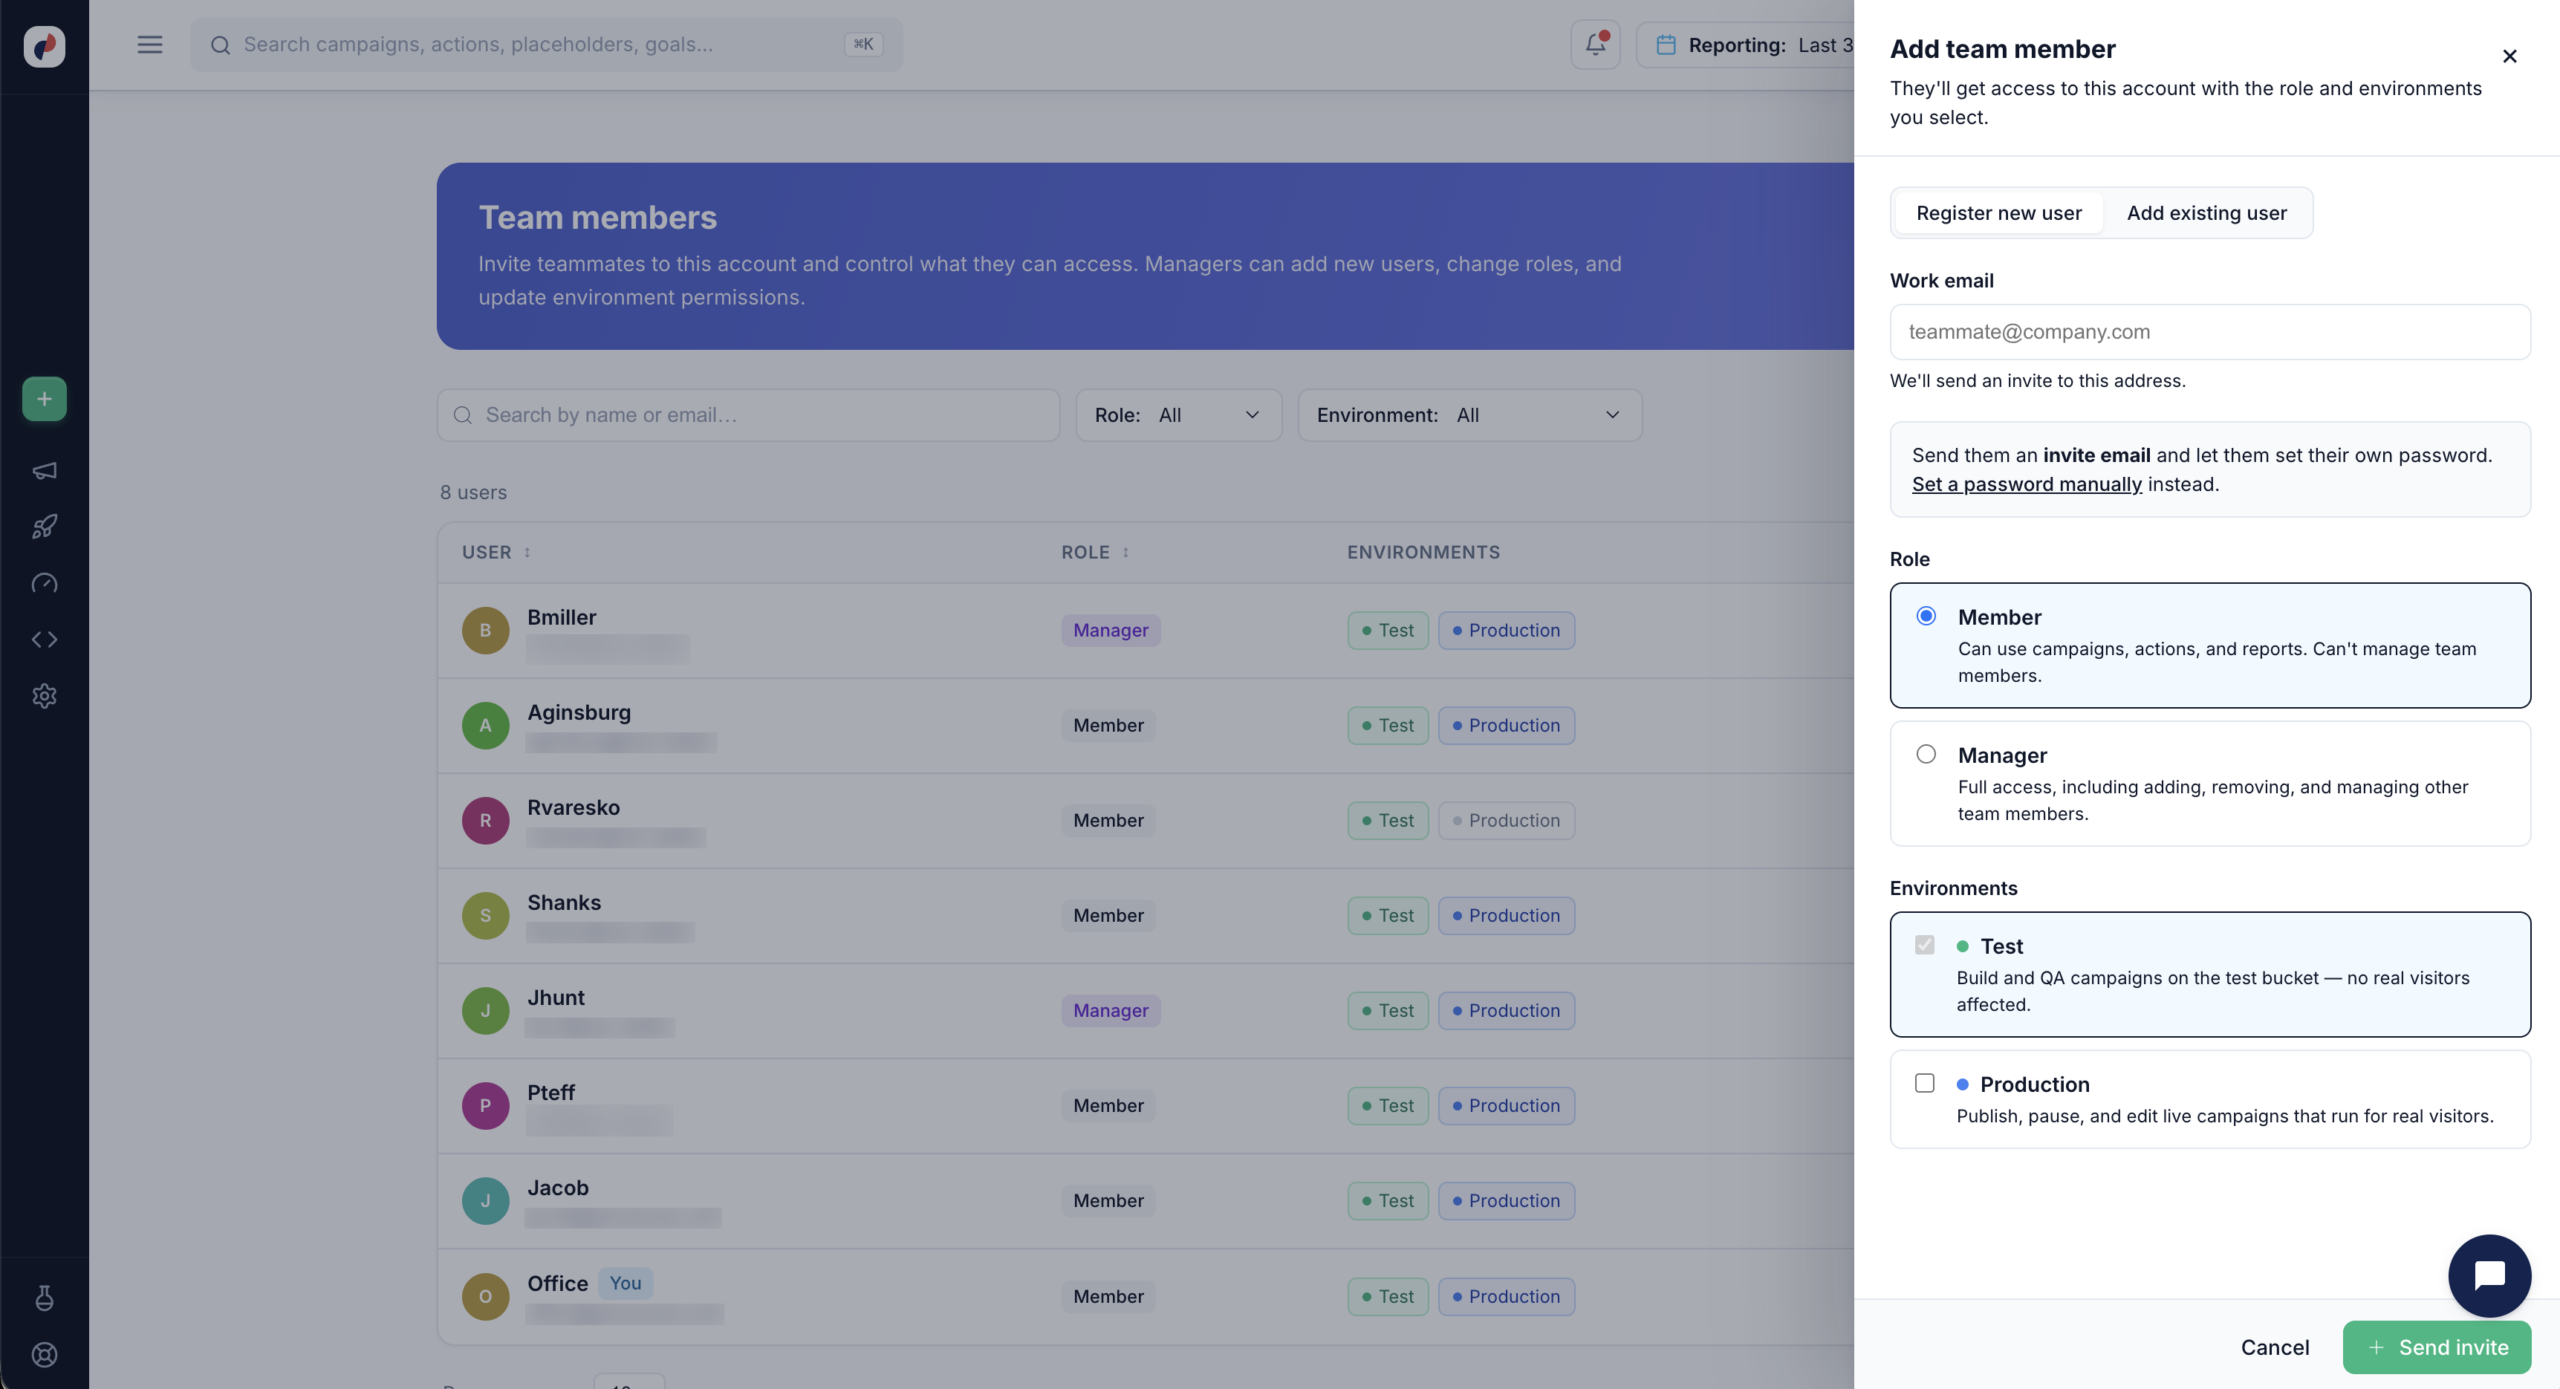
Click + Add user at the top right of the Team members page. The Add team member panel opens with two tabs — pick the one that matches the person you’re adding.
Register a New User
Use this tab when the person doesn’t have a Personyze login yet. Enter their work email, and Personyze sends them an invite email so they can set their own password. If you’d rather not wait on an email, choose Set a password manually instead and hand them the credentials yourself.
Add an Existing User
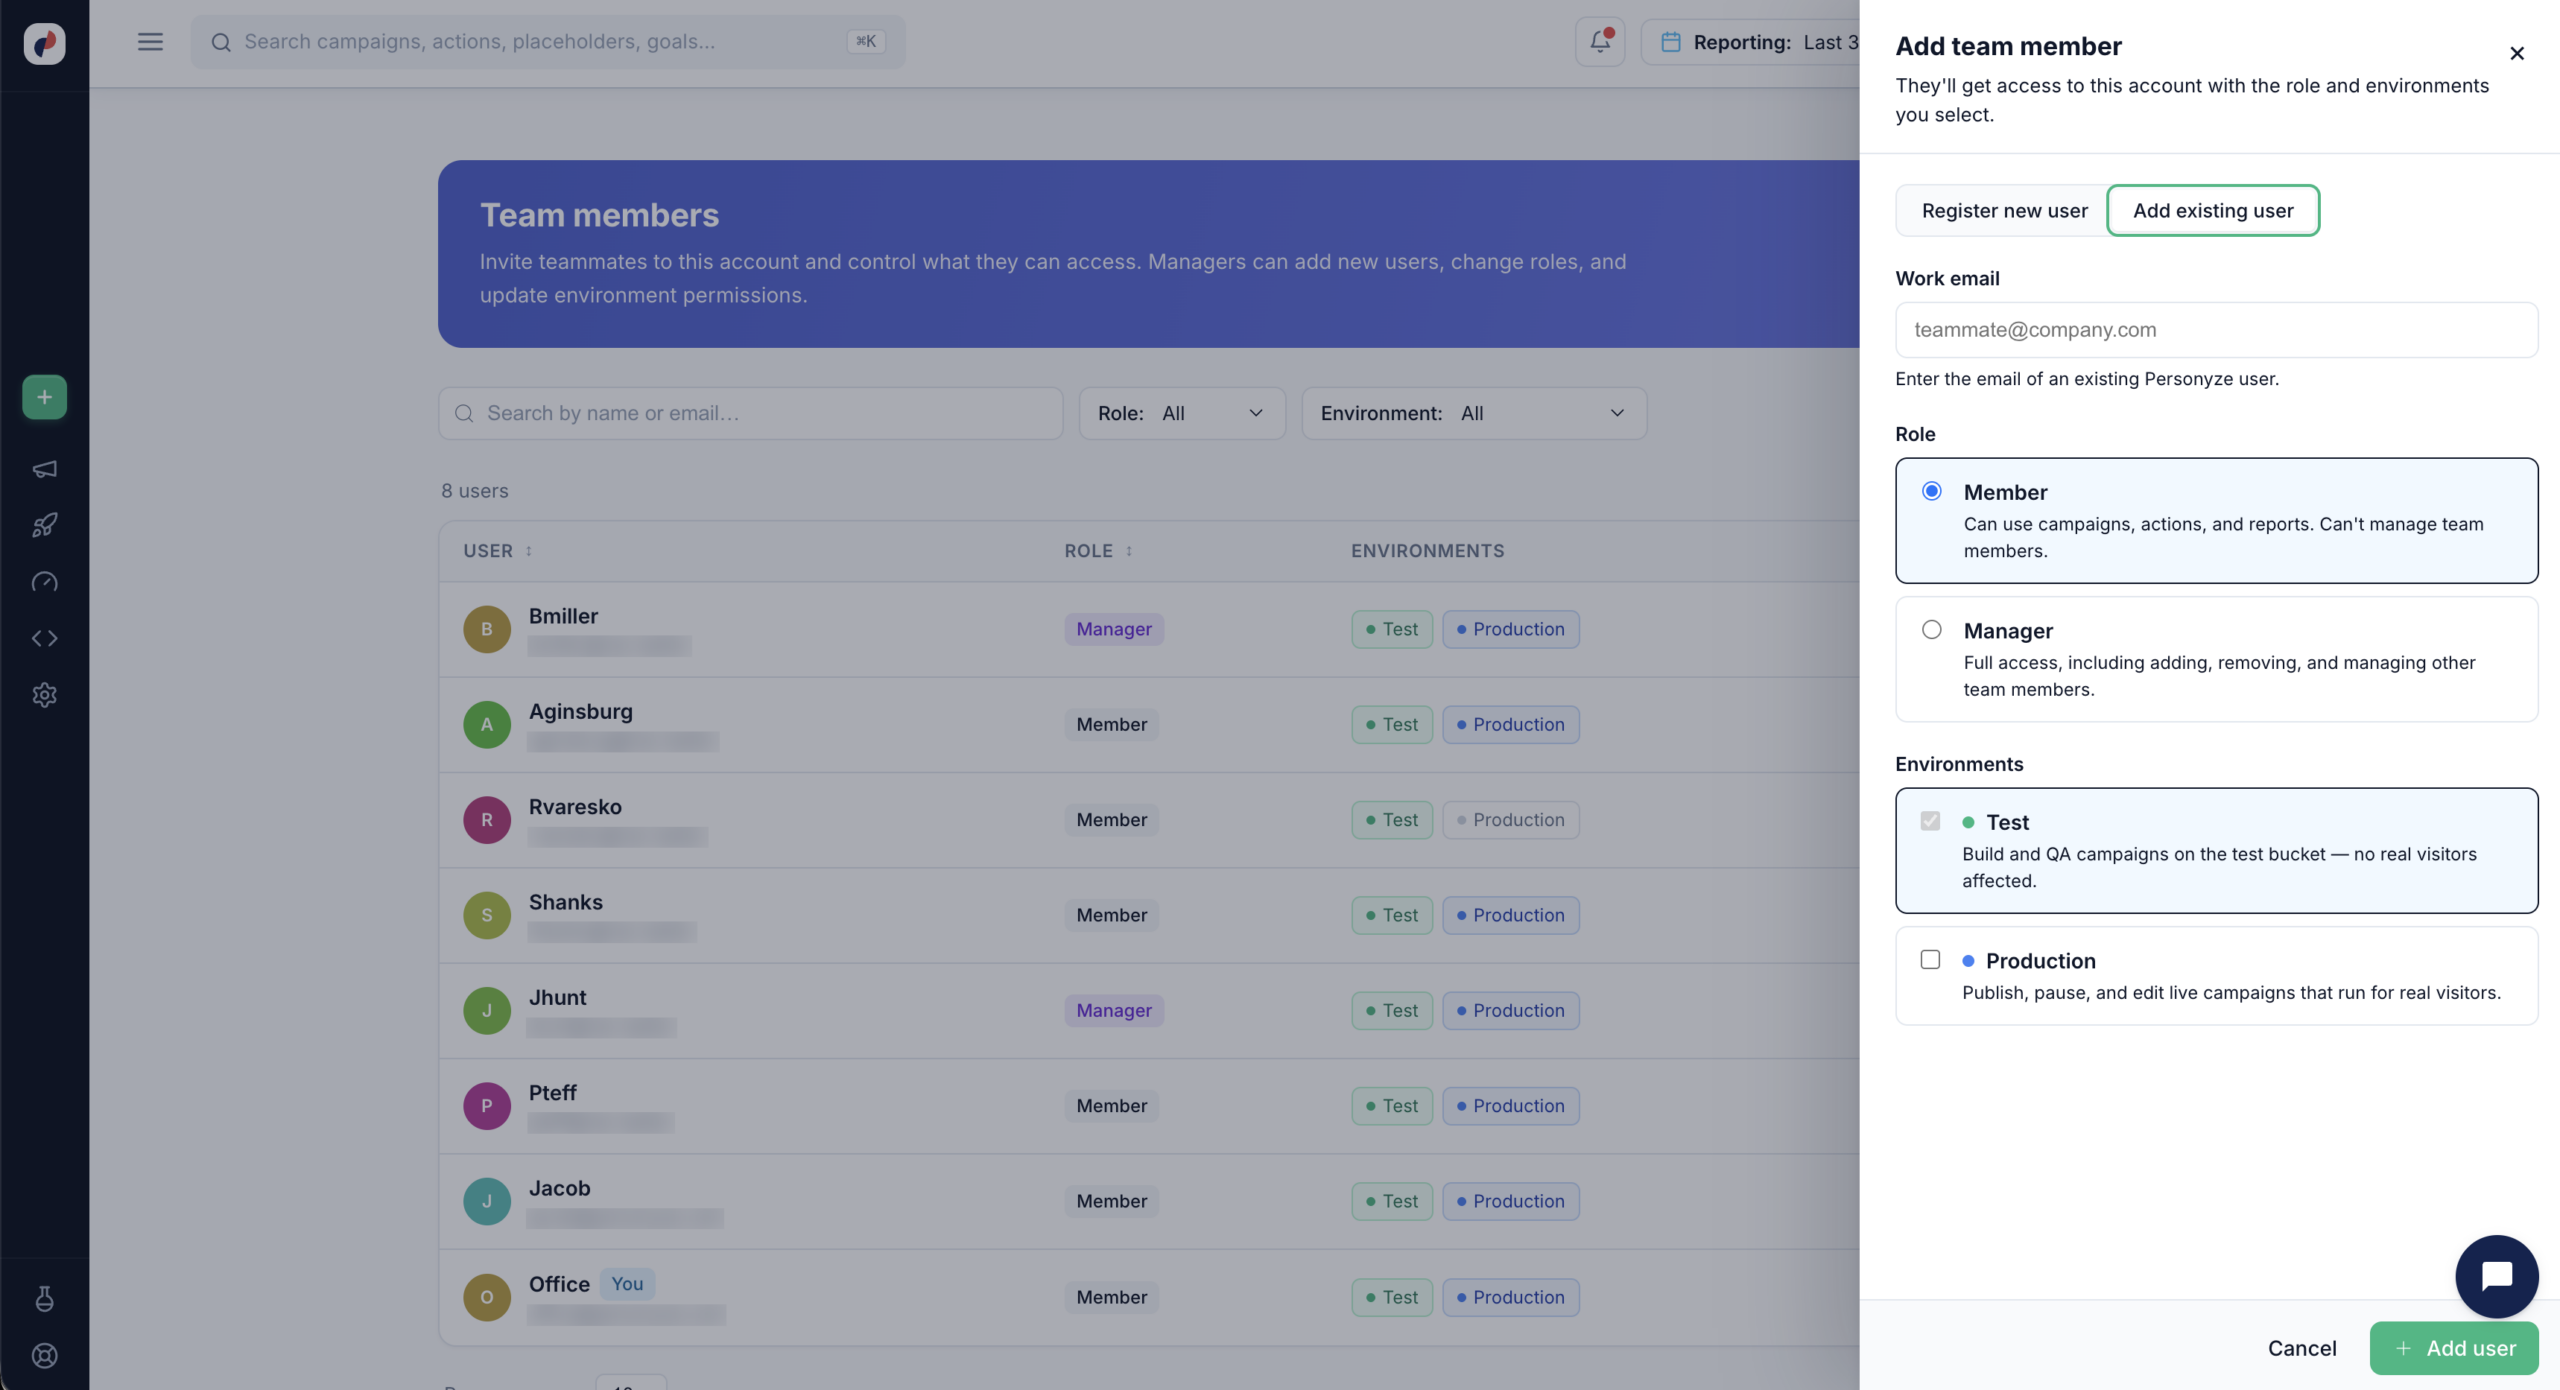
Use this tab when the person already has a Personyze user account — for example, a colleague who works on another one of your accounts, or an agency partner. Enter the email of their existing Personyze user, pick the role and environments, and click Add user. No invite email or new password is involved; their existing login simply gains access to this account.
Roles
Every team member has one of three roles:
- Member — can use campaigns, actions, and reports. Cannot manage team members.
- Manager — full access, including adding, removing, and managing other team members.
- Reporting — read-only. Sees the dashboards and every report, and cannot change anything: campaigns, settings or content. A good fit for a stakeholder who only reads the numbers.
Everyone on the account can open the Team members page, but only the account owner and Managers can change it; anyone else sees “Only the account owner and managers can change the team.”
Environments
Environments decide which campaigns a team member can work on. They’re independent of the role — you can have a Manager restricted to Test, or a Member with Production access.
- Test — build and QA campaigns on the test bucket. No real visitors are affected. Test access is always granted; it’s the baseline every team member gets.
- Production — publish, pause, and edit live campaigns that run for real visitors. Grant this only to people you want touching live traffic.
A common setup is to give new teammates, contractors, or agencies Test only while they learn the account, then add Production once you’re confident in their work. Someone with Test but not Production can build and QA a campaign end-to-end but can’t push it live — a useful safety net that pairs naturally with the QA workflow.
The Environments column on the Team members list shows each person’s access at a glance: an environment they can’t access appears grayed out. A Reporting user has no environment to choose: the column shows a single Read-only pill, read-only on both environments.
Managing Existing Members
From the Team members list you can:
- Search by name or email to find someone in a large account.
- Filter the list by Role or by Environment — for example, to audit everyone who currently has Production access.
- Sort by user, role, or the date they were added.
- Use the ⋮ menu on any row to change that member’s role (Make Manager, Make Member, Make Reporting), Grant production access or Remove production access, or Revoke access.
Invitations that have not been accepted yet are listed apart, with their role, when each was sent and when it expires; Revoke invitation withdraws one.
Removing someone from this account doesn’t delete their Personyze user — it only revokes their access here.
The list also has a Two-step column. The account owner and Managers can make two-step sign-in Required for everyone, or Reset two-step sign-in for a member who lost their phone — see Two-step sign-in for account owners.
Related
- QA Campaigns — the full workflow for previewing and verifying a campaign before it goes live.
- Personyze Test Mode in Console — how test mode works for your own session.
- Set up a single sign-on (SSO) client — connect your identity provider instead of managing passwords per user.
- Two-step sign-in — an authenticator app, email codes and recovery codes after the password.
- My profile and signing in — what each person changes for themselves: details, panel language, password.