Dynamic variables let you weave per-visitor data — first name, city, company, account-tier, anything stored on the user profile — directly into landing page copy. Personyze swaps the variable for each visitor’s actual value at render time, so a single page can read like it was written specifically for whoever’s looking at it.
When dynamic variables work well
- Personal greetings — “Welcome back, {First Name}” on a logged-in dashboard or landing page.
- Geo / industry callouts — “Trusted by {Industry} teams in {City}” using ABM or geographic data.
- Account-tier messaging — show different upgrade copy to free vs. pro users.
- Campaign continuity — reference data from the email or ad that brought them here.
Commonly available variables
The exact list depends on which profile fields and integrations your account has configured, but typical options include:
Step-by-step in the WYSIWYG editor
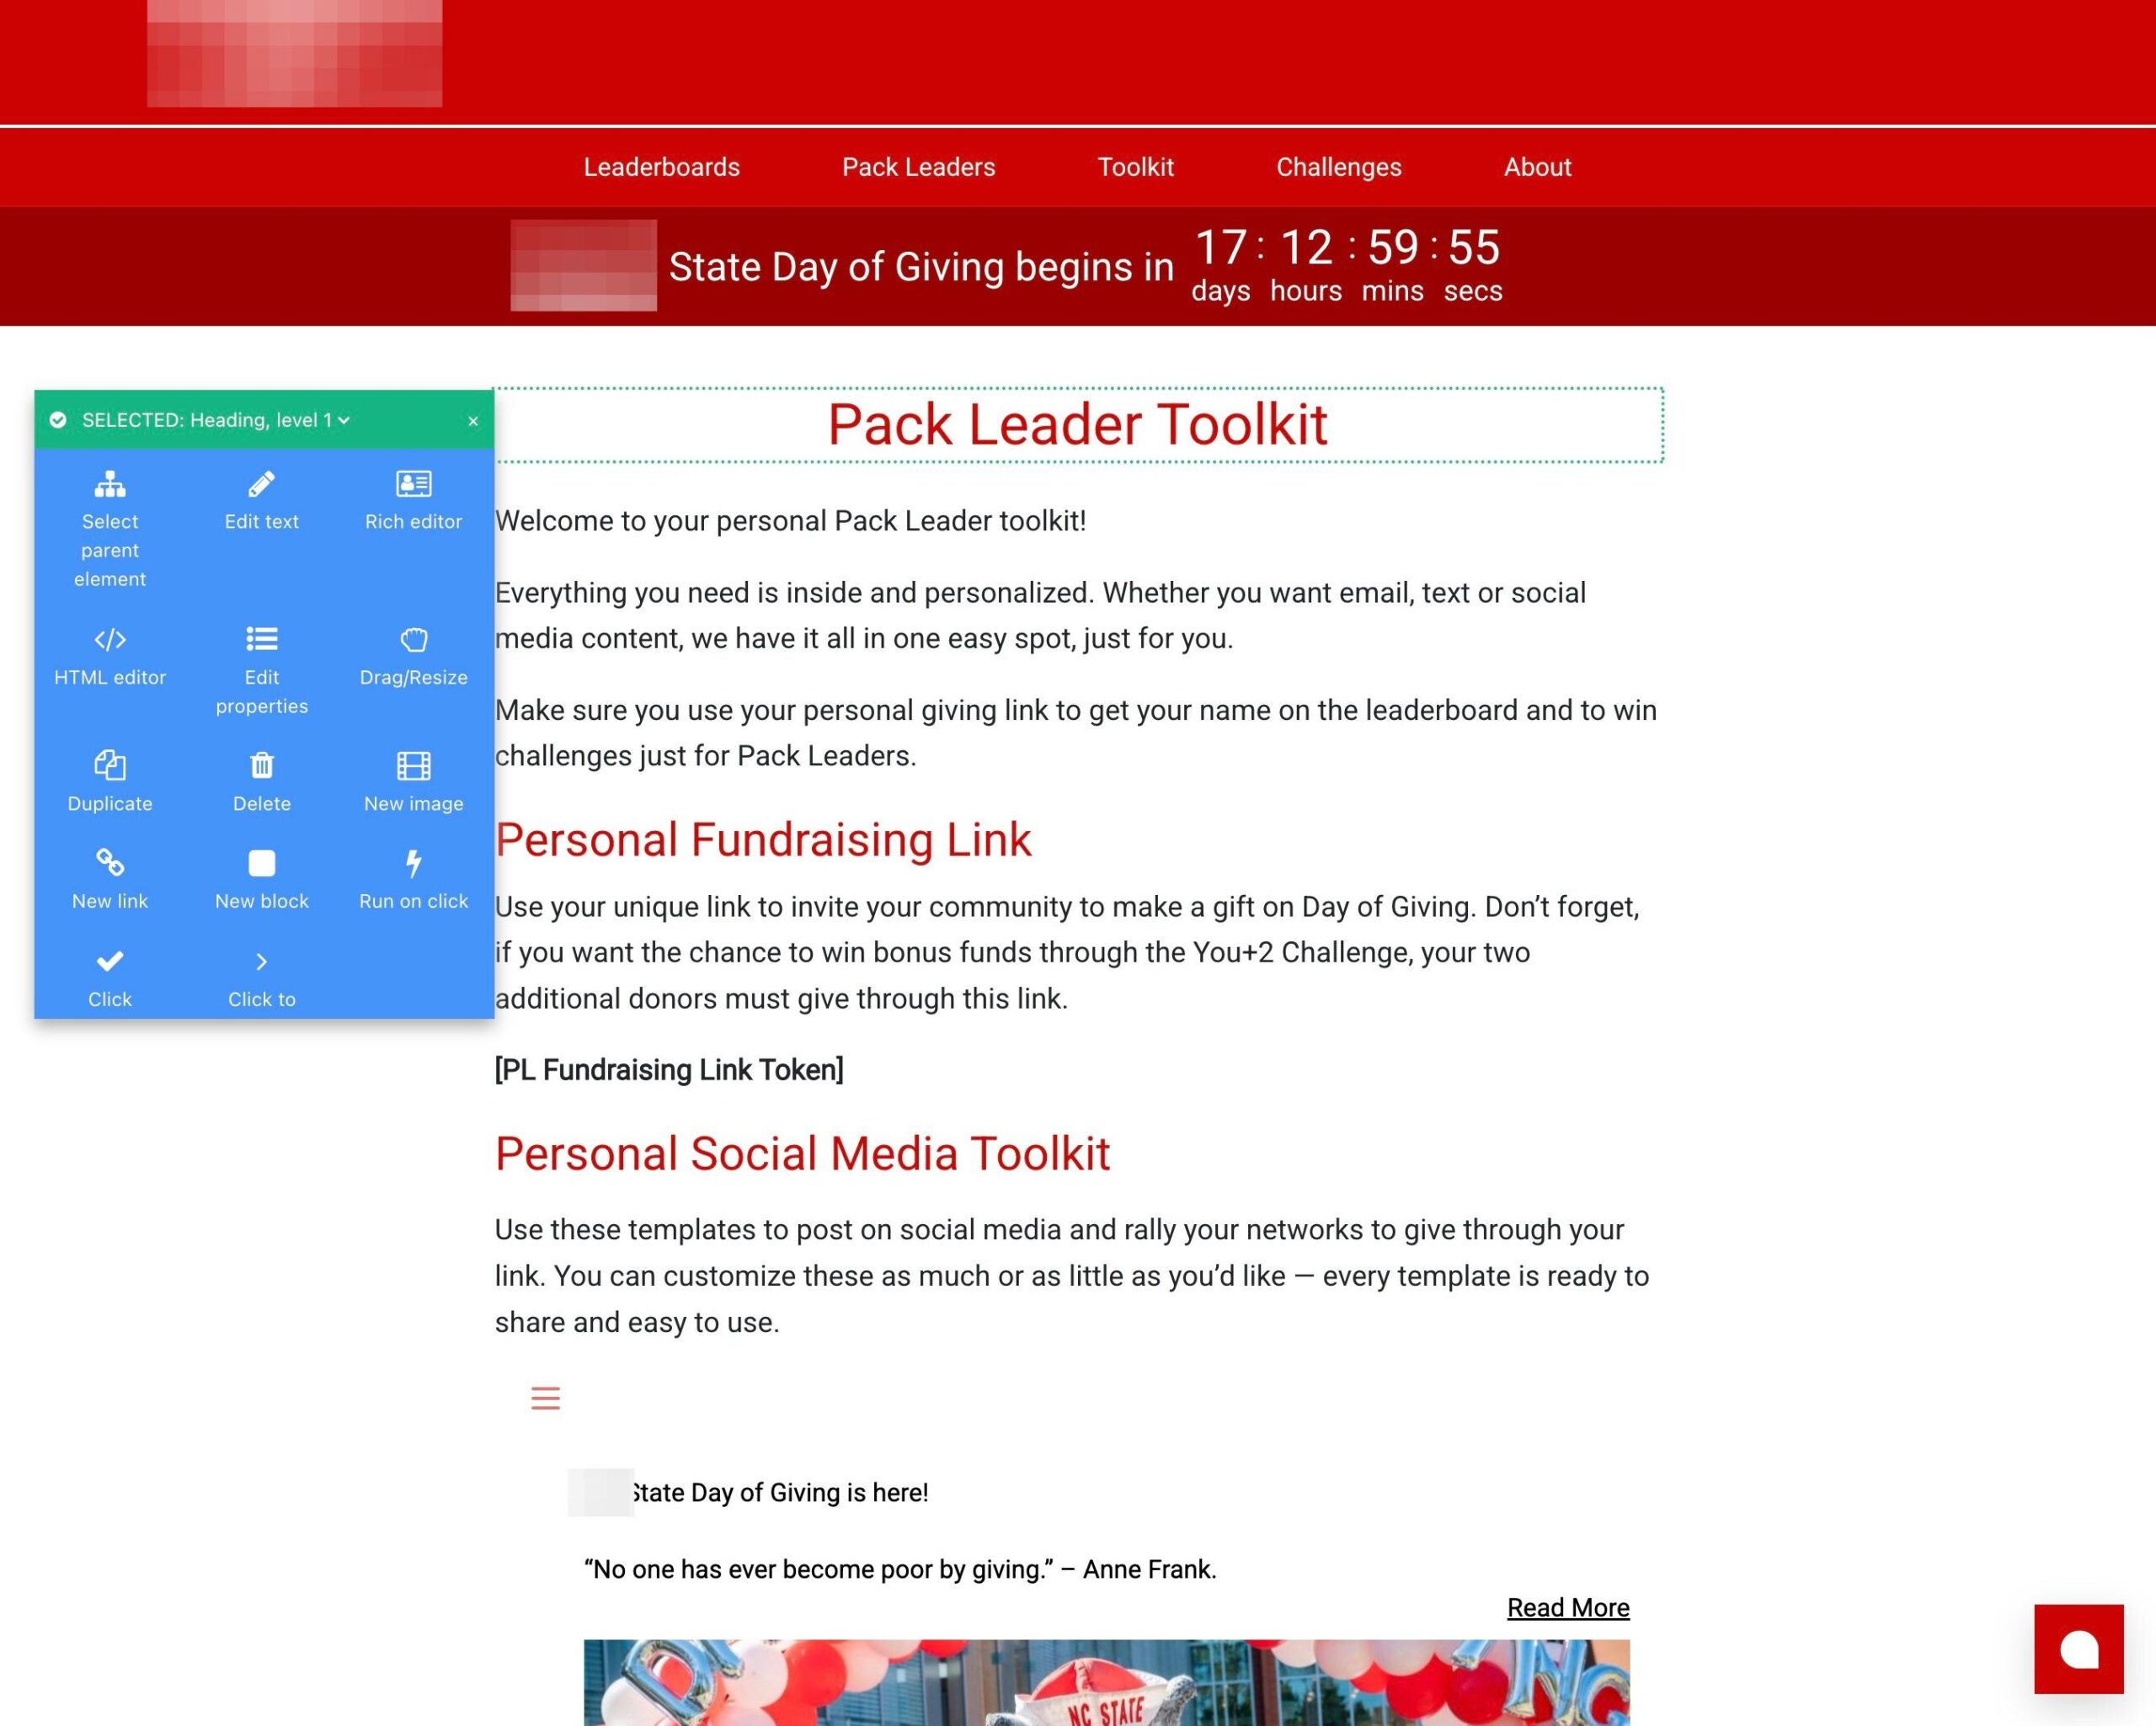
1. Click on the text where you want to add a dynamic variable
A menu appears. Based on the element clicked, you’ll see relevant options — for text, you’ll see text editing options; for images, image replacement options. Select the text edit option.
2. Select “Inserting user or session dynamic variables”
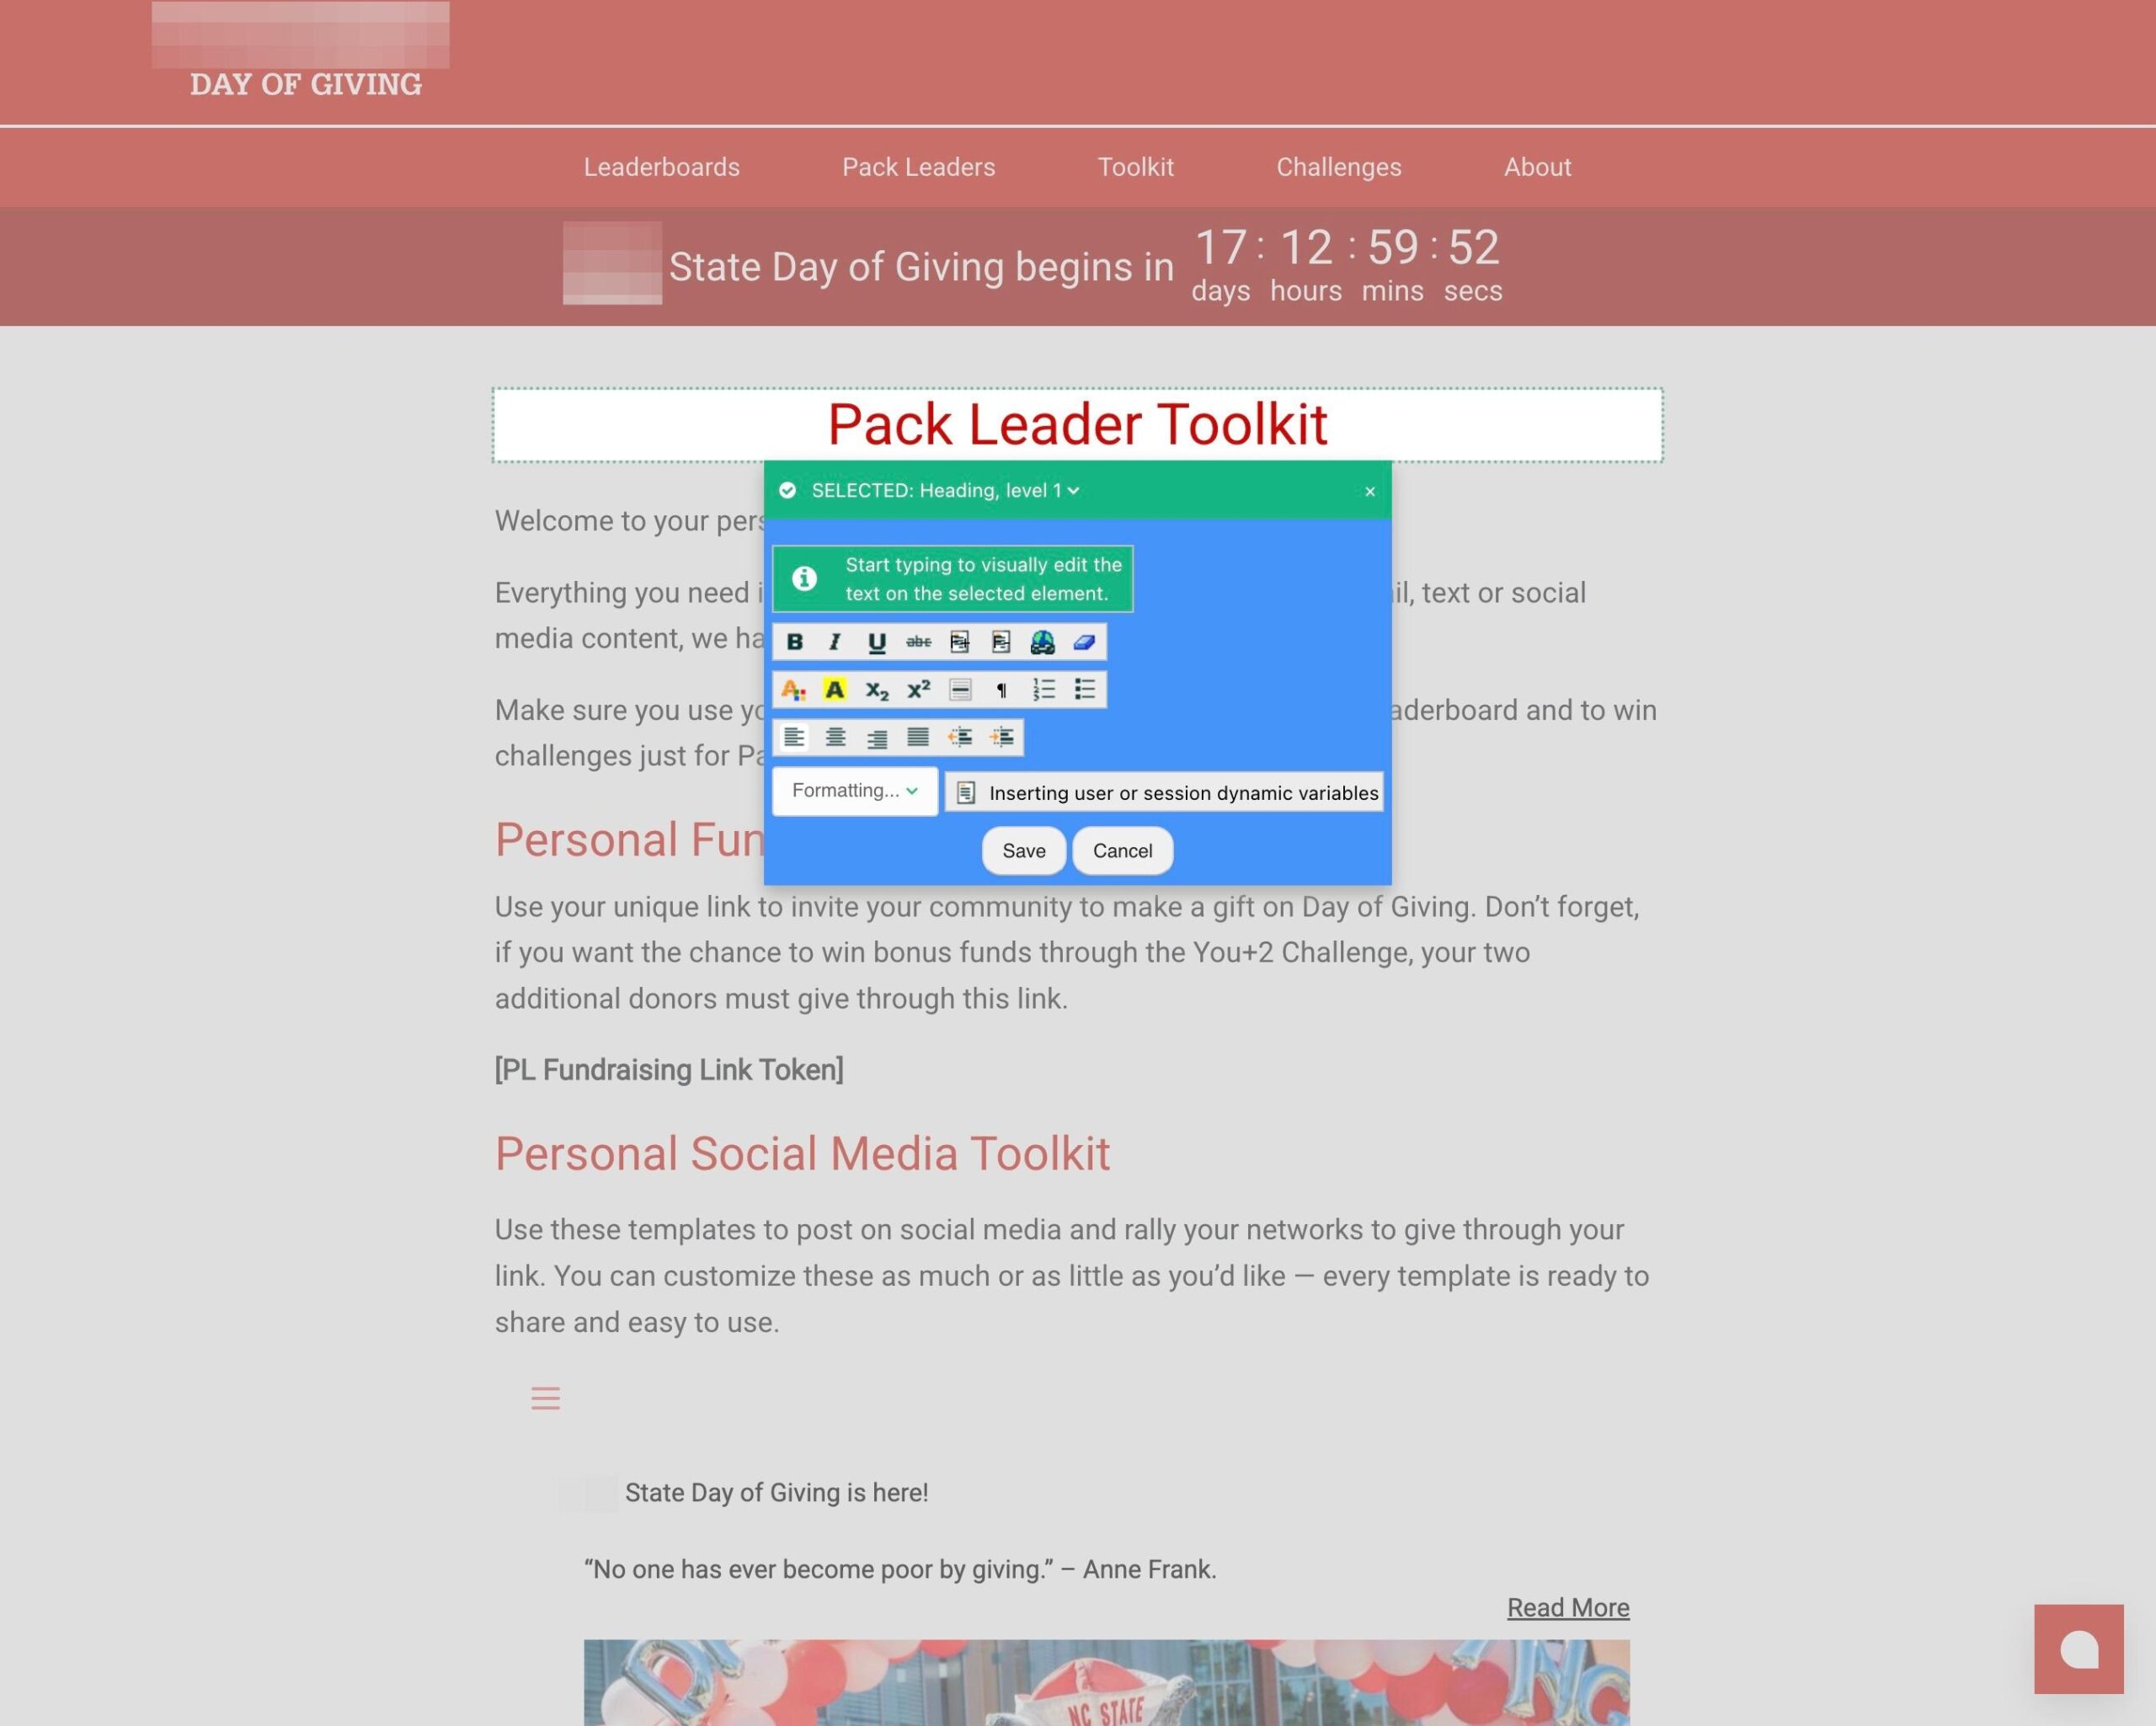
3. Pick the variable and confirm
A menu of your configured user variables appears. Select the variable you want — for example First Name — and click OK.

The variable inserts at your cursor position and renders as the visitor’s actual value when the page loads.
Testing your dynamic variables
Use the campaign’s QA step to preview how the page renders for any specific visitor by entering their email address — you’ll see the page exactly as that user would, with all variables resolved against their real profile data. Always test with both a known visitor (full data) and an anonymous one (fallbacks should kick in cleanly).