
The goal: a recommendations widget on your site that learns from what visitors view, add to cart and buy — and measurably lifts revenue. This recipe walks the whole path in order, with a link into the detailed guide at every step. Budget roughly an hour for a first working setup.
The path at a glance
- Product catalog in
- Interaction tracking on
- Campaign + widget
- Algorithm, filters, fallbacks
- Placement & look
- QA, publish, measure
1. Get your product catalog in
The catalog is what Personyze recommends from — titles, prices, images, stock, and any field you’ll want to filter or display. Pick one route:
- Feed — point Personyze at your product feed: setting the product/content feed.
- Platform sync — Shopify and WooCommerce/WordPress sync catalogs with a toggle.
- API — push products programmatically via the REST products object.
2. Turn on interaction tracking
Three events feed the engine — product viewed, added to cart, purchased. Views and carts drive the ranking; purchase also attributes revenue. Set it up per product interaction tracking — or let the Shopify / WooCommerce integrations wire it, or reuse your GA4 dataLayer through the GTM template’s ecommerce checkbox.
3. Create the campaign and widget
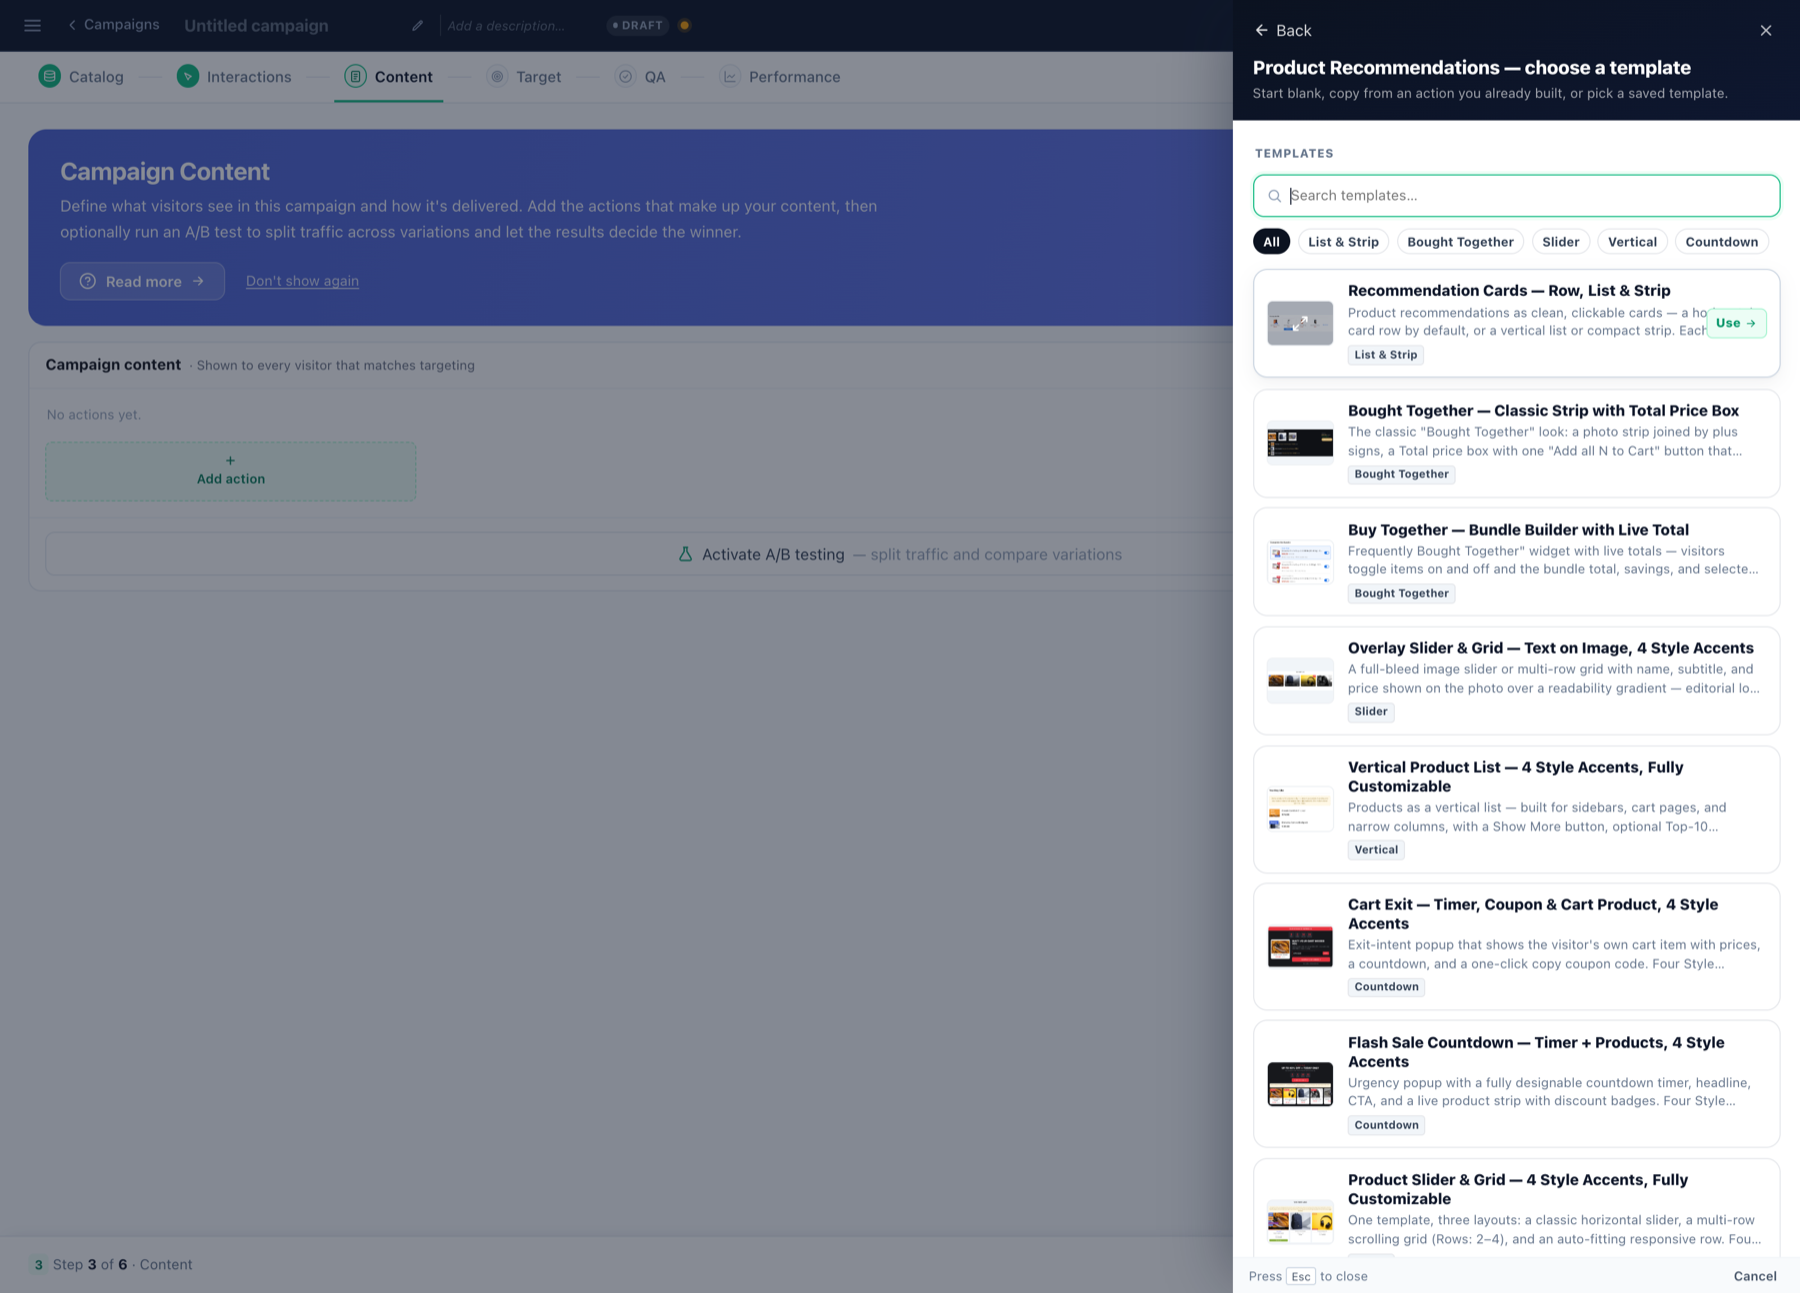
Run the Product Recommendations wizard — it walks Catalog → Interactions → Content → Target → QA in order and checks readiness as you go. Pick a widget template in the gallery (sliders, grids, cards — each documented under Product Recommendation Templates).
4. Choose the algorithm — and sharpen it
Start simple and personal: recommendations for this visitor on the homepage, frequently bought together on product pages, items left in cart on return visits. The full catalogue with when-to-use guidance: algorithms overview and algorithm types. Then:
- Filters — in-stock only, price range, same category as viewed, any catalog field.
- Fallbacks — what fills the widget when the primary algorithm runs short.
5. Placement and look
Inline in a placeholder (product page, cart, homepage rail) or floating. Card fields map to your catalog columns; every setting has audience-based ⚡ Variations and there’s an optional quick add-to-cart button. Details: the action guide.
6. QA, publish, measure
- QA step: preview as a visitor, confirm readiness checks are green, then publish to staging → live.
- The Performance step tracks impressions, CTR and attributed revenue; A/B test algorithms or designs against each other and let conversions decide.
Variations on this recipe
- Content sites — same path with articles: content recommendations wizard.
- Your own rendering — same algorithms as a JSON feed.
- In email — recommendations inside third-party emails.
- Bundles & discounts — buy-together discounts.