
The Event Progress Countdown shows how close an event is with a bar that fills as the date approaches, instead of relying on the numbers alone. It is built for webinars, launches and live sessions, and includes a register button and an add-to-calendar link. There are two versions with identical settings — pick the shape that fits where you want it.
The two versions
- Event Progress Countdown — a single centred column: text on top, then the bar and timer, then the buttons. Good as a panel inside a page, or as a full-screen takeover.
- Event Progress Countdown (Side-by-Side) — two columns: text and buttons on one side, timer and bar on the other. Good for wide hero sections.
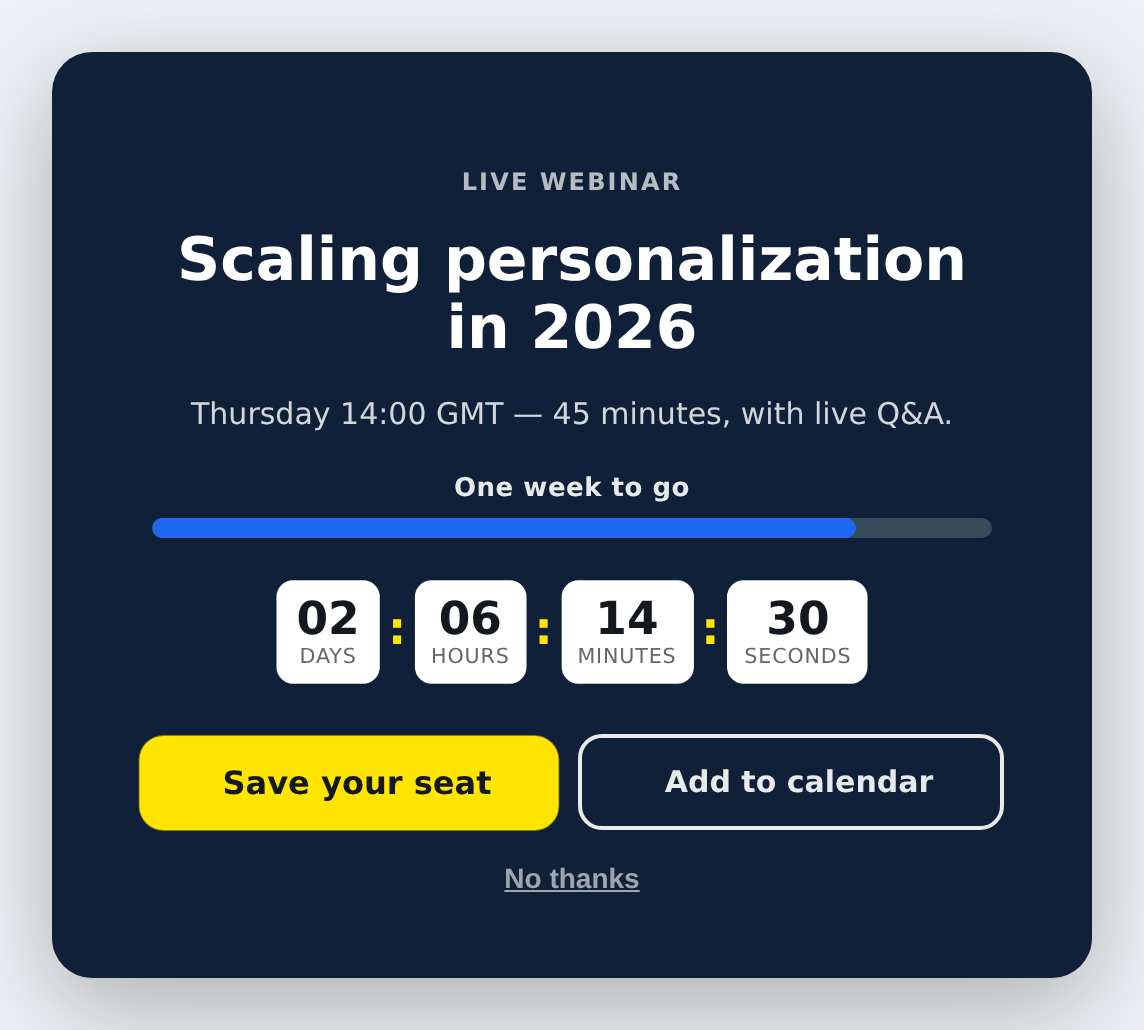
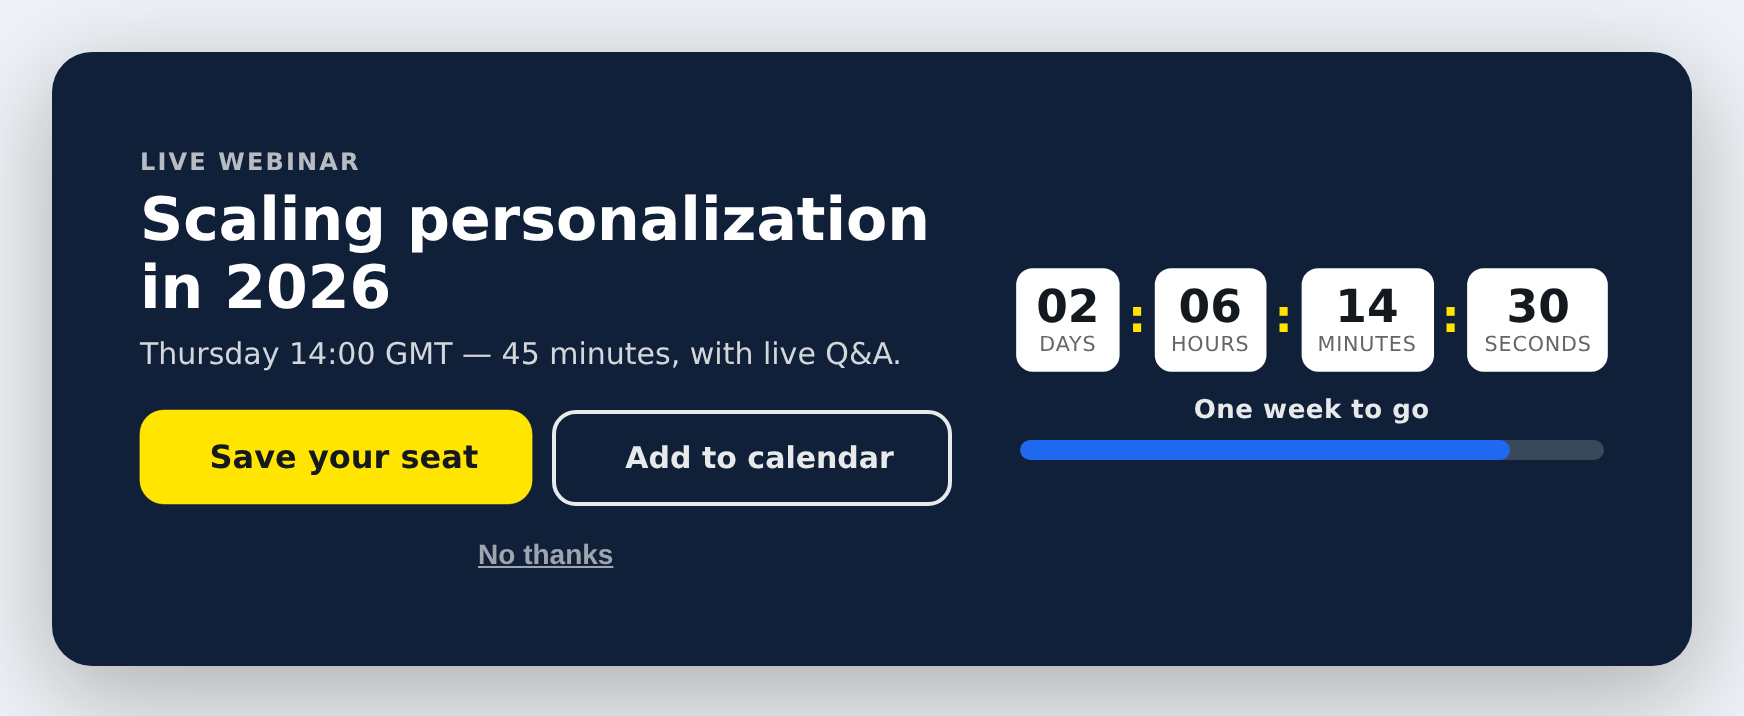
Everything below applies to both unless stated.
Setting the event time
The countdown itself is set in the Timer section under Countdown logic, exactly as in the other countdown templates. For a real event use a fixed date and time so everyone sees the same deadline. The progress bar reads that same countdown, so you only set the date once.
How the progress bar knows where to start
A countdown only needs an end date, but a bar also needs a beginning — otherwise there is no way to know what “half way there” means. That is what Progress Window (days) is for.
It answers: how far out should the bar start filling? With the default of 14, the bar sits empty two weeks before the event, is half full one week out, and reaches the end exactly as the event starts. Set it to match how long your campaign runs — 30 for a month-long push, 7 for a final week.
Before the window opens the bar simply shows empty; nothing breaks if you set the event further out.
Filling or emptying
Bar Direction controls which way it moves. fill grows toward the event and reads as “almost here”. drain empties as time runs out and reads as “time is running out”. Both use the same countdown; it is purely which story you want to tell.
Messages that change as the event gets closer
This is the part that makes the bar worth having. Under Progress Messages you can set up to four steps, each with its own wording and bar colour. As time passes the message is replaced, so the visitor always sees the most urgent one that applies:
- Step 1 — 336 hours (14 days) — “Save the date”
- Step 2 — 168 hours (7 days) — “One week to go”
- Step 3 — 24 hours — “Last chance to register”
- Step 4 — 1 hour — “Starting soon”
Each step is a number of hours before the event. The step with the smallest number that the remaining time has fallen under is the one shown, so you can enter them in any order. Each step also sets the bar colour, which is why the defaults run green, blue, amber, then coral.
Only one message is ever visible — unlike a cart-value bar, where all the tiers are shown at once. That is deliberate: the visitor cannot do anything to move a countdown along, so the value is in the message changing, not in seeing the whole ladder.
Turn the whole thing off with Use Changing Messages if you would rather have a plain bar.
Showing the bar without the numbers
Set Show Numeric Timer to No and the countdown boxes disappear, leaving just the bar and its message. The countdown keeps running behind the scenes and still drives the bar. This is a good option when a precise second-by-second count feels too aggressive for the audience.
Styling the bar
- Bar Style — rounded or square ends, and a thinner or thicker bar.
- Bar Animation — stripes for moving diagonal stripes, shimmer for a light sweeping across, pulse for a gentle brightening, or none.
- Bar Position (single-column version only) — above the timer, below the timer, above the title, or below the buttons.
In the side-by-side version the bar always sits with the timer in its own column, vertically centred against the text, so there is no position setting.
Icon, text and buttons
- Event Icon — a calendar, video camera, microphone, ticket and so on, shown beside the text. Switch it off if you prefer.
- Eyebrow, Title, Subtext — your headline copy, plus optional short lines above and below the timer.
- Main button — your register or sign-up link, with an optional icon inside it.
- Second button — set up as “Add to calendar”. Point it at your Google Calendar link, Outlook link or an
.icsfile. - ‘No thanks’ button — an optional dismiss link, shown on its own line under the two buttons.
When the event starts
Set the message shown at zero in the Timer section. With When Timer Ends set to Yes it replaces the whole content, so the visitor sees a single clear line such as “This session has started”. Set it to No and only the timer is replaced.
Look and feel
Preset (dark, light or brand), size, corner radius, shadow, an optional background image with a darkening overlay, optional decorative shapes, and the button animation all work exactly as in the other countdown templates.
Closing it, and an important testing note
The Close section controls the X button and whether it shows always or only on hover. Dismissing it also stops the action appearing again for a while.
Please read this before you test: once dismissed, it stops appearing for you as well for the number of sessions set on the action. That can easily look like the template is broken when it is working exactly as configured. So:
- Finish your testing and QA first, and turn the hide-after behaviour on afterwards.
- To see it again, clear cookies and site data for your site, or use an incognito / private window.
- The number of sessions is set on the action under Placement / Trigger, not in the template.
A note about the editor preview
The countdown does not run inside the editor panel, so the bar will sit at its starting position there. Full-screen mode also renders as an ordinary block in the editor so it cannot cover the editing toolbar. Use the live preview to see both properly. This is expected.
Technical notes
- The bar is driven by the same countdown you set in the Timer section, so time zones and the date logic are handled for you. There is no second date to keep in sync.
- The bar updates every second alongside the countdown.
- If you hide a unit by clearing its label, the bar still works — it reads the remaining time from whichever units are showing.
- Who sees the countdown, where, and how often is set on the action, not in the template.
Further reading
- Website popup templates — all 16 templates, and how to pick the right format.