
The lead capture form collects a visitor’s details and stores them on their Personyze profile, so you can follow up, segment, or personalise what they see next. Use it for newsletter signups, gated content, demo requests, or anything else where you need an email address.
Video: Lead capture forms: fields, placement and where the data goes (1:17) — it plays at the top of Lead Form Action — Fields, Dynamic Values & What Happens on Submit.
The two versions
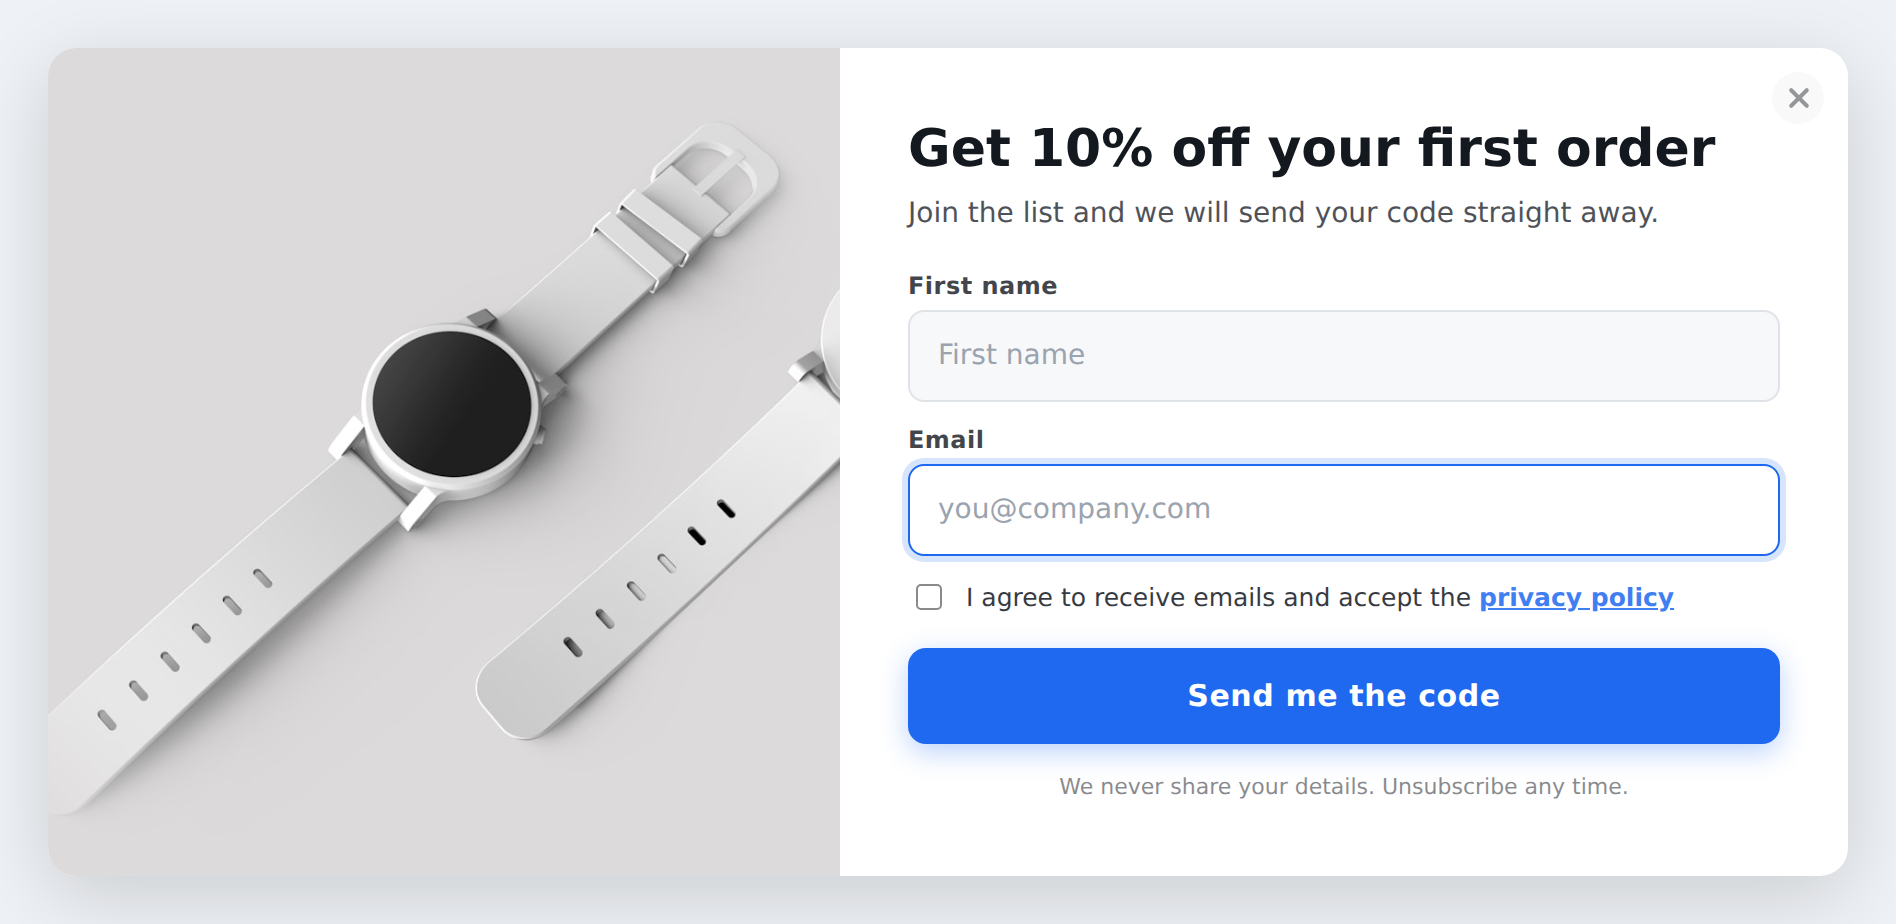
- Lead Capture Form (Side-by-Side) — an image panel beside the fields. Good for popups on wider screens and for full-screen takeovers, where it becomes a split screen with the image filling one half.
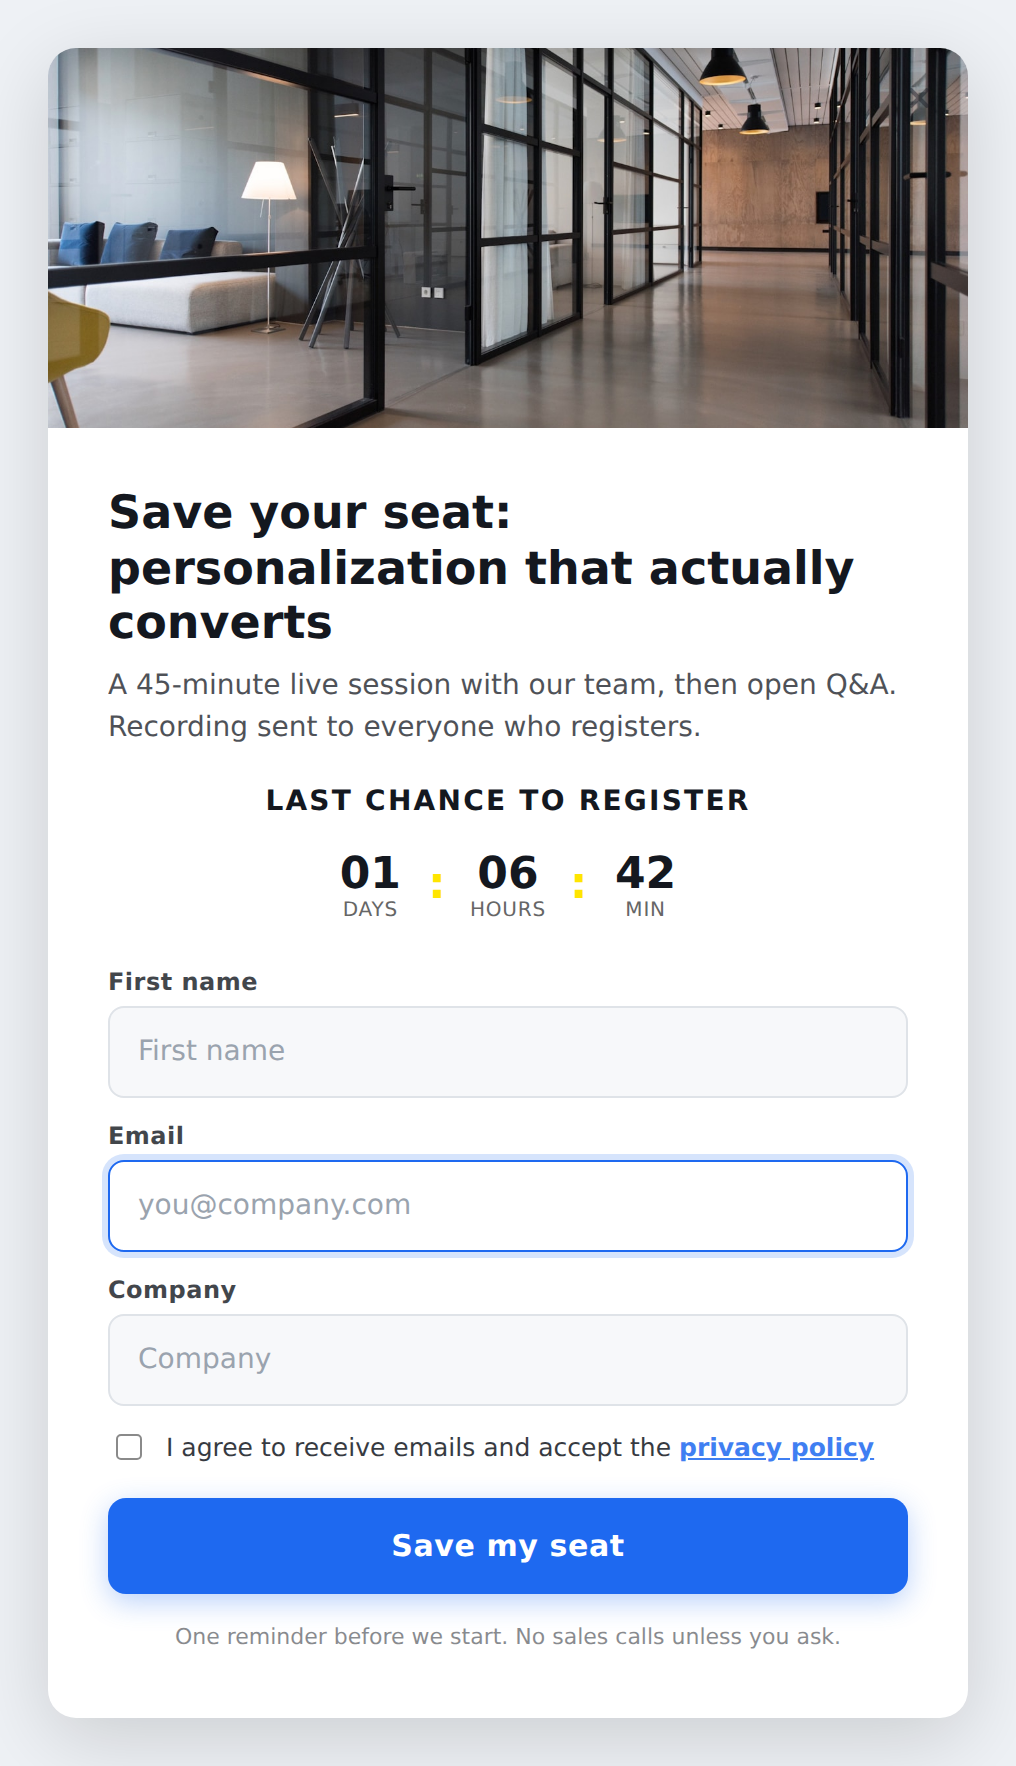
- Lead Capture Form (Stacked) — a single column with the image above the fields. Sized for narrow slots and sidebars, and it adds an optional countdown timer, which the side-by-side version does not have.
Everything below applies to both unless stated.
Where the form appears
Display Mode under Style gives you three options:
- inline — sits in the page where the action is placed.
- fullpage — the form on a dimmed overlay above your page, like a classic modal.
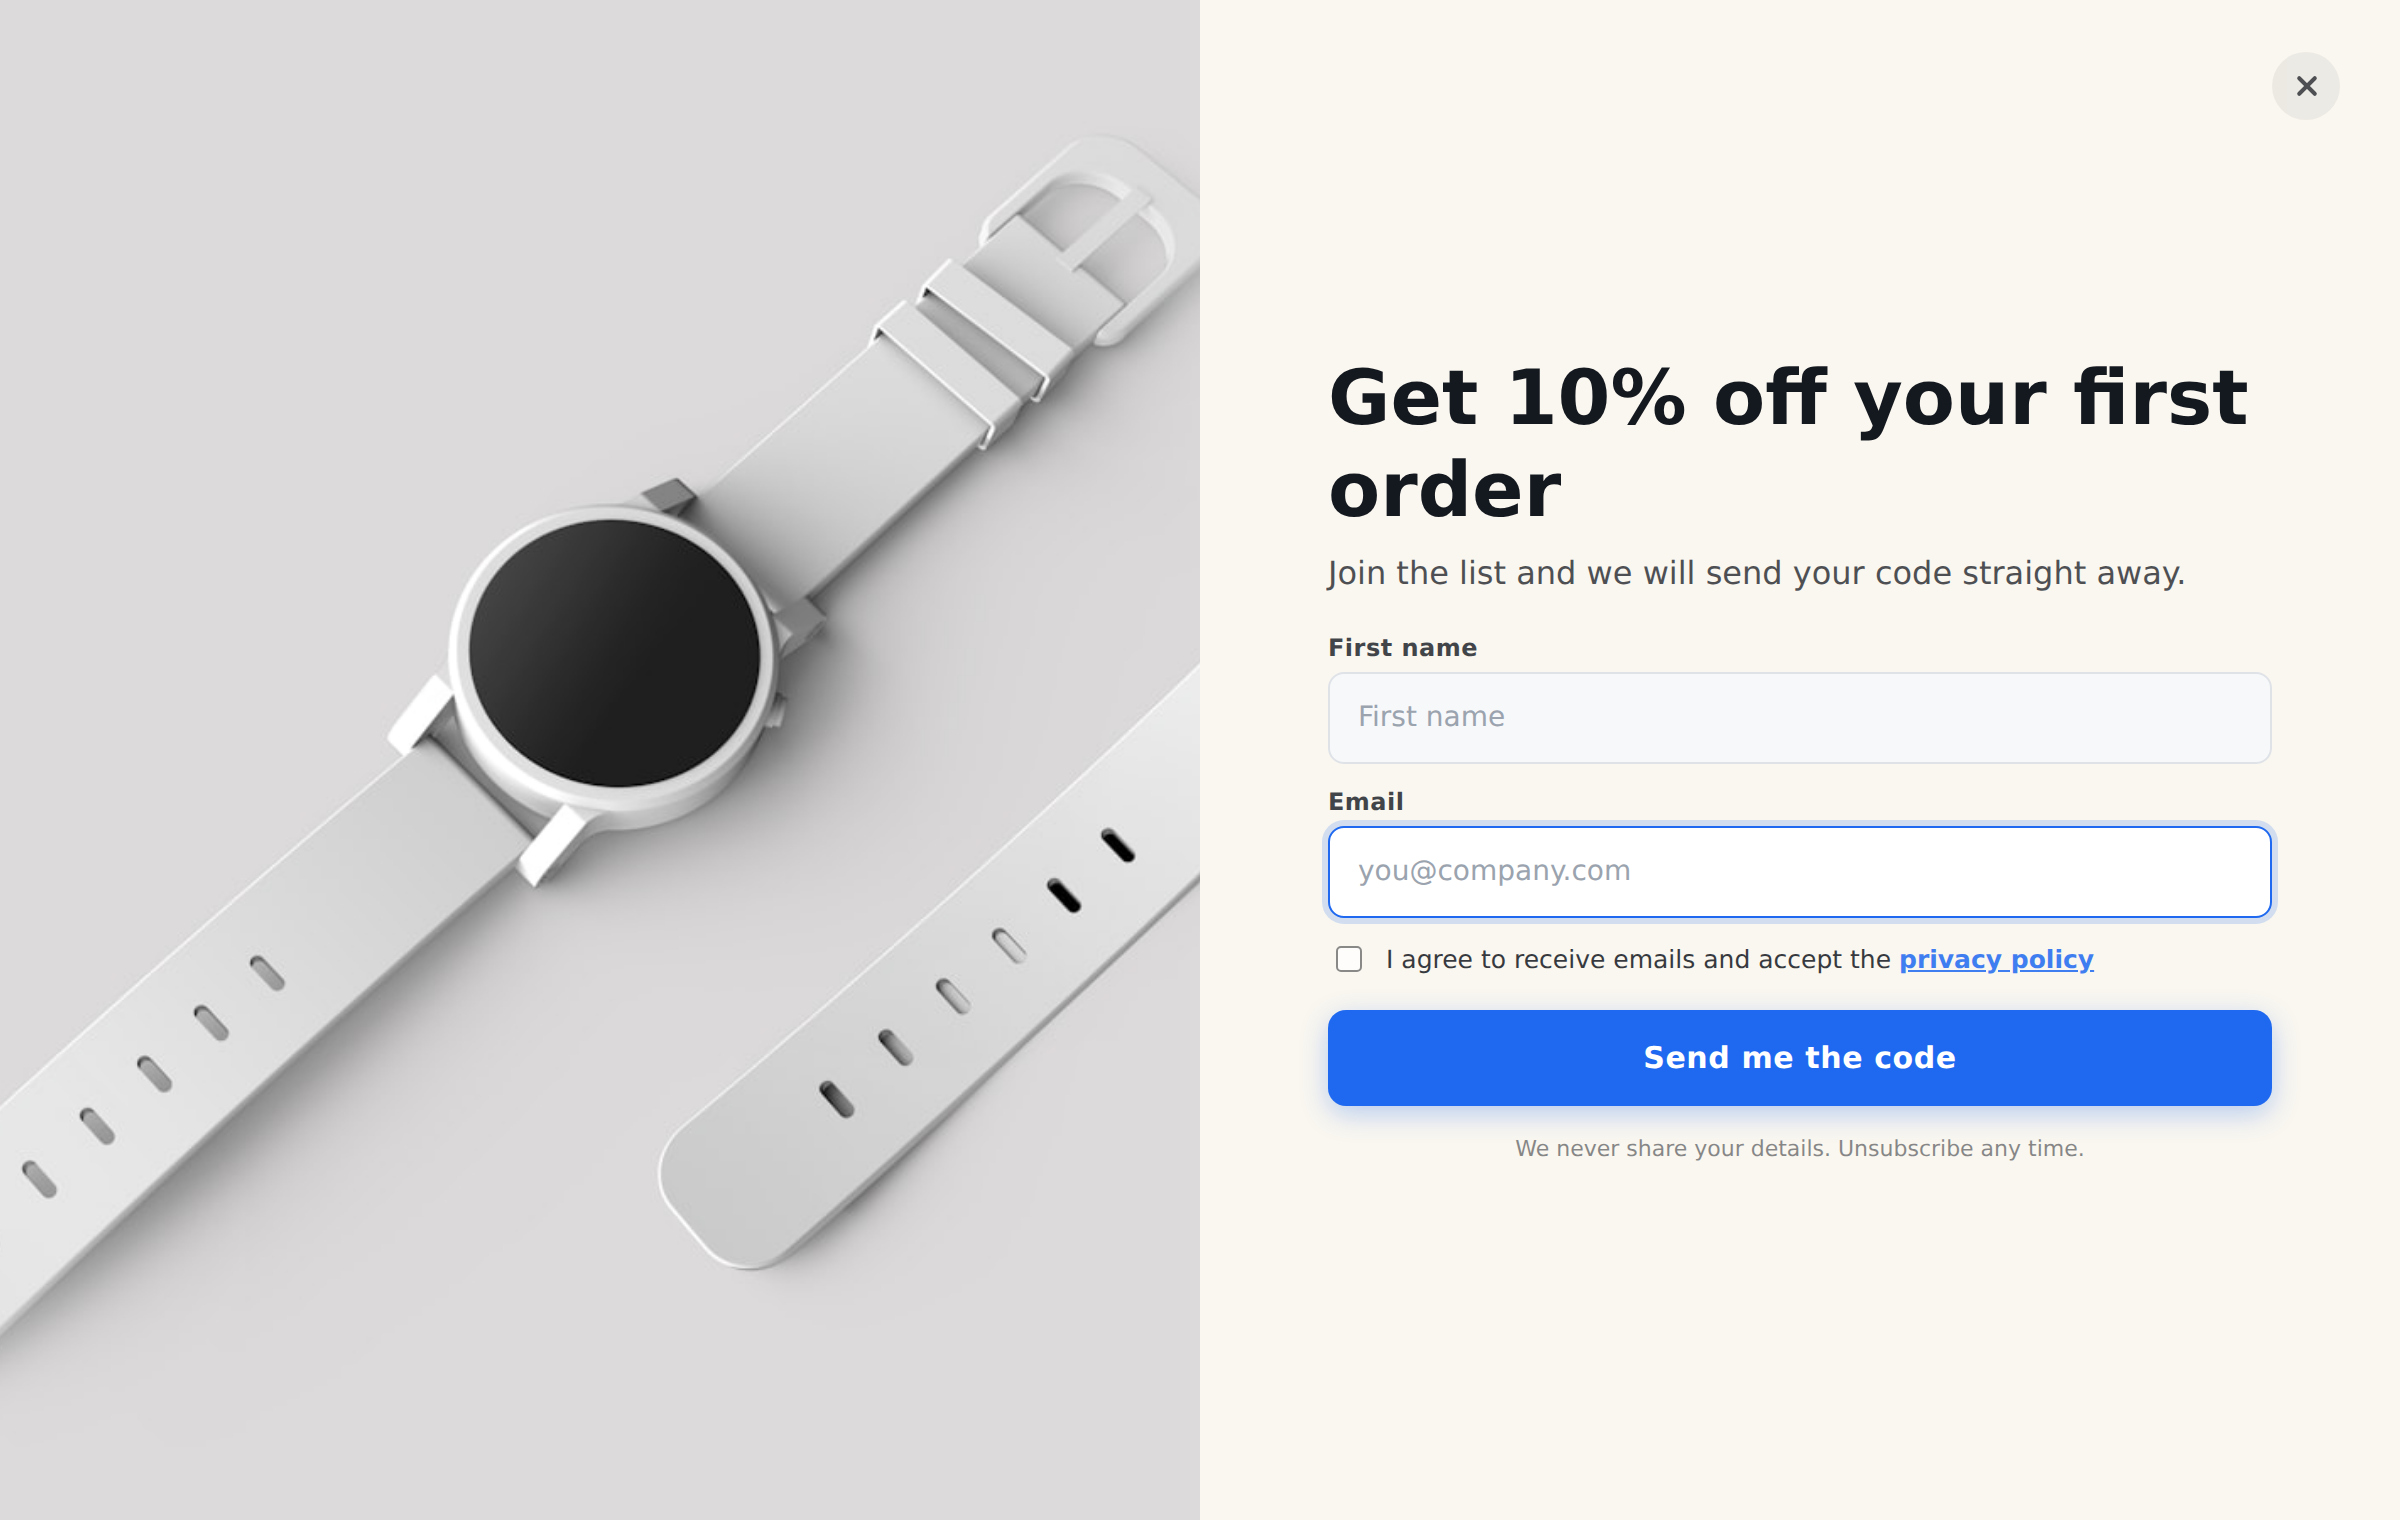
- fullscreen — the whole screen becomes the background. The side-by-side version splits the screen between image and form; the stacked version centres the card with the image as a band above it.
Both full modes only float on your live site. Inside the editor they render as an ordinary block so they cannot cover the editing toolbar. That is expected, not a fault.
Choosing your fields
Only Email is permanent. Everything else is optional and off unless you switch it on. Under Fields you get email and first name; last name, phone and company live under Optional Fields. Each field is one block: the switch that shows it, then its label, placeholder, profile attribute, prefill and whether it is required.
Every extra field costs you completions, so add only what you will actually use. If you can enrich the record later from the email address, do that instead of asking.
Filling fields in automatically
Every field has a prefill if known option, on by default. When Personyze already recognises the visitor, the field arrives filled in and they simply confirm it. Switch it off for any field you would rather they typed themselves.
Dropdowns, radio buttons and checkboxes
Three more field types, each in its own section and each off by default:
- Dropdown — one choice from a list, with a placeholder line before anything is picked.
- Radio Buttons — one choice, all options visible. Good for two to four short options.
- Checkboxes — several choices. The selected values are stored together in one attribute, separated by commas.
Type the options as a plain comma-separated list, for example Starter, Growth, Enterprise. Up to six per field. Radio buttons and checkboxes can be stacked or side by side.
The countdown timer (stacked version)
The stacked form can show a countdown, which is why it is set up out of the box as a webinar registration. Set the deadline under Countdown logic in the Countdown Timer section, exactly as in the countdown templates: a fixed date and time, or a per-visitor countdown.
Timer Position places it above the title, below the subtext, below the fields, or either side of the button.
Change the Label as the Date Nears is the part worth knowing about. Instead of one fixed line above the timer, you set up to four steps, each with a number of hours before the event and its own wording. The line is replaced as the date approaches:
- 168 hours — “Save the date”
- 48 hours — “Two days to go”
- 24 hours — “Last chance to register”
- 1 hour — “Starting soon”
The step with the smallest number that the remaining time has fallen under is the one shown, so you can enter them in any order.
You can also style the timer: Timer Box Look offers boxes, minimal (numbers only), outline, solid or a soft tint; Timer Size and Label Emphasis control how loud it is. If the changing line is being missed, set Label Emphasis to badge, which turns it into a coloured pill. Clearing a unit’s label — Days, Hours, Minutes or Seconds — hides that unit entirely.
Tagging leads without asking
Hidden Values stores information the visitor never sees. Pick a profile attribute, type a fixed value, and every submission from this form carries it — for example attribute source with value homepage-popup. There are two, so you can record something like a source and a campaign at once. This is how you tell later which form a lead came from.
Errors and what the visitor sees
The form checks the fields itself and shows its own message under the offending field, so nothing looks out of place. Under Errors you can set the wording and the appearance — colour, text size and weight, and the background of the field in its error state.
Work Email Only is worth knowing about: switch it on and the form rejects free providers such as Gmail, Outlook and Yahoo, along with disposable-mail services. Useful when only business addresses are of value to you. The blocked list is editable, so you can add anything else you spot.
Stopping spam without a captcha
Spam Protection is on by default and runs two checks the visitor never sees:
- A hidden decoy field. Real people never fill it; automated scripts fill everything. If it has a value, the submission is quietly dropped.
- A timing check. Anything submitted faster than a person could realistically type is rejected.
Together these stop most automated submissions with nothing for your visitors to solve, no puzzles and no third-party service.
What happens after they submit
The form is replaced by a success screen you control under Success Screen: a tick, a title, a message, and optionally a coupon code with a copy button. The image is hidden at that point so the message stands on its own.
Under Logic you choose what happens next:
- message — stay on the success screen.
- redirect — send them to a URL after a delay you set. Add Form Data to the URL appends what they entered as parameters, which is handy for pre-filling the next page. Bear in mind their email then appears in the address bar and in your analytics.
- close — close the form.
Do Not Show This Form Again stops it appearing to anyone who has already submitted. Leave it off while you are testing, or the form will disappear for you after your first test submission.
Look and feel
The Preset — light, soft or dark — decides the whole palette: card, inputs, button, error and success colours, and the background in fullscreen. There are no separate colour pickers for those, so switching preset always gives you a coherent result.
Also under Style: size, corner radius (none, light, medium, round), shadow, decorative shapes, an optional background image with a darkening overlay, and six button looks — rounded, pill, square, outline, soft, gradient — with an optional animation. If you need something specific, Button: extra CSS and Card: extra CSS add your own rules on top.
Field labels are on by default. Labels above each field are easier to use than placeholders alone, because a placeholder disappears the moment someone starts typing.
The image can be switched off, moved to the other side or below, and hidden on mobile so the form starts at the top of a phone screen.
Running your own code
Custom JavaScript gives you two hooks, both receiving form and values:
- On Submit runs before anything is sent. Return
falseto stop the submission — use it for your own validation rules. - After Submit runs once it has succeeded, for example to send an event to your analytics.
If something does not seem to work
Two things account for almost every case:
- The page may be running an older version. Change the headline to something obvious, save, and hard-reload. If the old headline is still there, the page has not picked up your changes yet and nothing else you change will show either.
- A setting you have already saved keeps its value. Template defaults only apply to fields the action has never held. If a newly added setting seems to do nothing, open it in the action, set it explicitly, and save.
Technical notes
- Answers are stored on the visitor’s Personyze profile through the attribute you choose for each field, so they are available for targeting and segmentation straight away.
- Who sees the form, where, and how often is set on the action, not in the template.
- If a submission does not come back within twelve seconds, the button is restored and a message shown, so it never sits stuck on “Sending”.
- Inside the editor you will only see the form itself. The success screen appears after a real submission.
Further reading
- Website popup templates — all 16 templates, and how to pick the right format.
- Personalized lead generation — capturing better leads, not just more.